- Hodgson Part 028/031, Sump Body & Cap
- Hodgson Part 029/030, Sump Oil Tubes
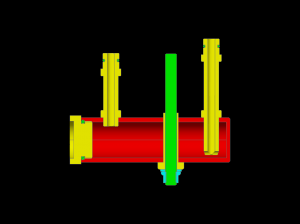 As explained in the construction log for the sump body, I’ve modified the sump tubes to slip into the crankcase instead of attaching with threads.
 Starting with some 13mm brass stock, I’ve roughed out the aft sump-to-pump oil tube.
 Since the rear tube is so long, I’m drilling a #33 hole halfway from this side. I’ll finish drilling from the other side later and then ream to the finish 0.125″ size.
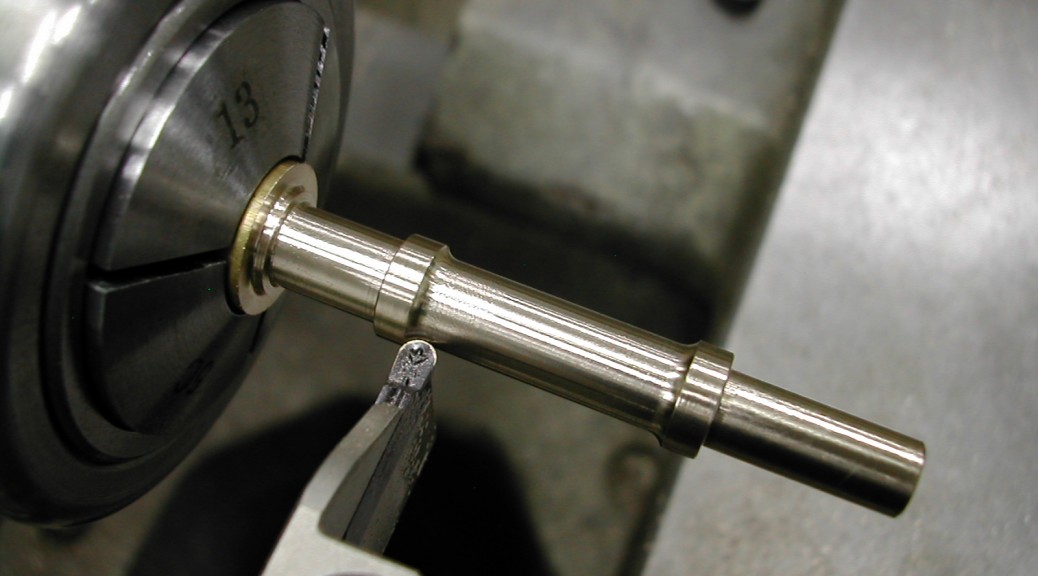
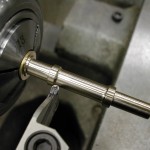 I’ve finished turned the bosses at both ends with my grooving tool removing the 0.005″ stock I left when roughing. Now I’m adding the waist in the center section with a 2mm radius profiling tool.
Just like with the sump cap, I prefer radii instead of sharp corners for embellishment like this.
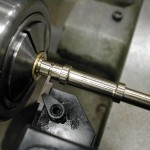 Finally, I’m adding the groove for the 5mm I.D. x 1.0mm thick o-ring. I held off on this so the part would be a little more rigid for turning the waist.
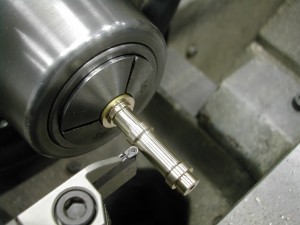 The rear tube has been parted off, and now the front tube, the engine-to-sump tube, is being machined in the same manner.
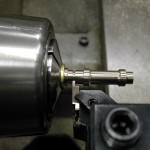 As before, adding the o-ring groove is the last thing to be done before parting the tube off the stock.
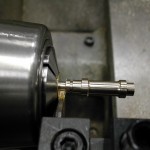 With the o-ring groove cut, the oil tube is parted off.
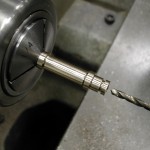 I’ve re-chucked the rear sump-to-pump tube in a 1/4″ collet and I’m completing the #33 hole through after centerdrilling the end.
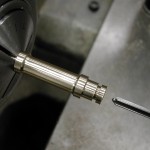 I’ll ream the hole to 0.125″ removing any mis-match caused by drilling from both ends and leaving a nice surface finish to reduce friction. Finally, I’ll face the tube to length and repeat the reaming and facing on the front tube.
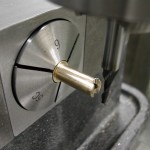 With the part mounted in a 5C collet block, an 1/8″ endmill is used in the mill to notch the end of the sump return tube.
Disclaimer and License
All material, including the CAD drawings, relating to the construction of the Hodgson Radial presented on this site is free to use any way you see fit. However, no guarantees are made regarding the accuracy or correctness of the material presented here.

