
- Quorn Parts 401/404, The Quill Body & Caps
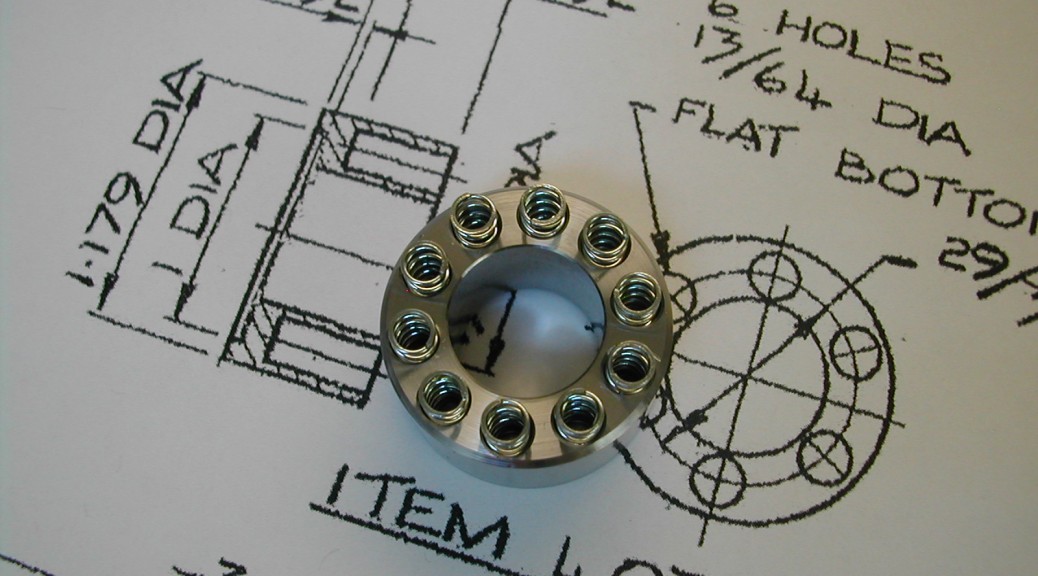
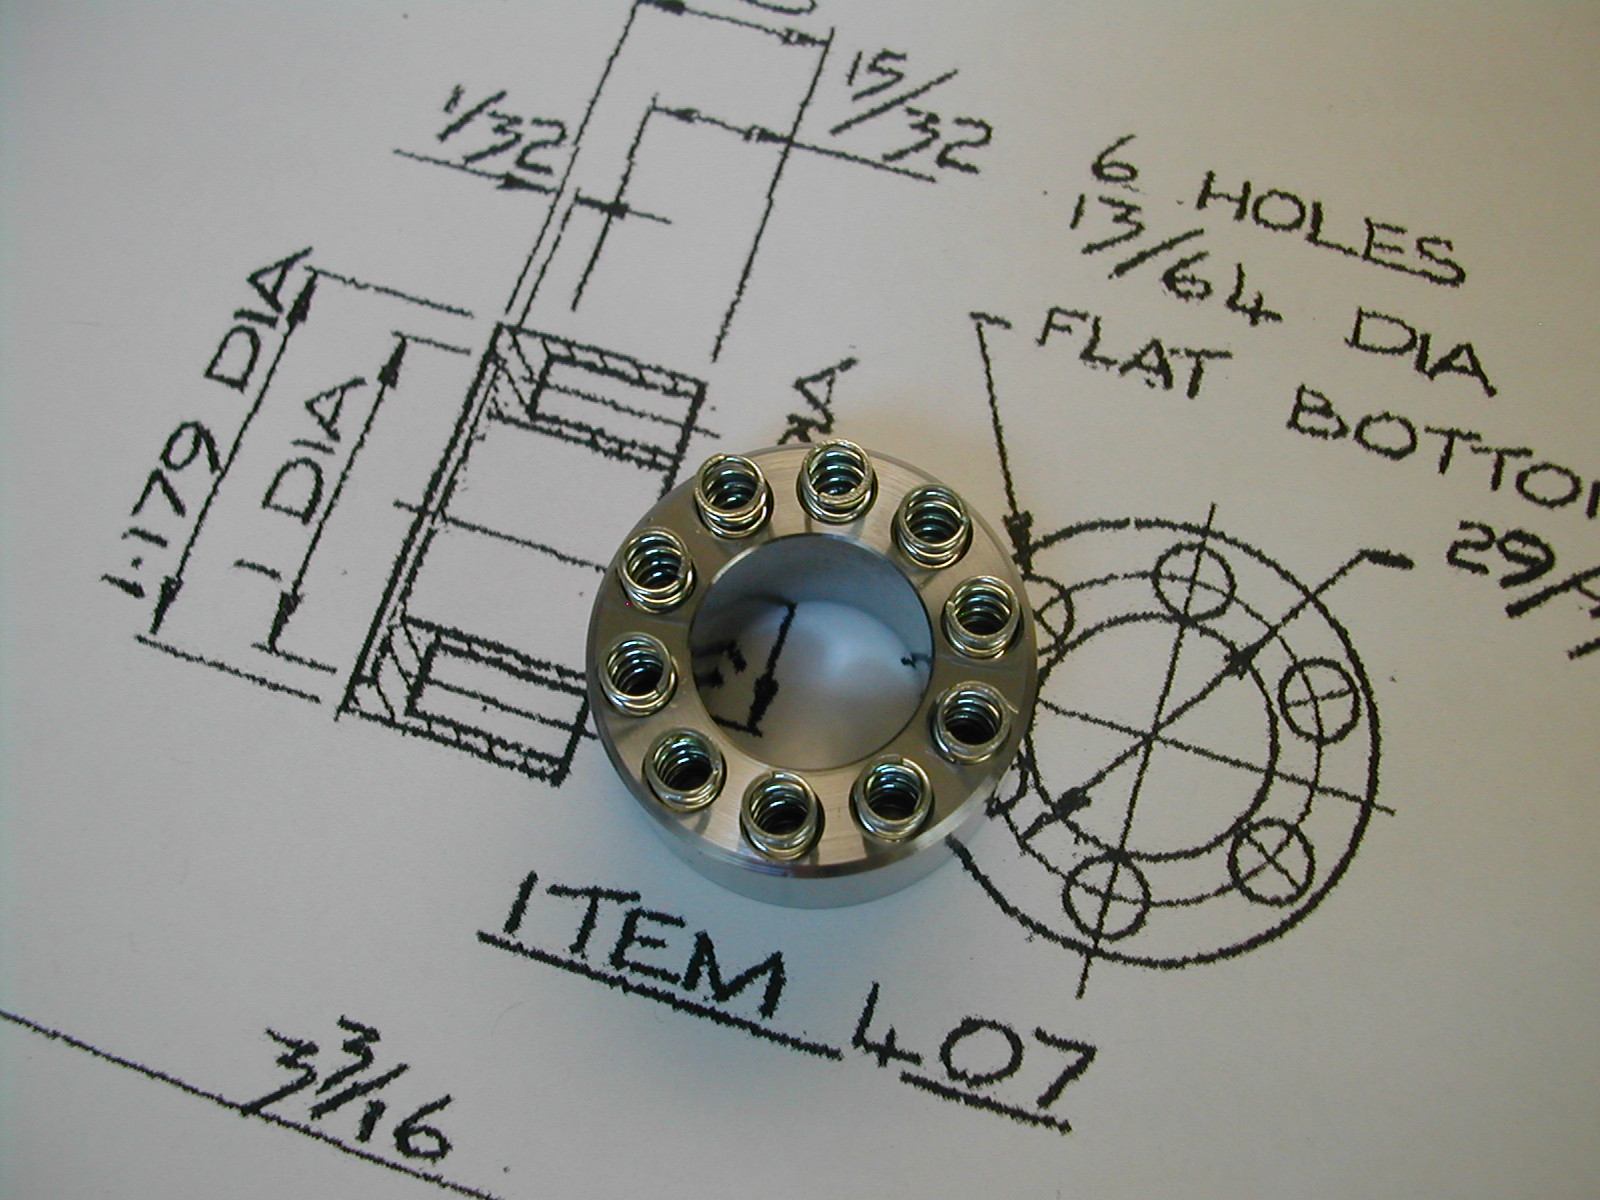
- Quorn Part 407, The Spring Box
Now that the Quill Body was finished, I could use it to gauge the OD of the spring box to get a close slip-fit, so that was the next part I turned to.
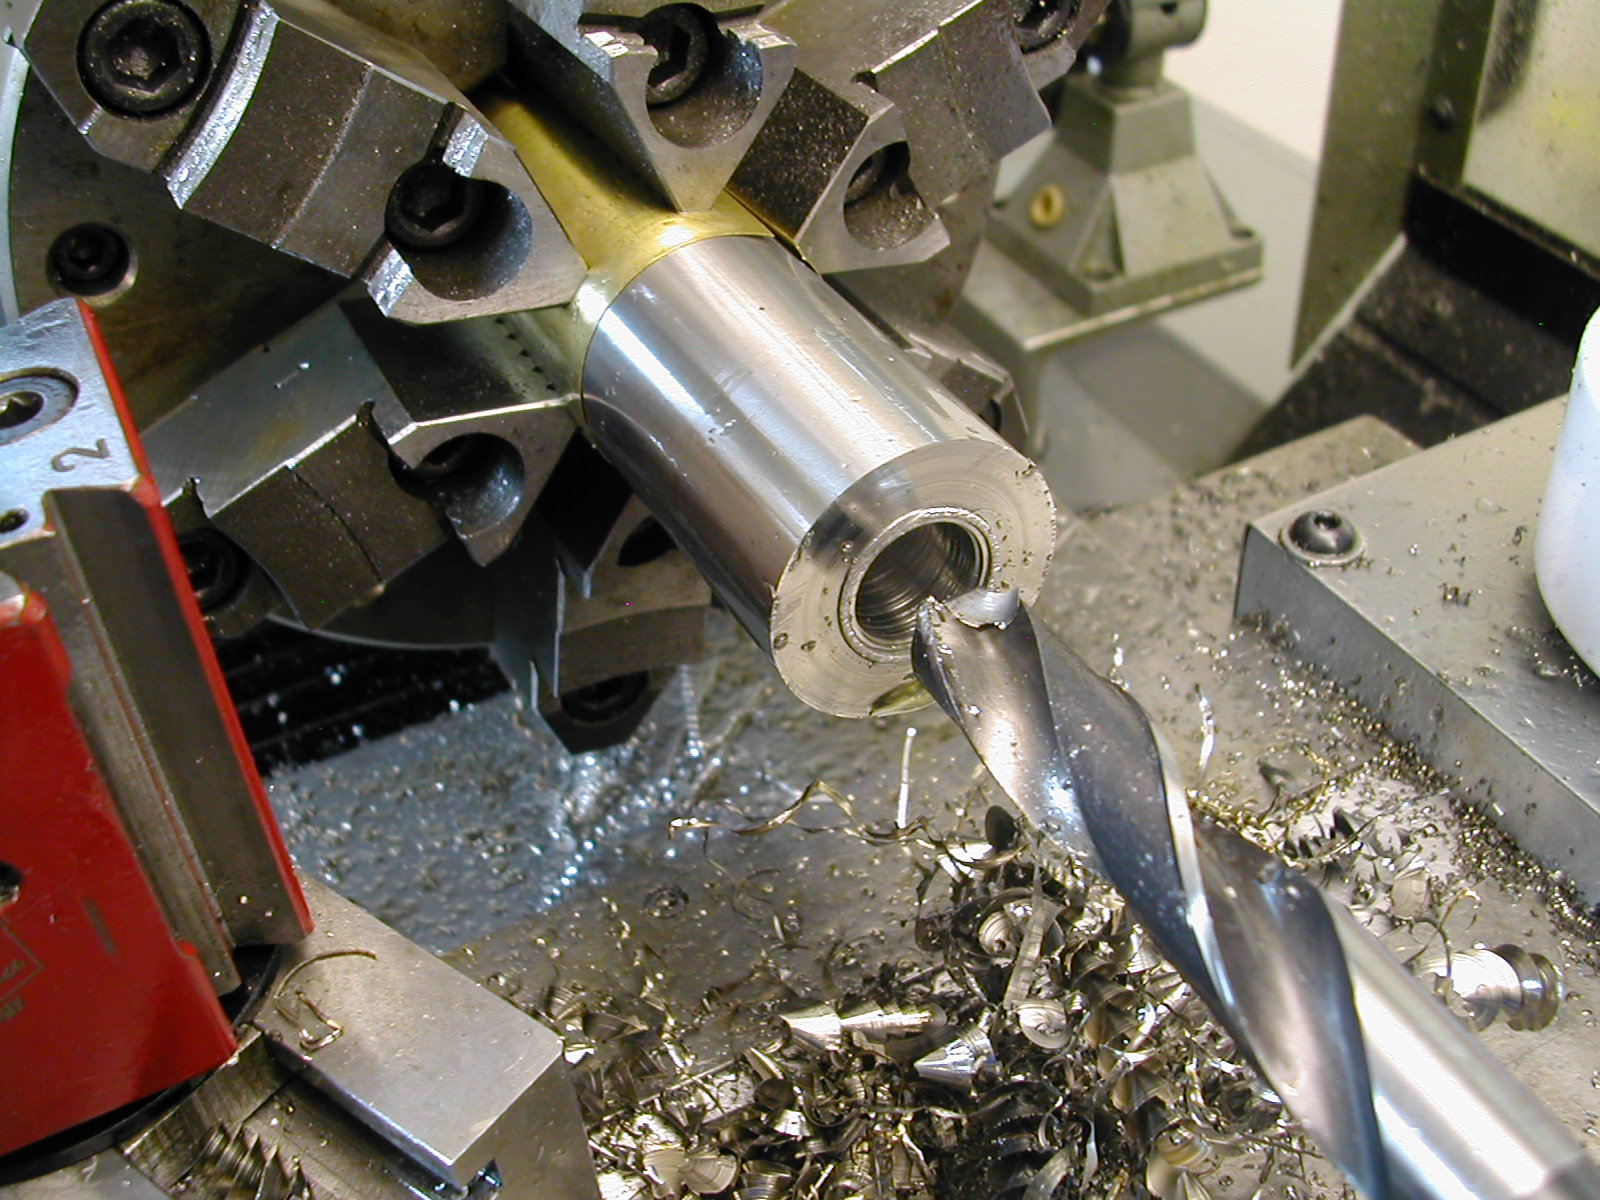
I still had some of the ∅1.3750″ 17-4PH H900 material left over from the quill body so I chucked it up and drilled ∅3/8″ by 3/4″ deep followed by a ∅39/64″ drill to the same depth.
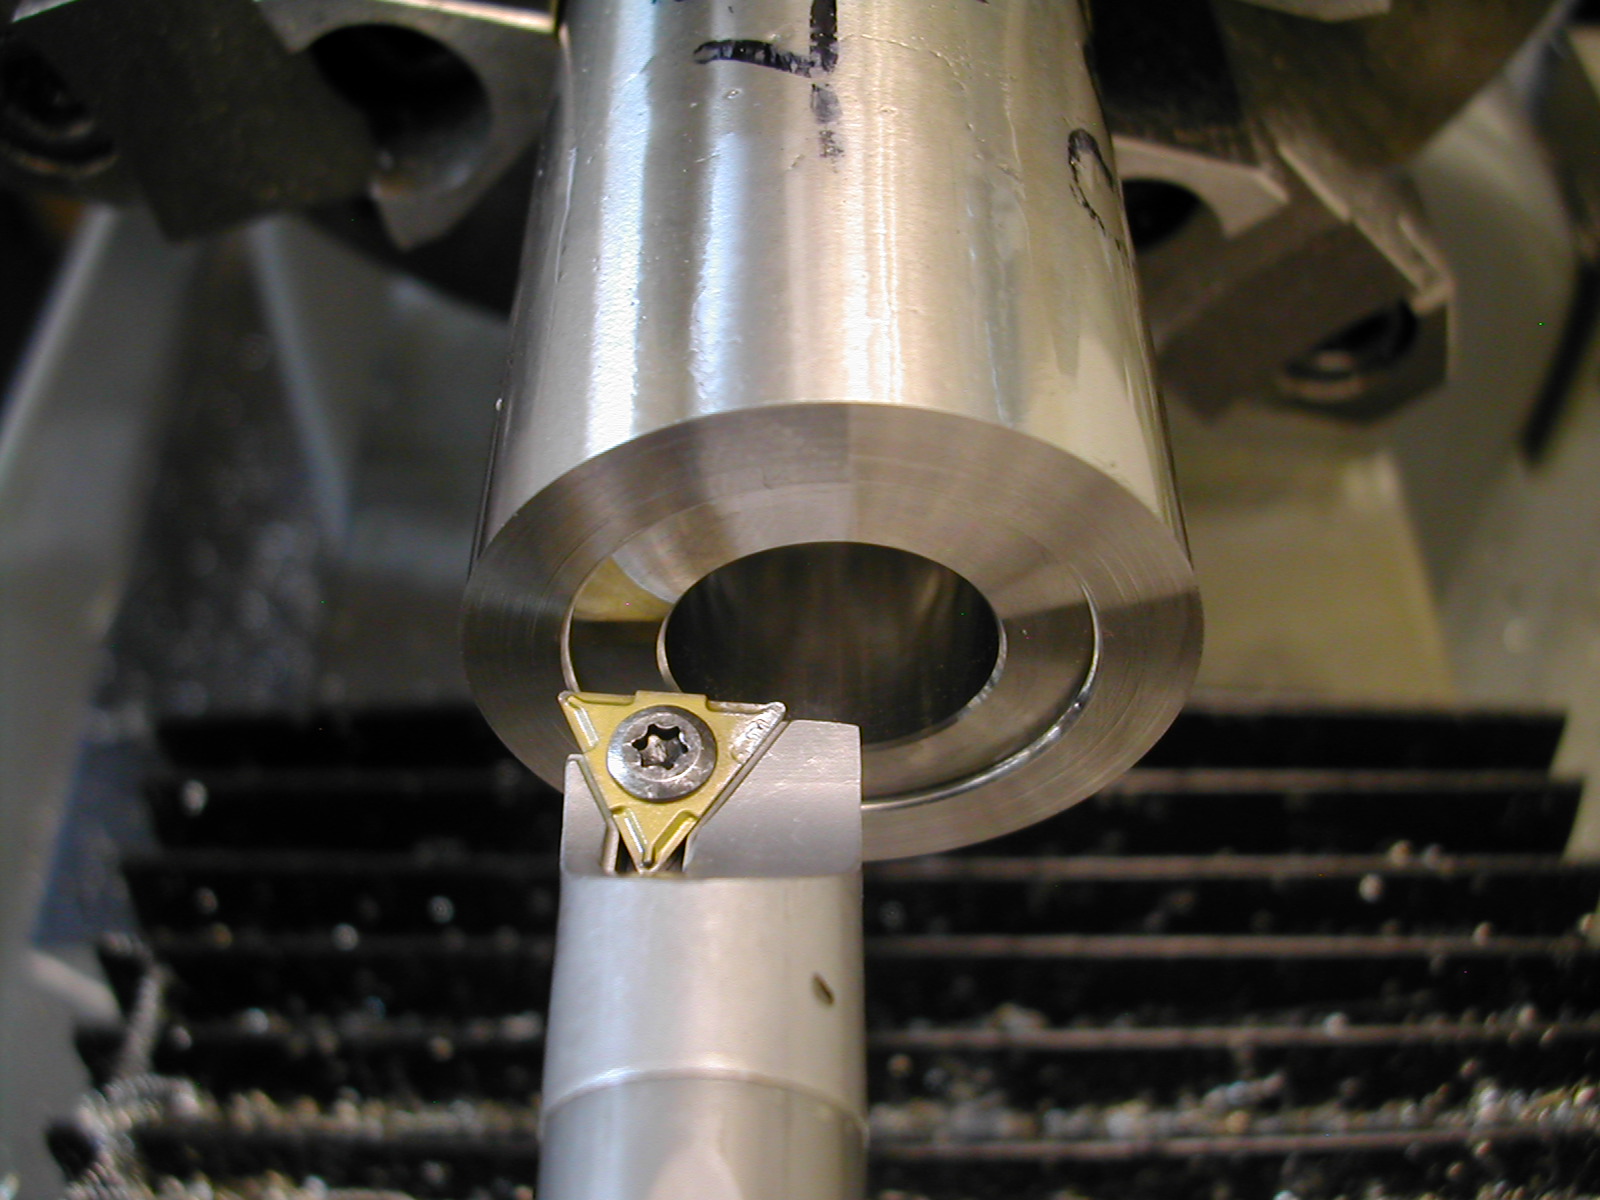
I used my 1/2″ boring bar to take a small facing cut to clean up the end and establish my datum. I then opened the bore up to size, and added the bearing inner race relief cut.
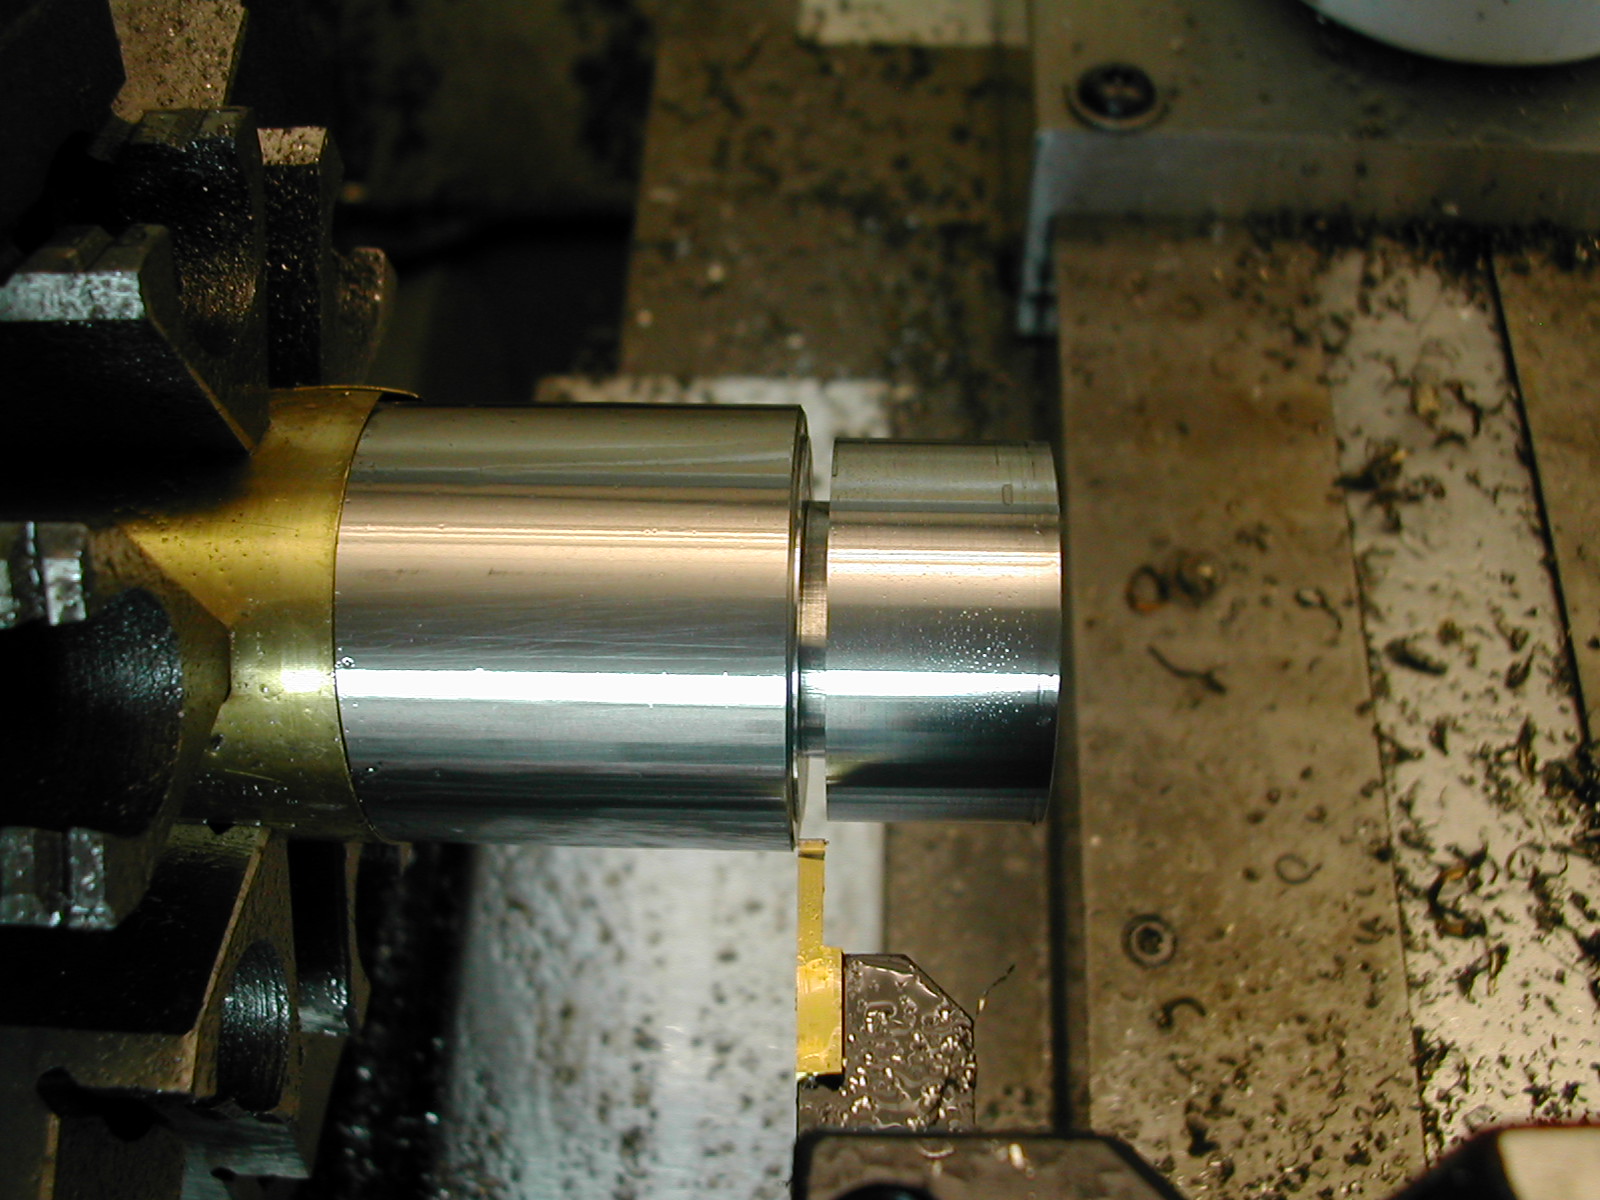
Allowing an extra 0.02″ for finishing, I parted off the partially finished spring box from the excess stock.
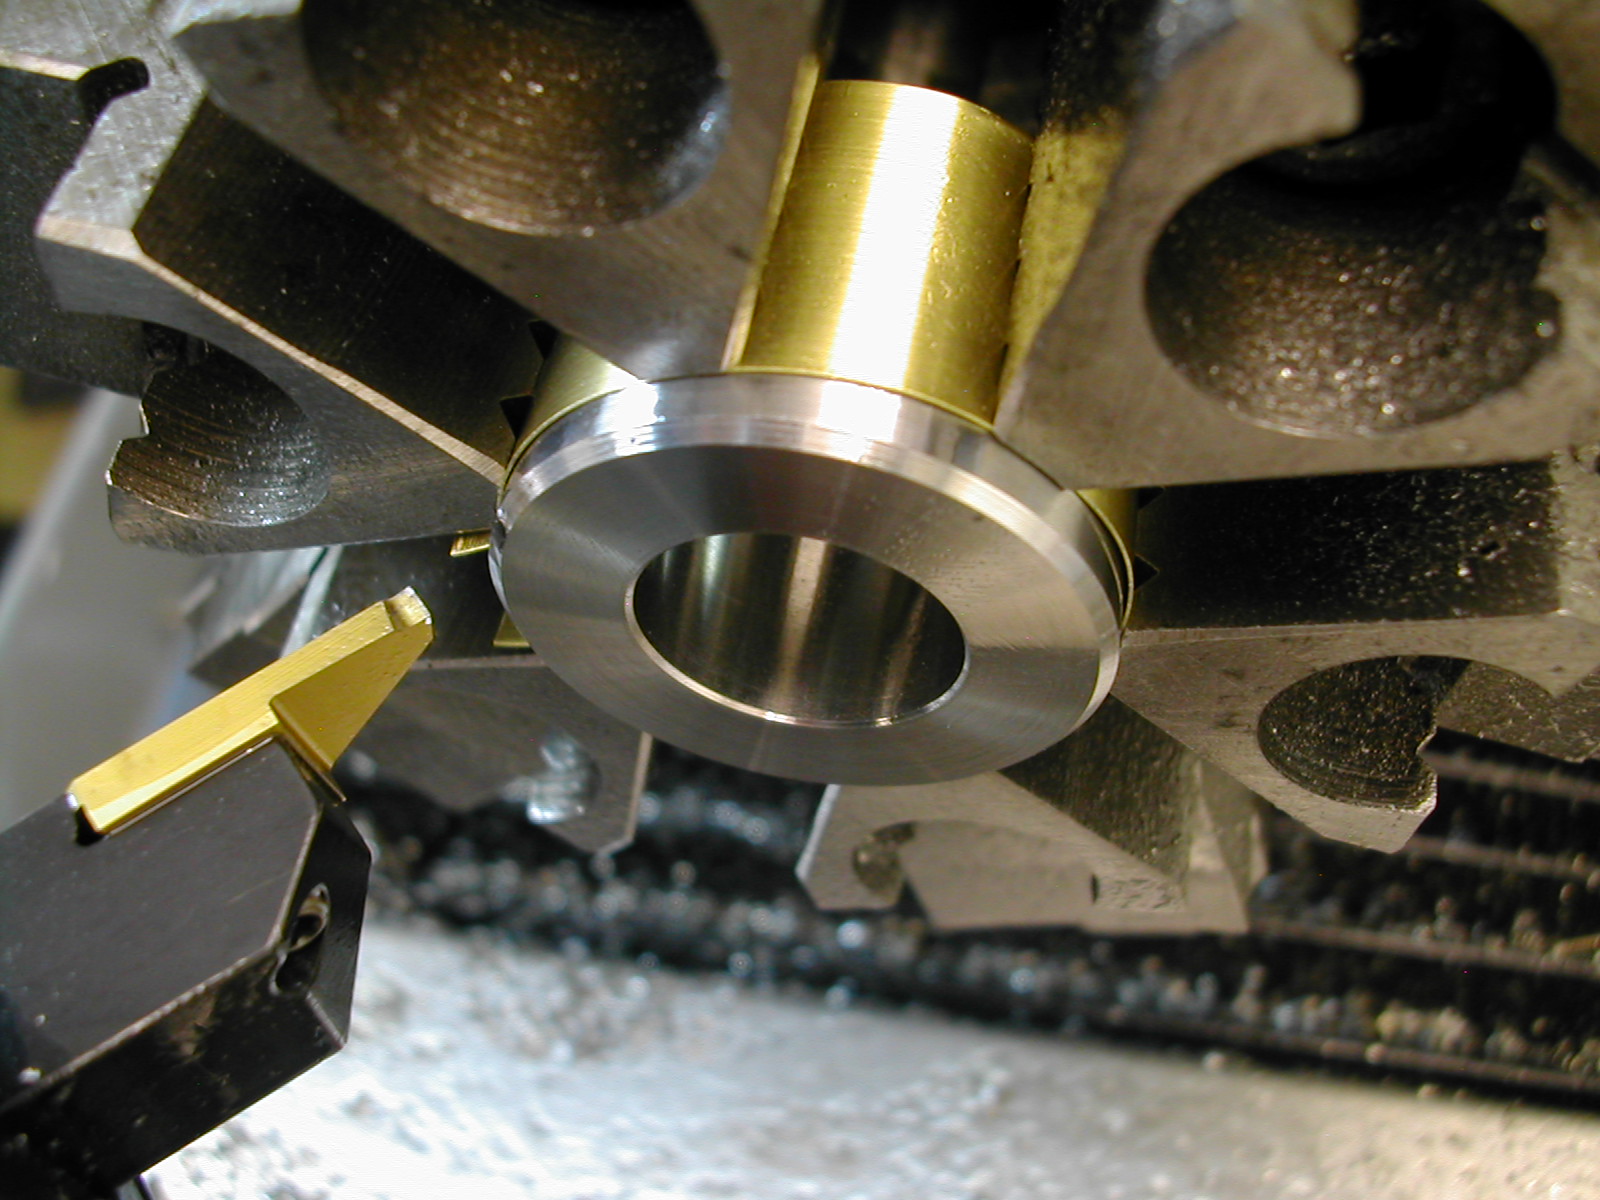
I chucked up the spring box and indicated it true before facing it to length and chamfering what will become the bottom corner.
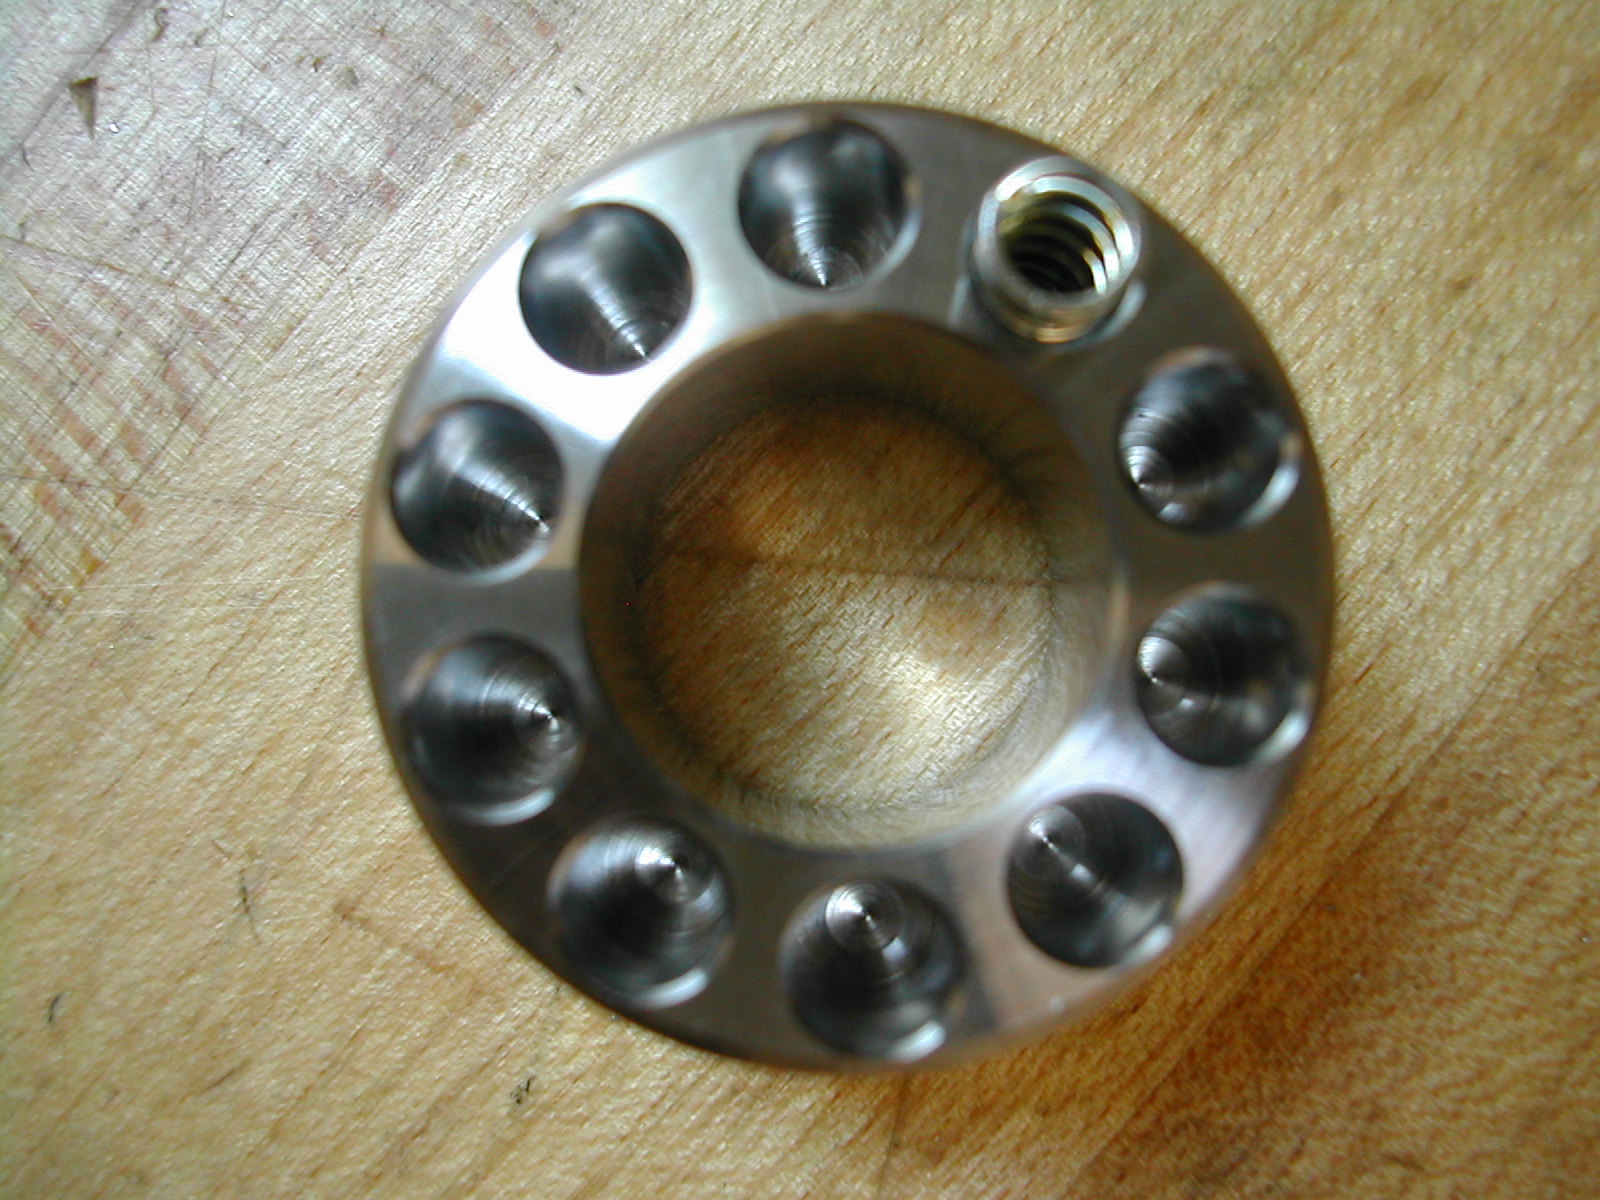
Chaddock set his bearing preload at the minimum for the A13 Magneto bearings (I’m actually using E13 bearings which are the same thing); the maximum being 12 lbs. Since I had extra springs and I wanted a stiffer spindle, I decided to make the spring holes 0.450″ deep instead of 0.469″ and I decided to change the number of spring holes from six to ten.I’ll initially assemble the spindle with all 10 springs for a preload of around 8 lbs and keep an eye on how hot it gets when running. I’ll remove springs as necessary to find a balance between heat and stiffness.

With the spring box improvements decided on, I was off to the mill. I started by boring a pocket in my soft-jaws to receive the spring box. I pre-drilled the 10 spring holes 0.465″ deep from the tip with a 3/16″ drill, followed with a quick chamfer.
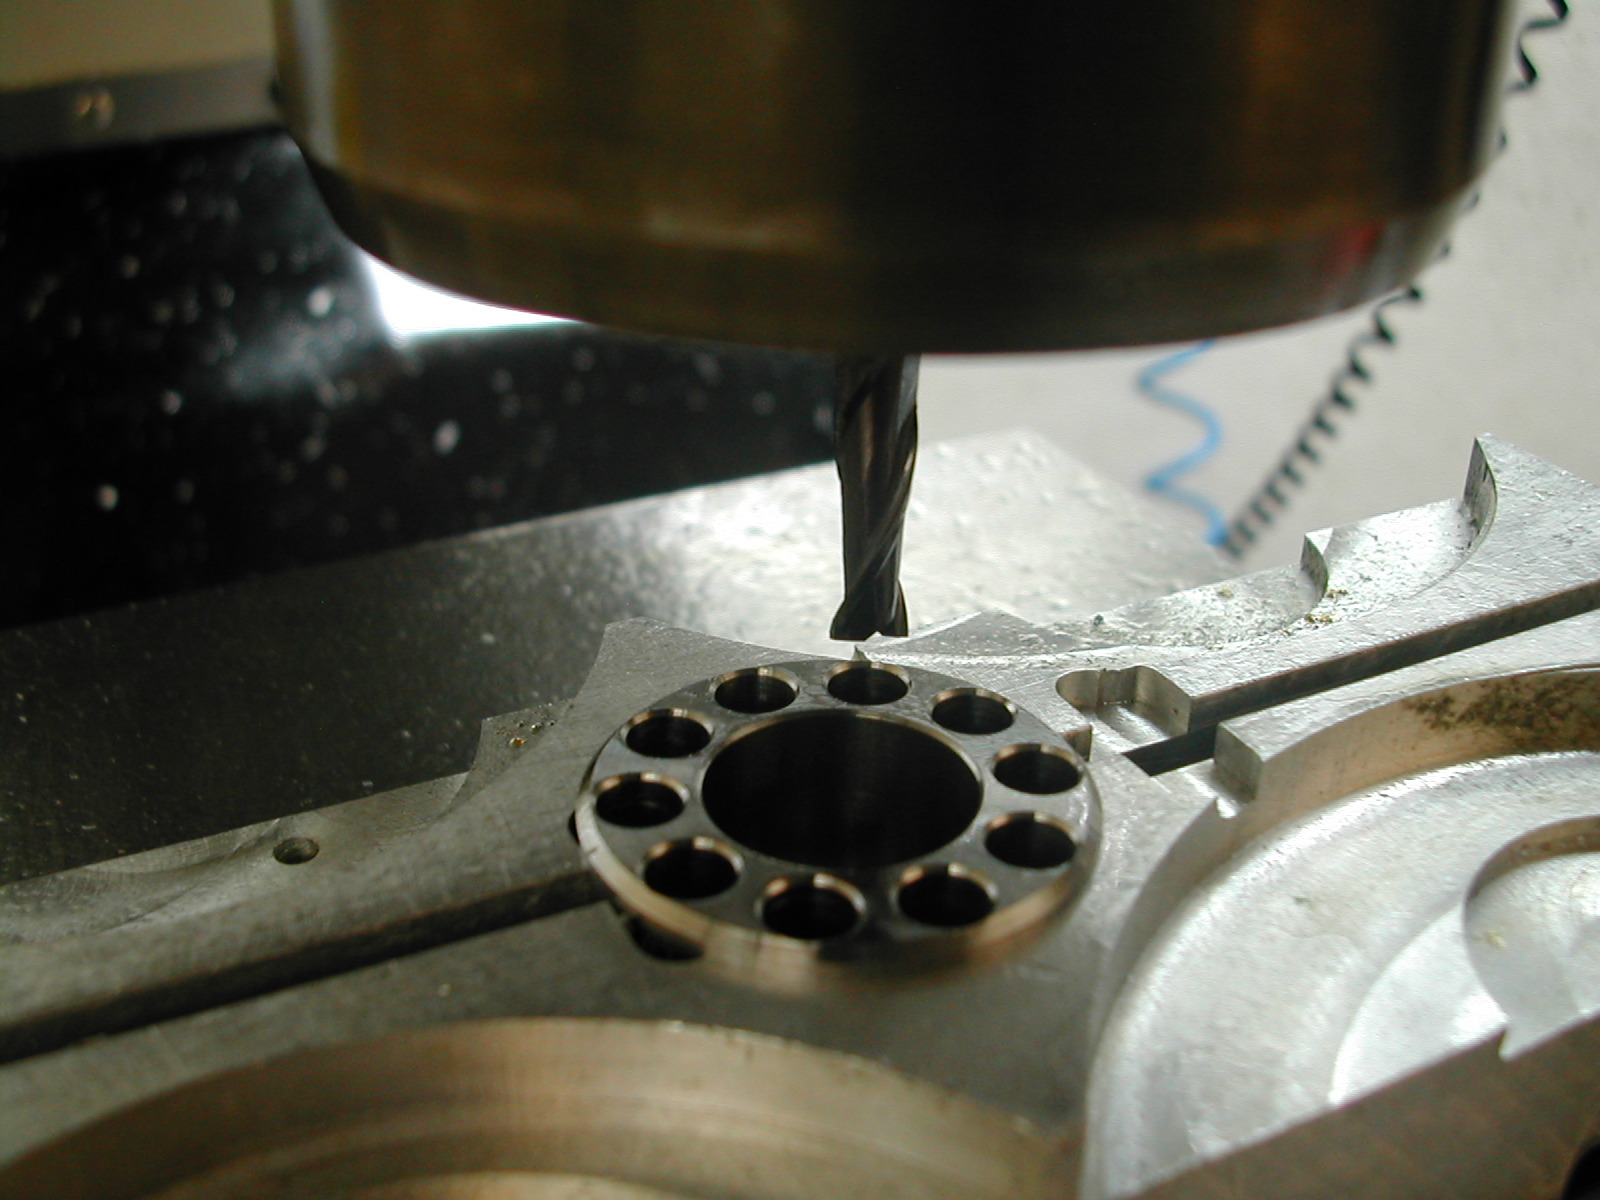
I then opened up each hole with a 5mm end mill to 0.450″ deep.
This resulted in an almost complete flat bottom hole for the spring without excess force and probable chatter on the endmill from cutting at the center.