Details 9-11, the Height Adjustment Mechanism
 Detail 9, the Height Screw Nut is very straight forward, but I didn’t have any 3/16″ brass to start with so I’m turning down some 7/16″ stock which was itself oversize and wouldn’t fit my 7/16″ collet.

Details 9-11, the Height Adjustment Mechanism
Detail 9, the Height Screw Nut is very straight forward, but I didn’t have any 3/16″ brass to start with so I’m turning down some 7/16″ stock which was itself oversize and wouldn’t fit my 7/16″ collet.
Details 13-15, the Locking Levers and Screws
 I decided to challenge myself here a little and instead of making the two piece lever/screw combinations as presented in the article, I chose to make mine in a single piece and again out of the hardened Stainless Steel. So this task begins by knocking down some round stock. My blanks will be 2.5″ long – that’s 3/4″ longer than the Spindle Housing Lock Screw to give me something to chuck on in the lathe.
Detail 02, the Spindle Housing
 Since I started the Spindle Housings while working on the gears, it was time to finish them. I started by constructing my tooling block to hold the housings while machining the business end. I’m not a big fan of layout fluid, scribing, and center punching so all of my machining was done in the mill using an edge finder and DRO for positioning.
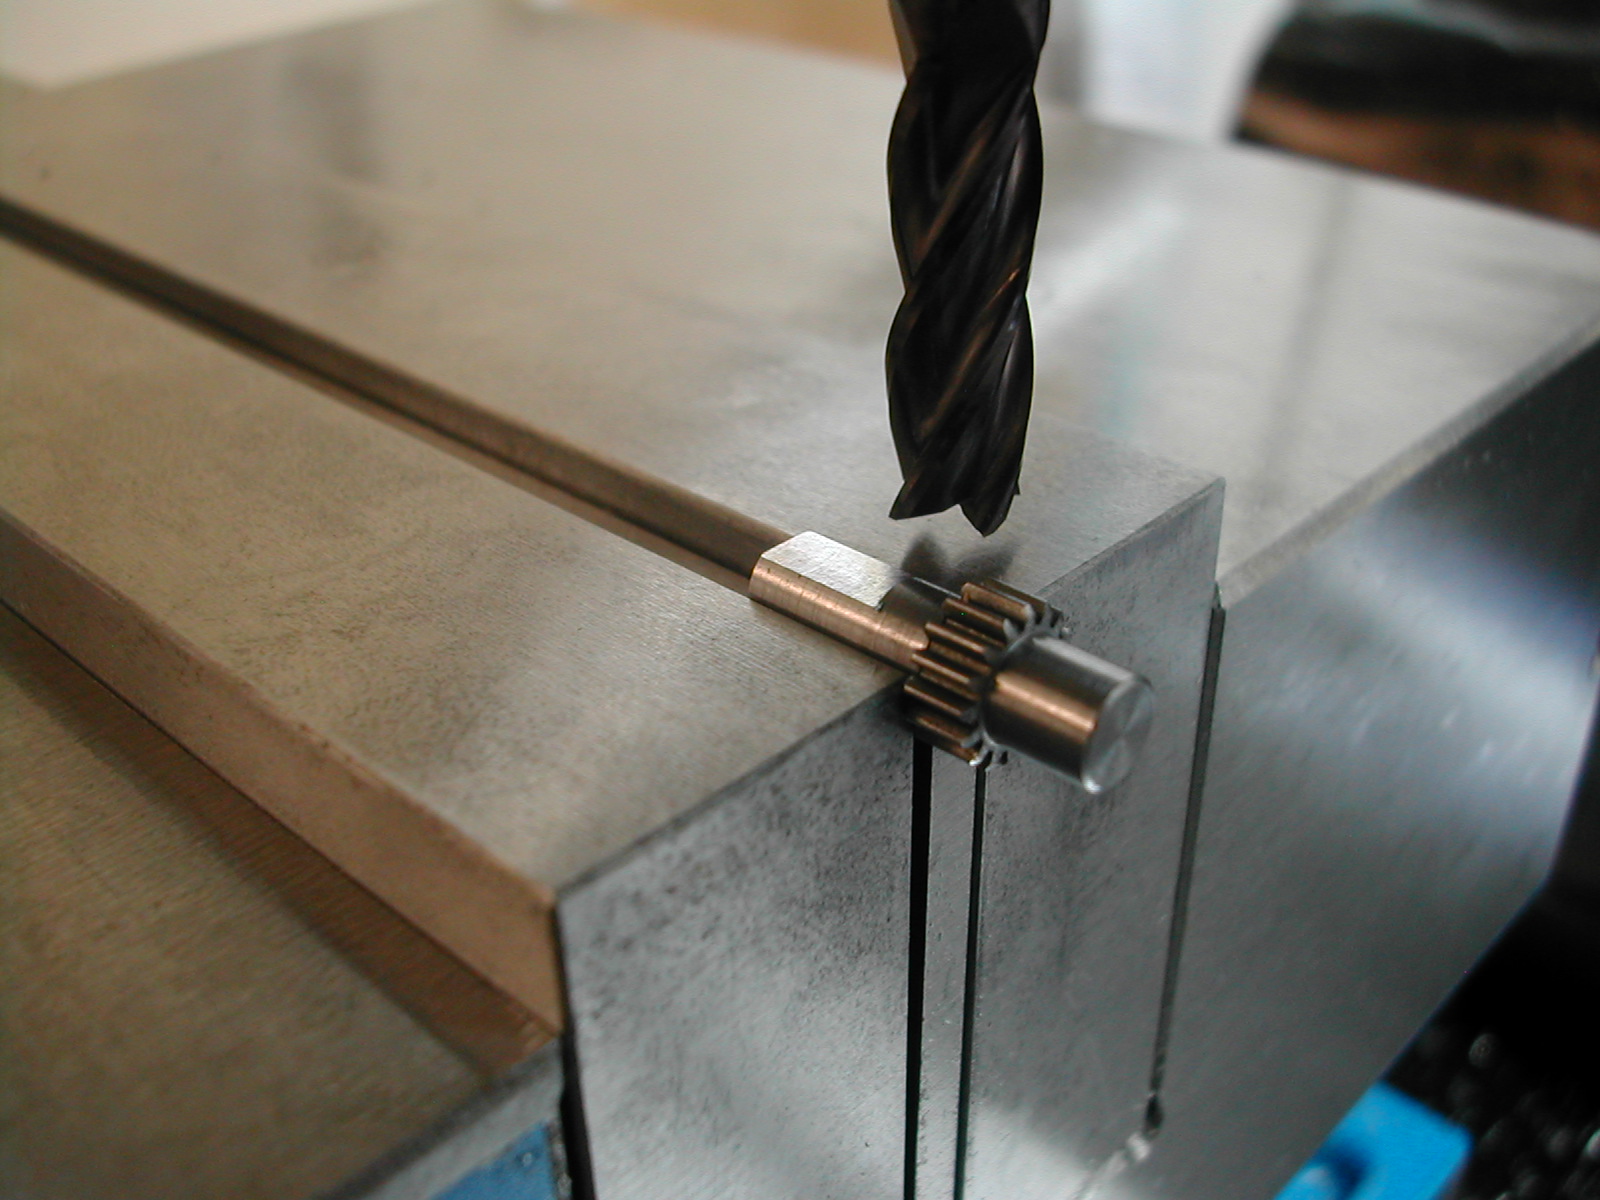 Details 19 & 20, the Small and Large Gears
In Michael’s article, he presents an excellent write-up on gear design and a pseudo-hobbing technique to make custom gears. I didn’t have the tool steel to make the cutter, nor the time to actually cut the gears so I threw a little money at the problem instead. Stock Drive Products/Sterling Instrument is a great company for small mechanical components. Their 64 D.P. 20° Pressure Angle pinion wire Continue reading
Details 03 & 05, the Spindle and Wheel Nut
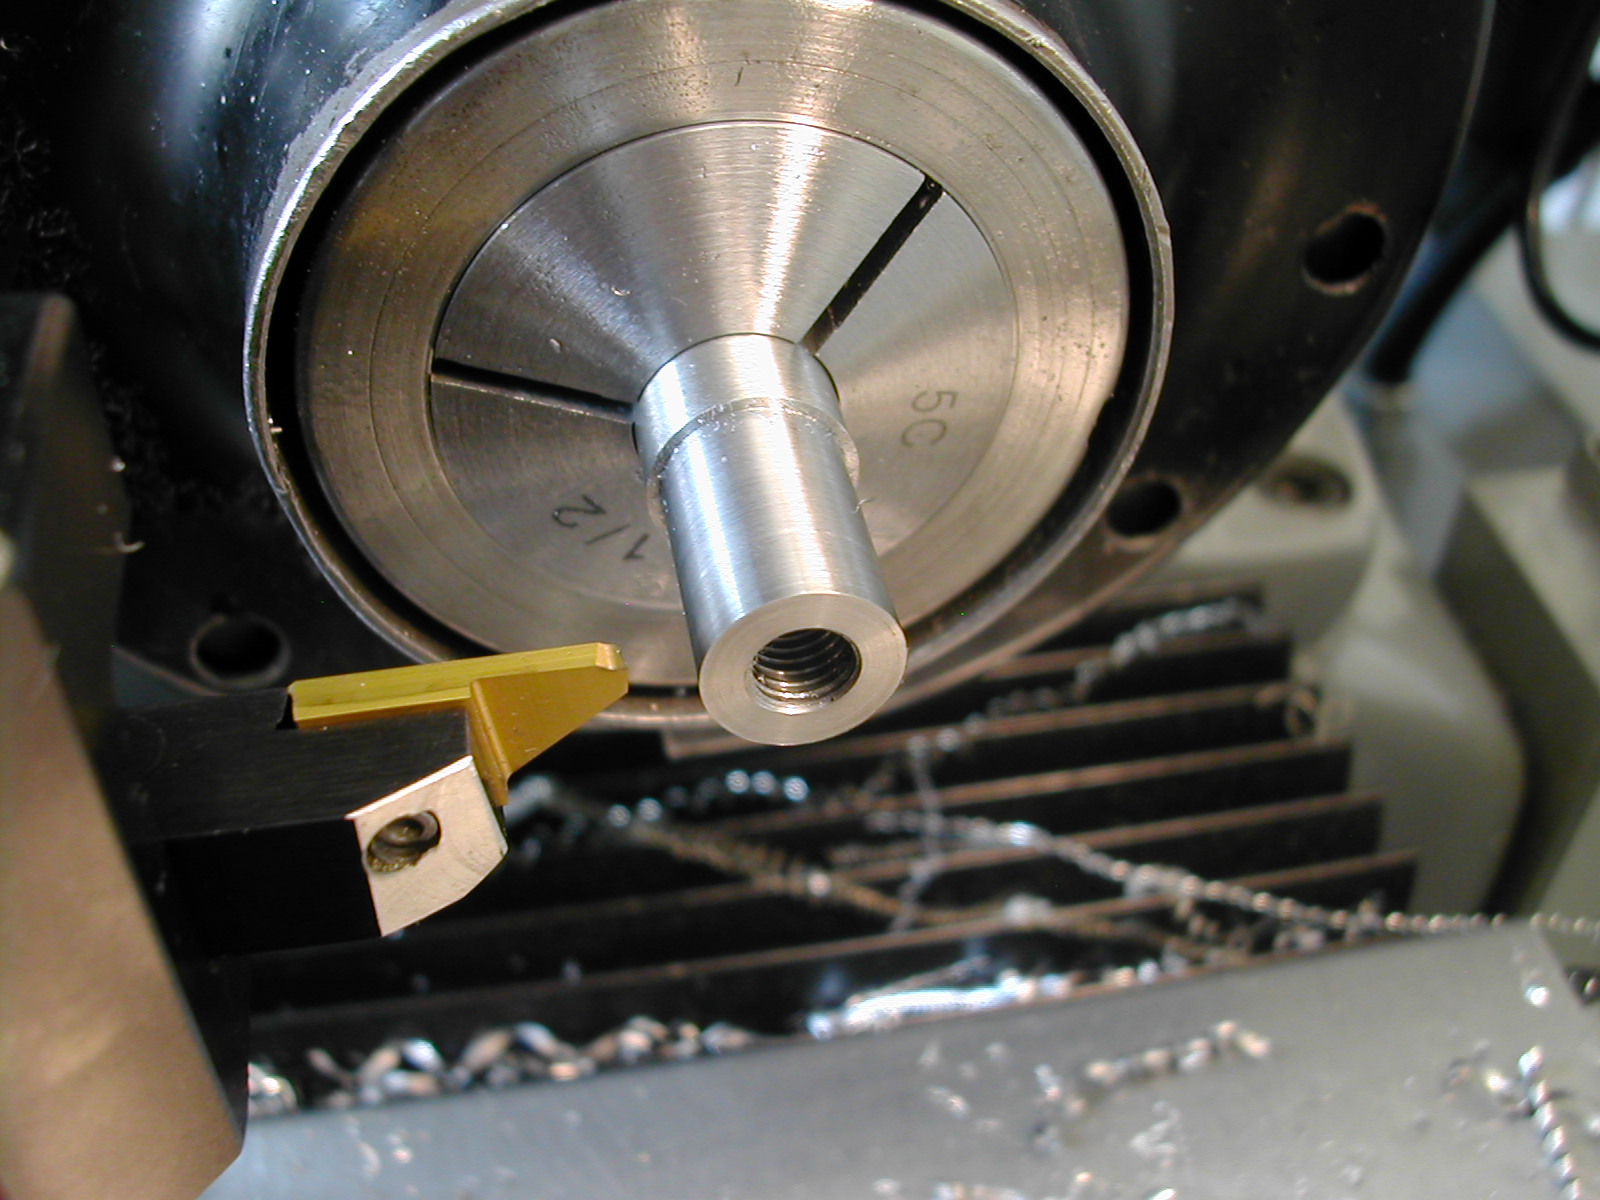 After finishing the Tool Holder Head and Arm, I tackled the Spindles next. I need to fit the Spindle Housings to the Tool Holder Head, and in order to make the spindle housings, I need to finish the Spindles first. And, I’ll need the nuts to check the spindle threads. So nuts first and this time I don’t have to start with squaring up round stock. I’ve turned about an inch of 1/2″ 17-4 H1150 down to 0.440″. This is just larger than across the diagonal of the 3/8″ nut. This was followed by drilling and tapping 1/4-28.
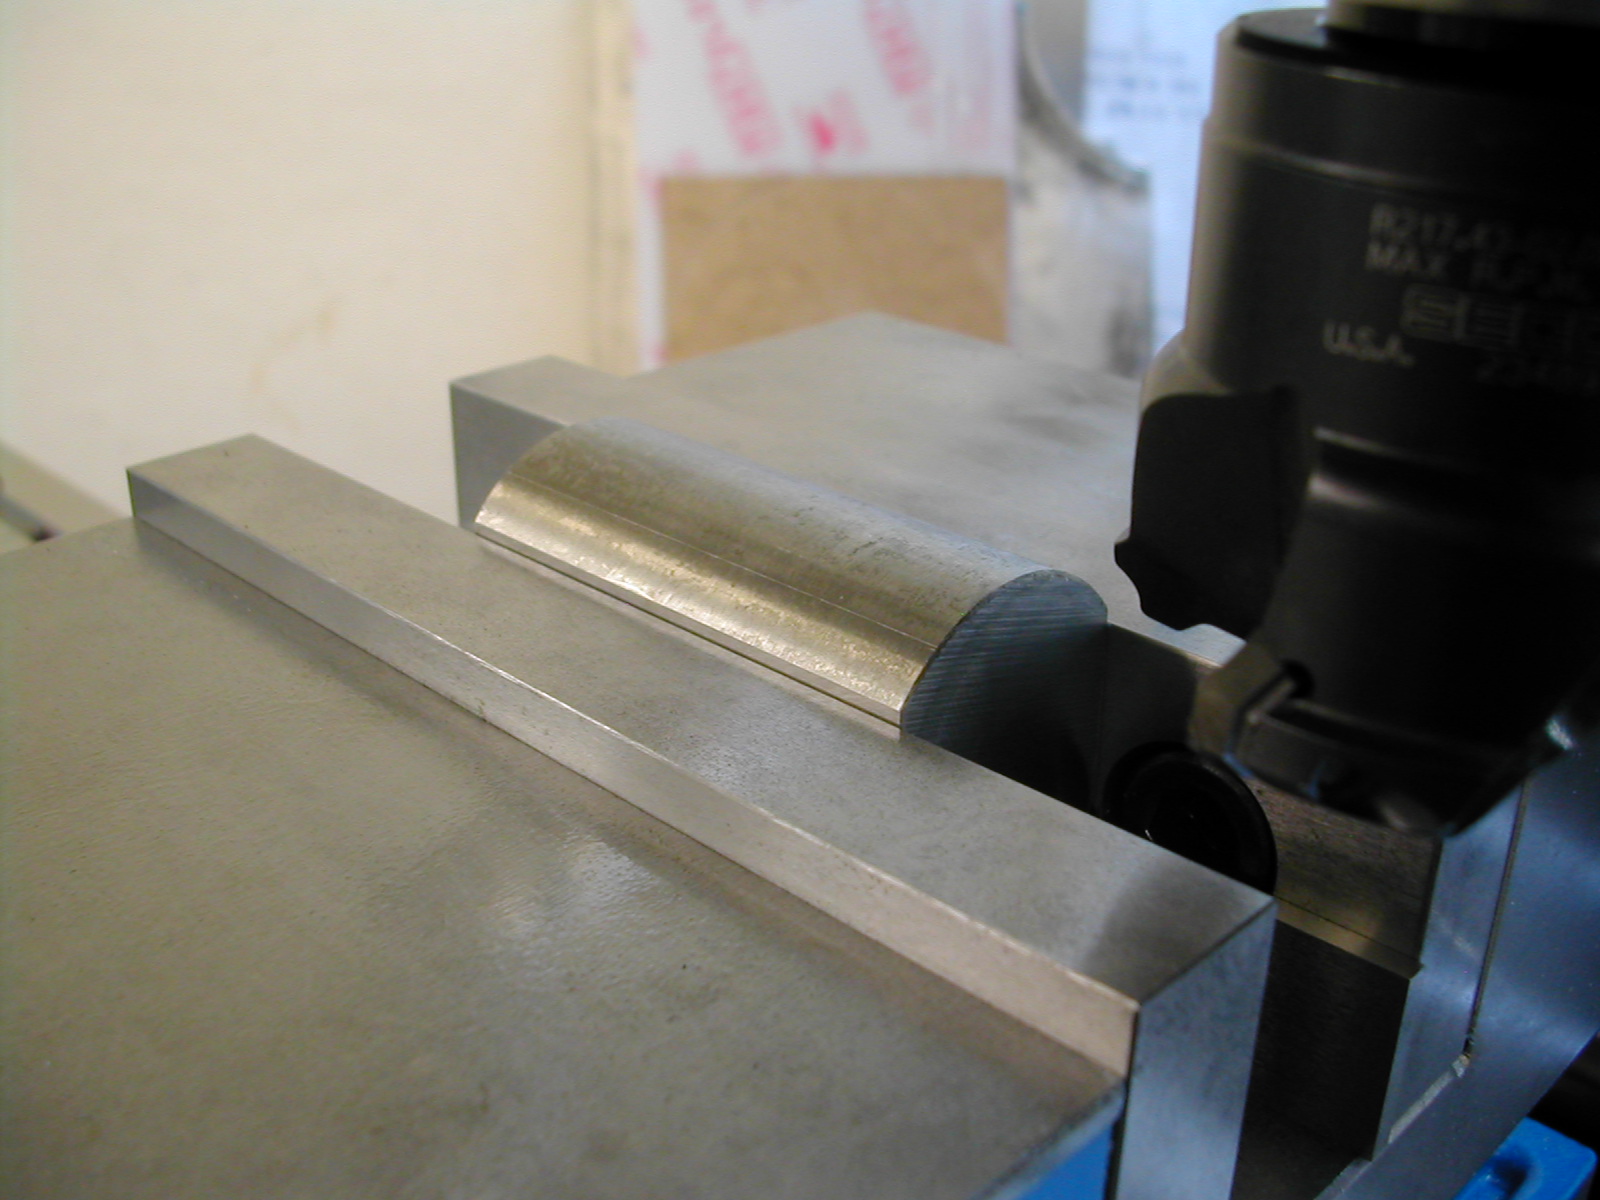
Details 06 & 07, the Tool Holder Arm and Head
 I started with Detail 07, the Tool Holder Head. The spindle housings should fit in the head without slop but still be easy to turn. To accomplish this they need to be a very close fit with good surface finished. It will be much easier to sand/lap the spindle housings to fit whatever size the bores turn out in this part than it would be to hone the bores without them becoming bell mouthed. So this piece of Ø1.5″ material needs to get squared up so we can get started.
To finish up I needed hardware and firmware.
The Electronics Package
 Compared to the machining, the electronics are a piece of cake. I’m using an Atmel AVR ATTiny13 to control the brightness. +5V Power for the µController is provided by the BuckPuck, the BuckPuck brightness control pin is driven by a PWM signal generated by the µController, and the human interface is a single pushbutton.
With the battery assembly done, I turned to …
The Light Housing
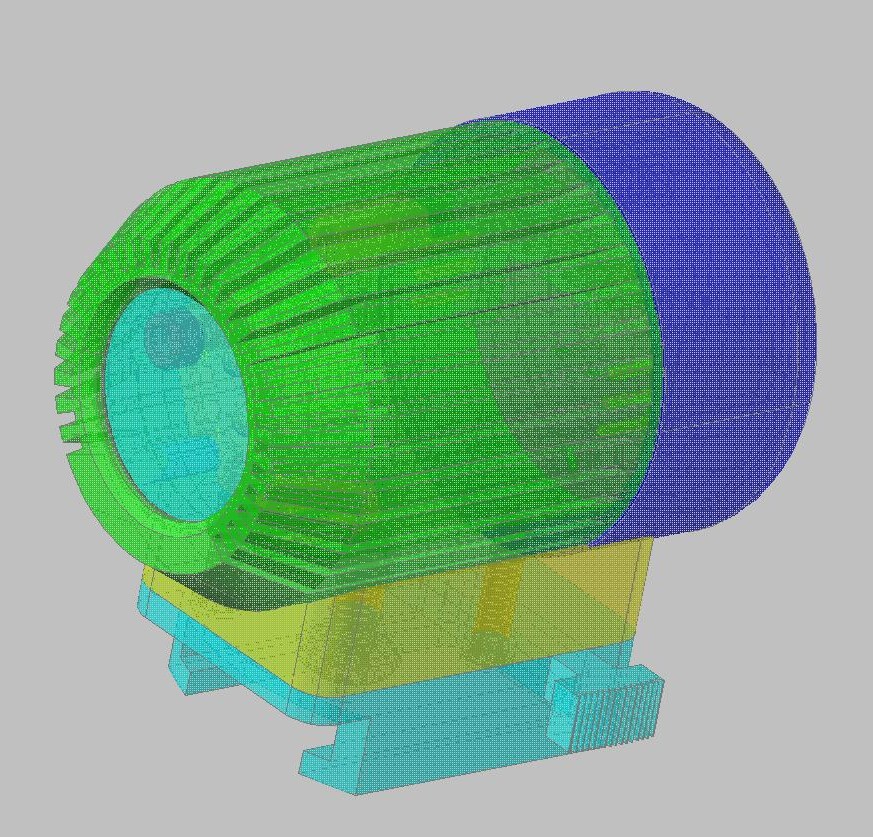 The Endor Rebel LED generates some heat as we pump 0.7A through it at 9V. Therefore, it needs a heatsink, so that pretty much means the housing we design needs to be made out of Aluminum and needs good physical contact with the LED’s aluminum base. So, again we start with a 3D CAD model. The first thing we need to do is model the actual Rebel LED since everything else grows from there.
Design and build of a 540 lumen Luxeon Star Endor Rebel bike light powered by a Makita 18V Li-ion battery (note: I made this while an expat living in China and so was very limited in the materials, parts, and tools available.)
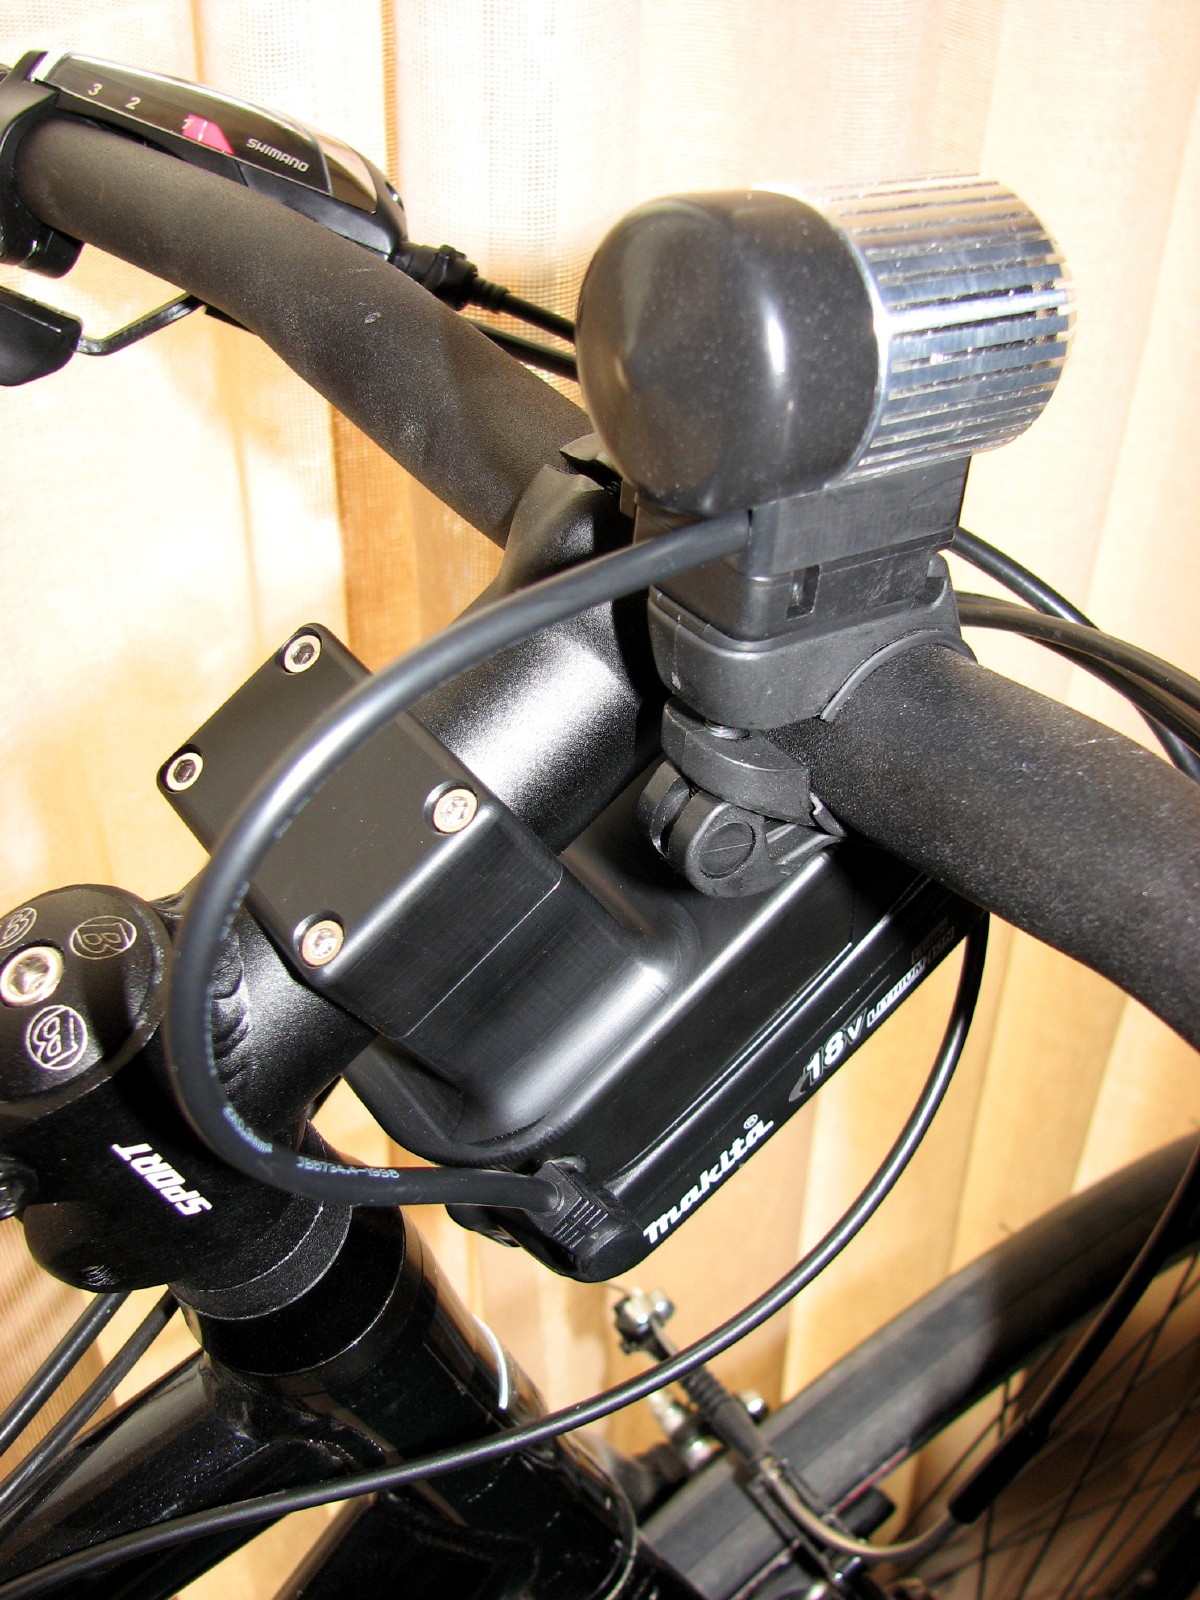 This project is a combination electronic/mechanical design. In fact, there’s a lot more time spent on the mechanical design and machining than in the simple Atmel AVR µController. I’ll be presenting this project in three major parts: The battery pack adapter; the light housing; and the AVR control circuit. In the project sources, I provide the full Continue reading
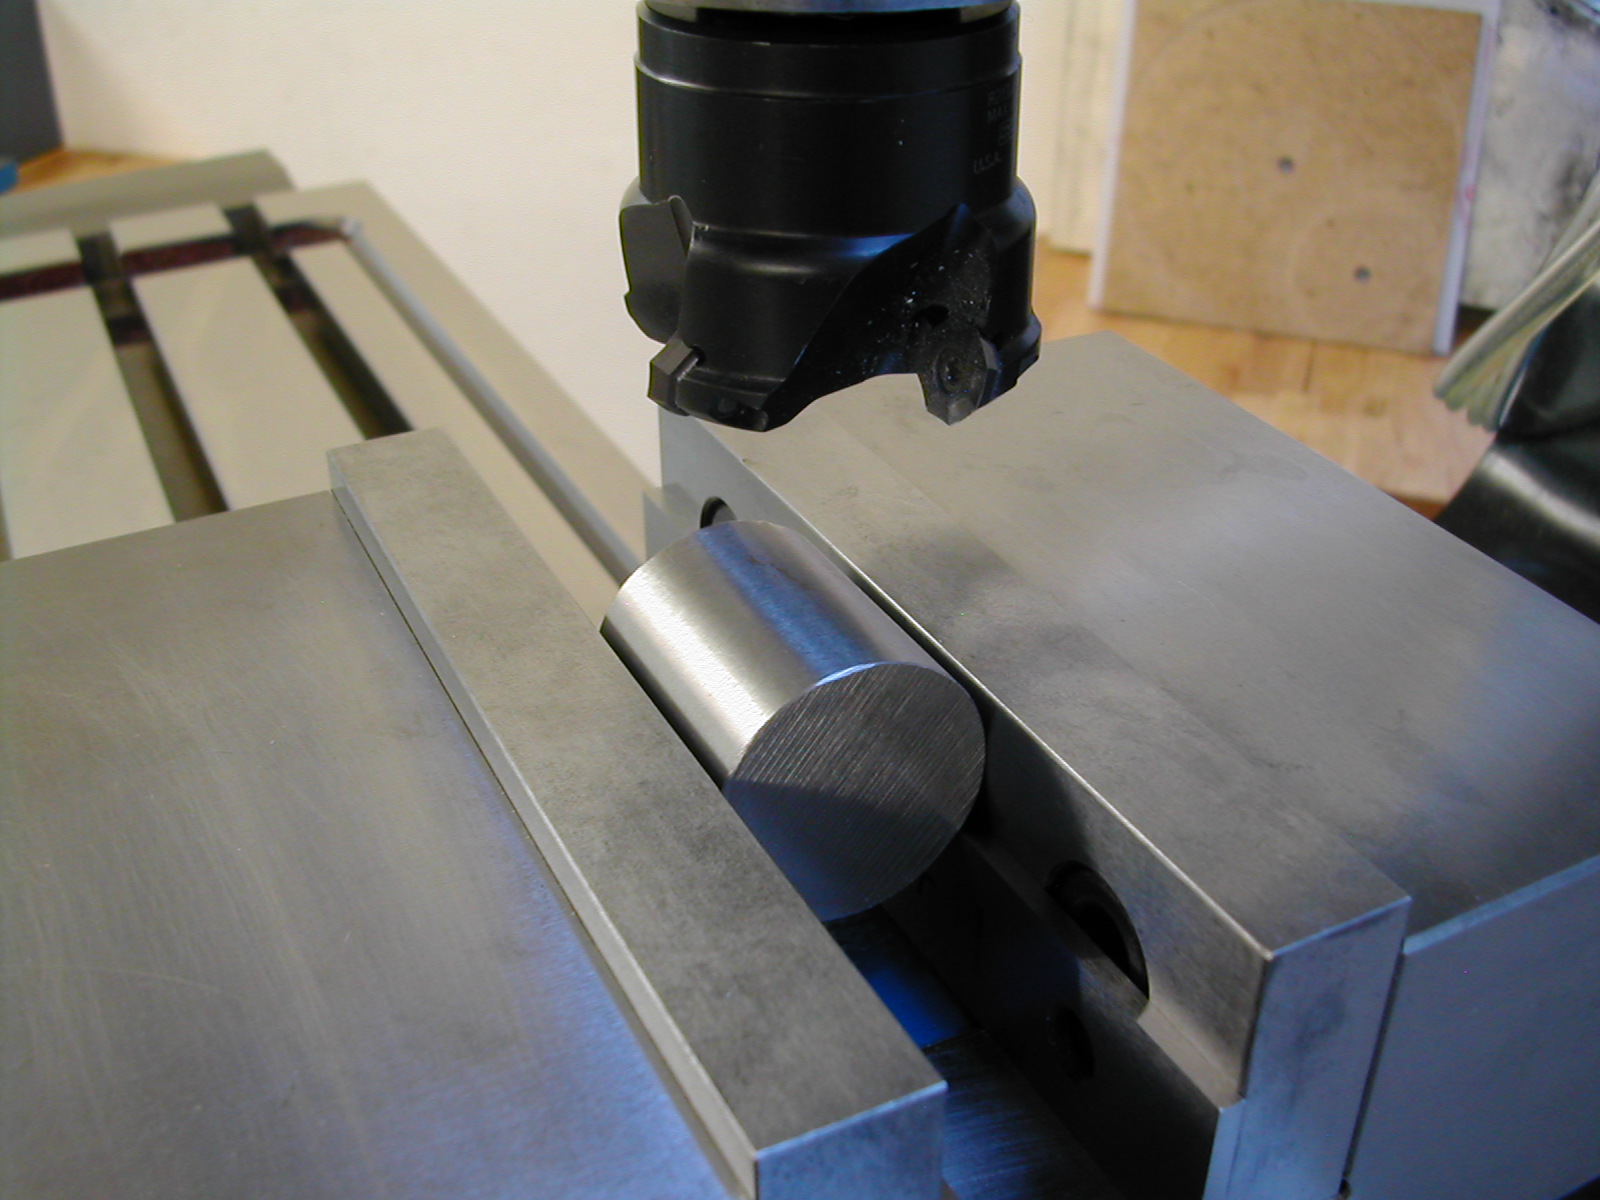
Starting Work in the Shop
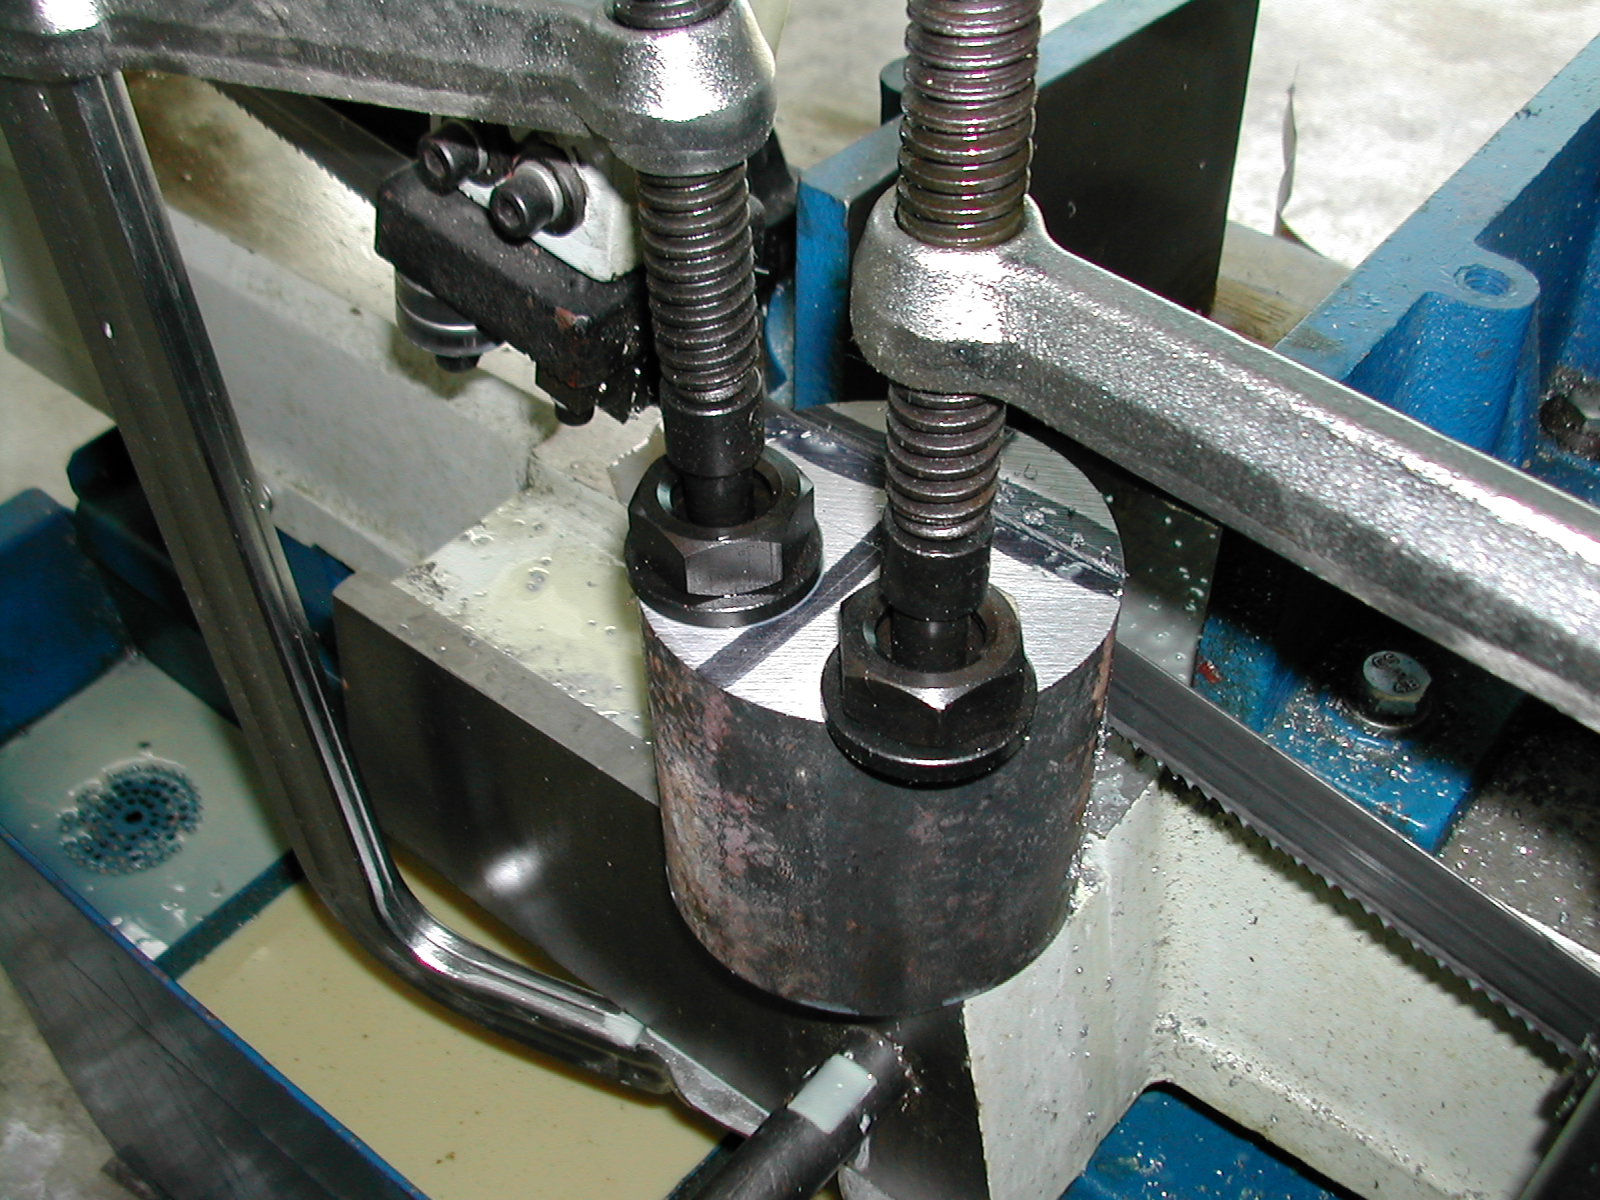 The first stop in the machine shop for all projects is cutting the stock. Here I’m squaring up a piece of hot-rolled mild-steel round stock in the band saw to make the ball turner body. The cant being removed in this photo will be further sawn to make the rotation stops.