
- Inspiration and Design
- Machining Blanks for Hones
- Cut Out Hones and Machine
- Finish External Hone Project
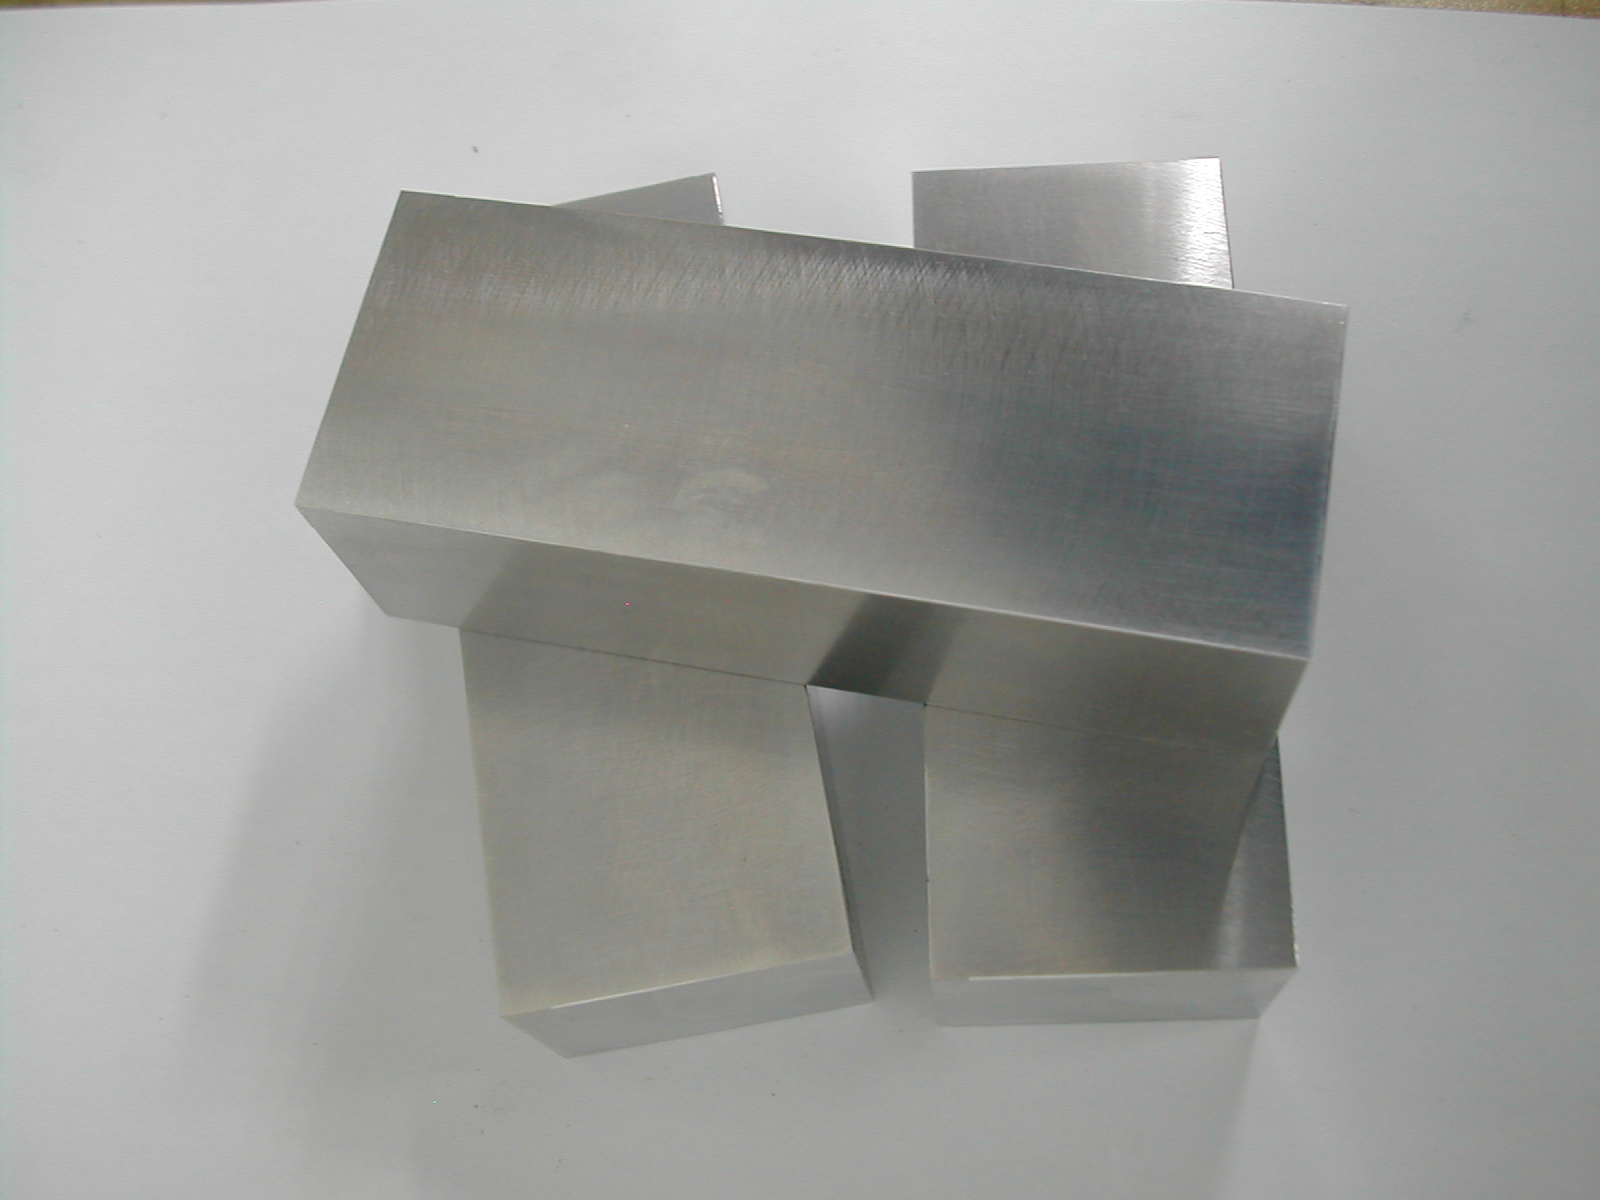
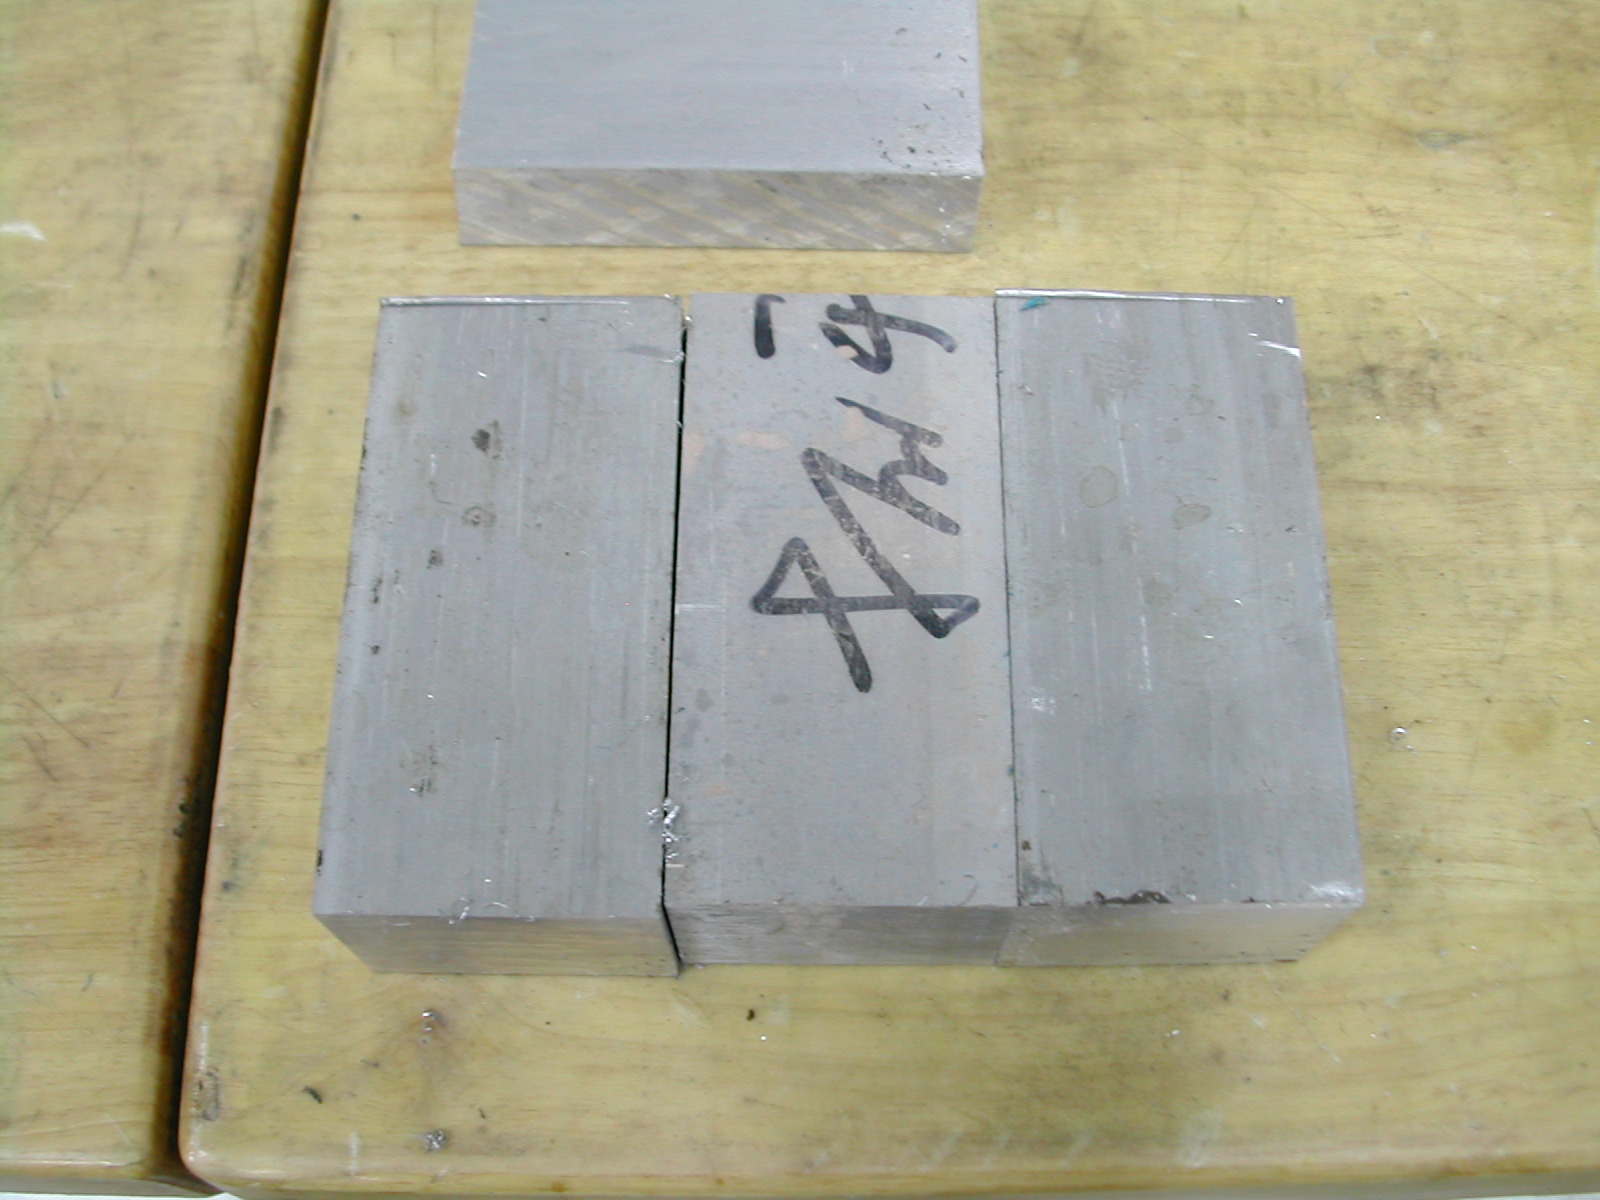 Since most of the work on these hones will be in the fixturing and setup, it makes sense to machine more than one hone while you are at it. Each of these three 7075-T6 aluminum blocks will make both halves of one frame for a total of three hones.
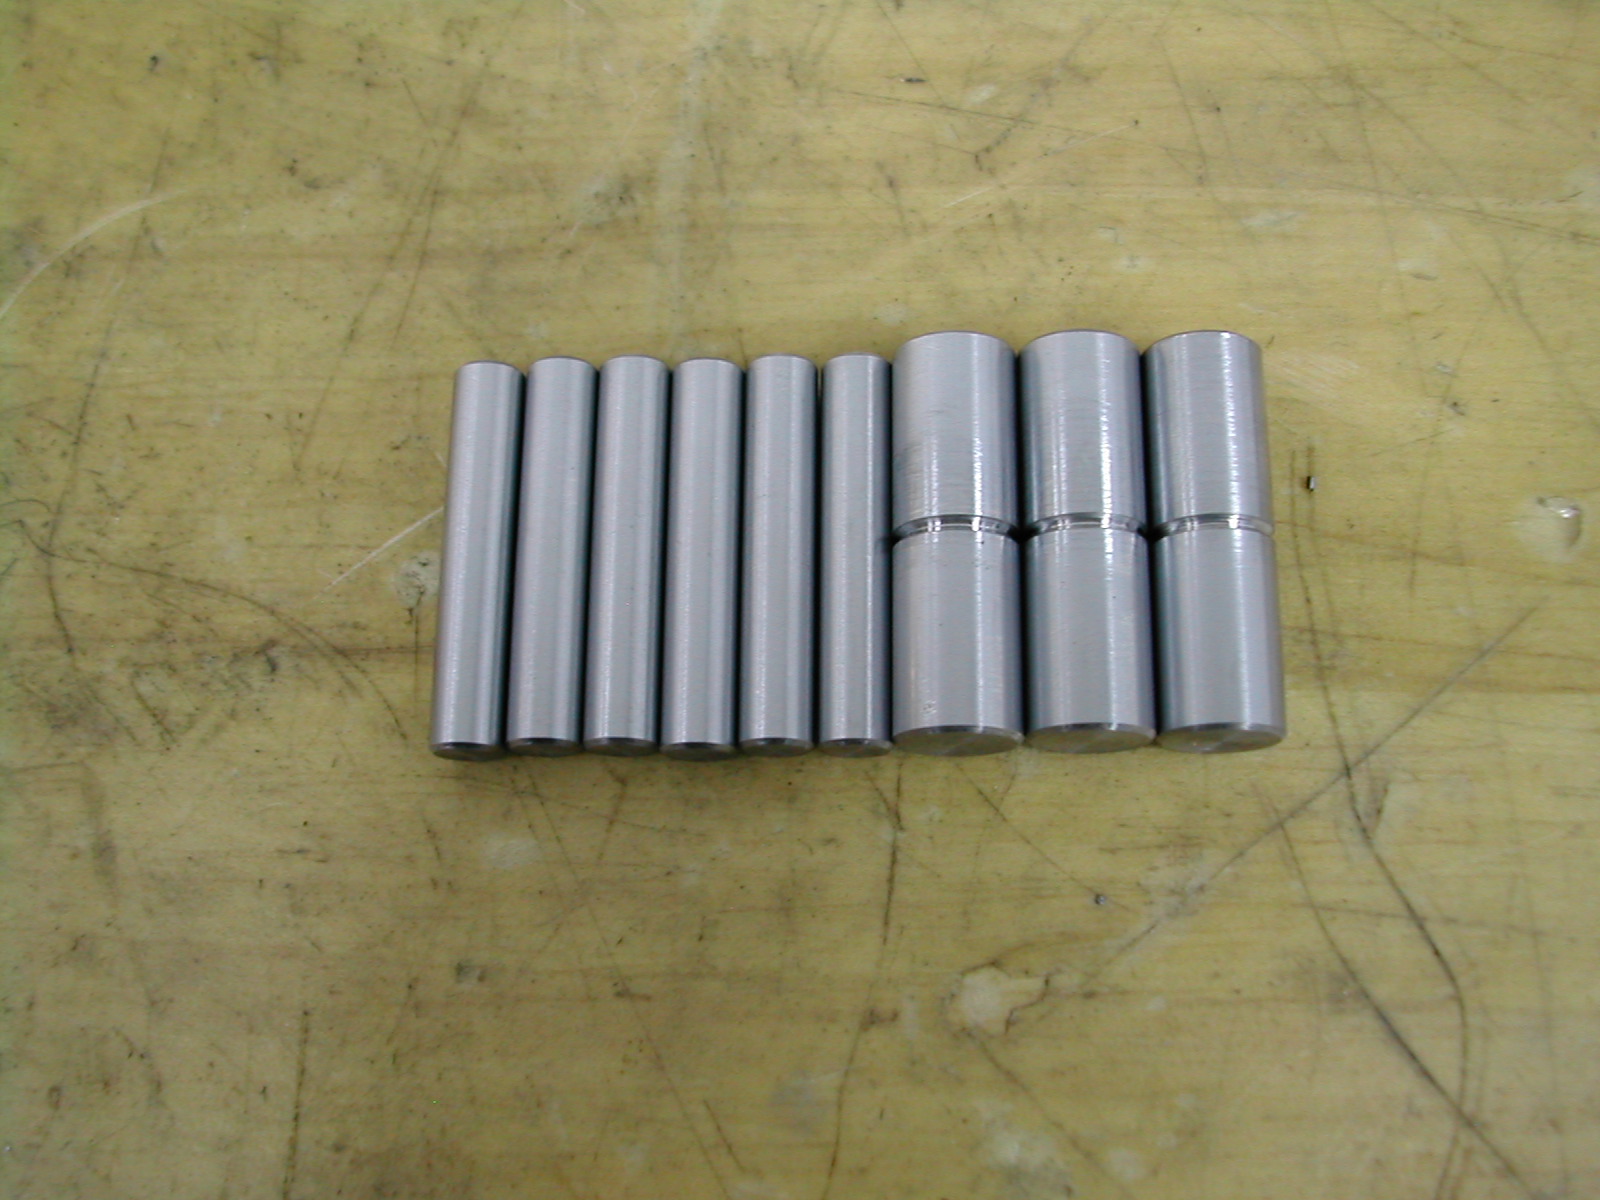
 The various axles are pieces of 6mm and 10mm ground drill rod. At this point, the axles for three hones have been rough cut to length.
The axles are all faced to 32mm long and chamfered slightly on each end. A 90° v-groove 1mm deep is then added to the center of the three main 10mm axles.
 To make sure the groove was centered, I use a collet stop in my 5C collet, plunged the groove to depth, flipped the part and then plunged the groove again.
 Three of the small axles are tapped M4 through, and three are drilled for a close fit on an M4x50mm set screw.
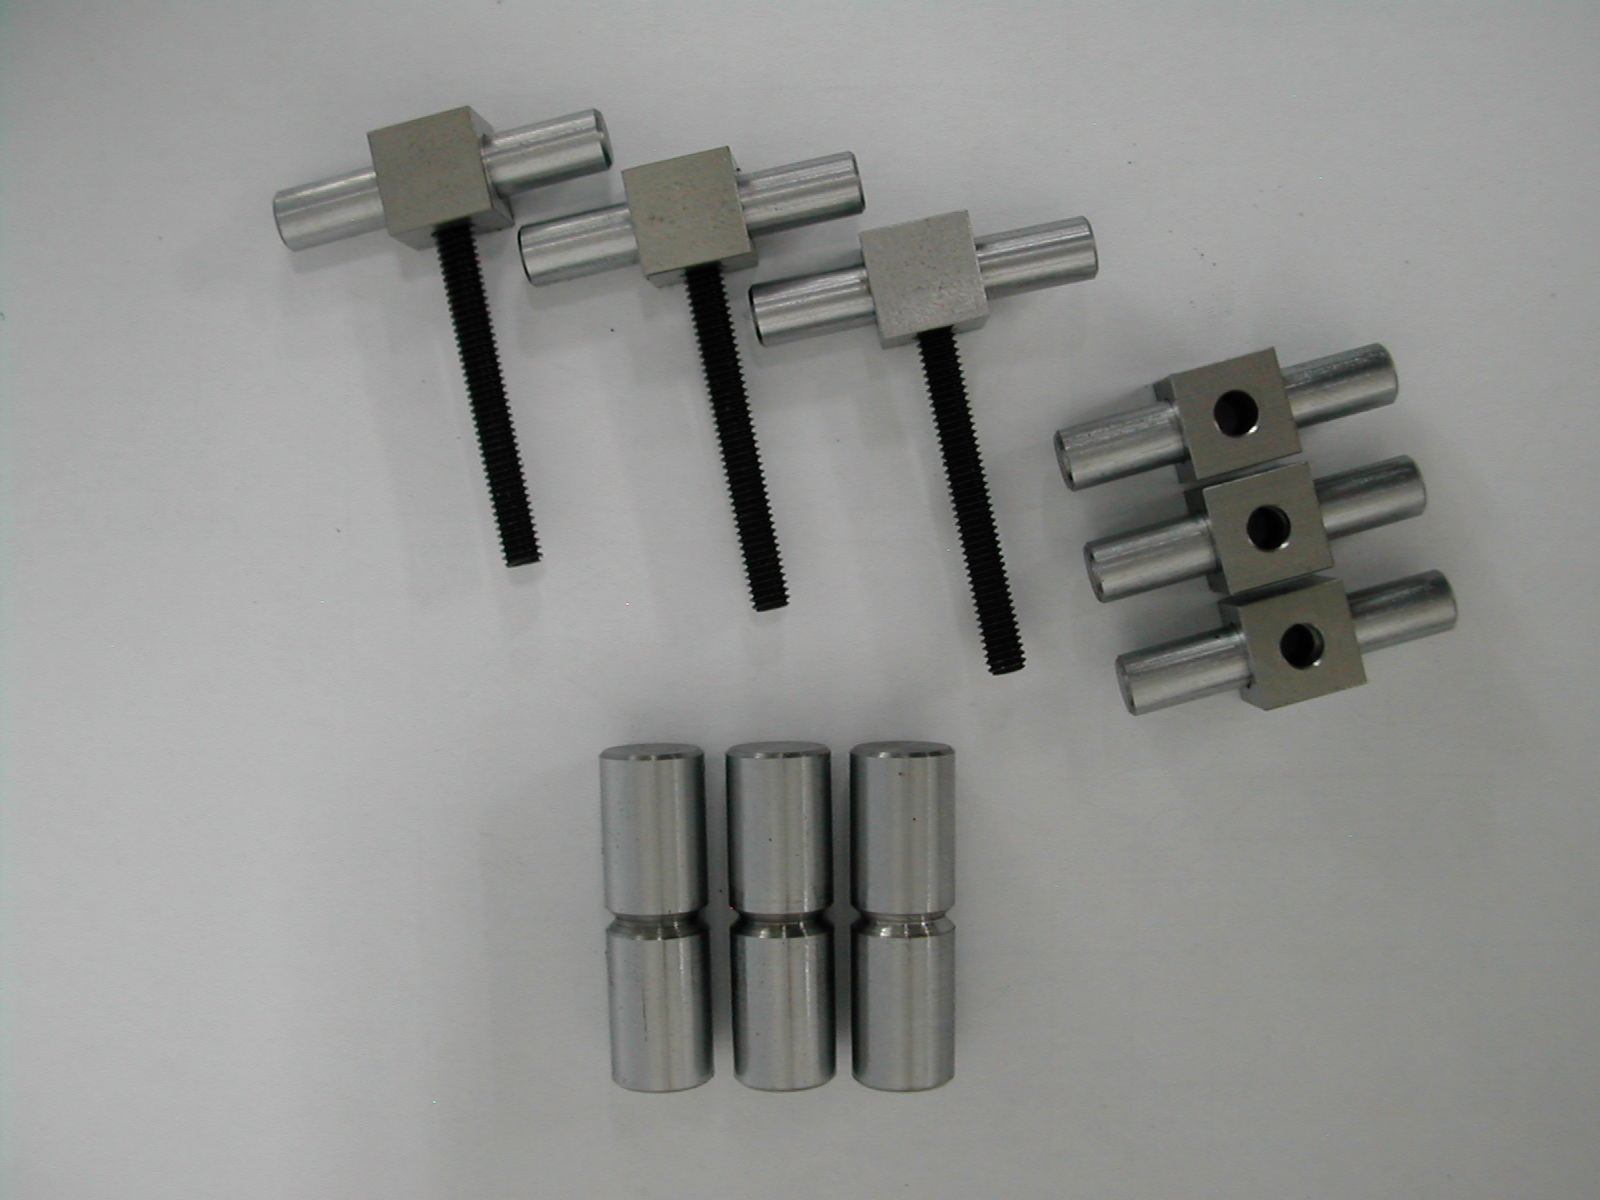 Next, six 10mm x 10mm x 10mm cubes are made from steel stock. I had some 416 stainless hardened to HRc35 so I machined the blocks from this as accurately as possible then drilled a clearance hole for the M4 setscrew through centered on one face.
 The next task is to square up and size the frame stock to 107mm x 40mm x 32mm. Accuracy is important, but your main goal here is consistency so that each piece of stock will work the same in the various setups.
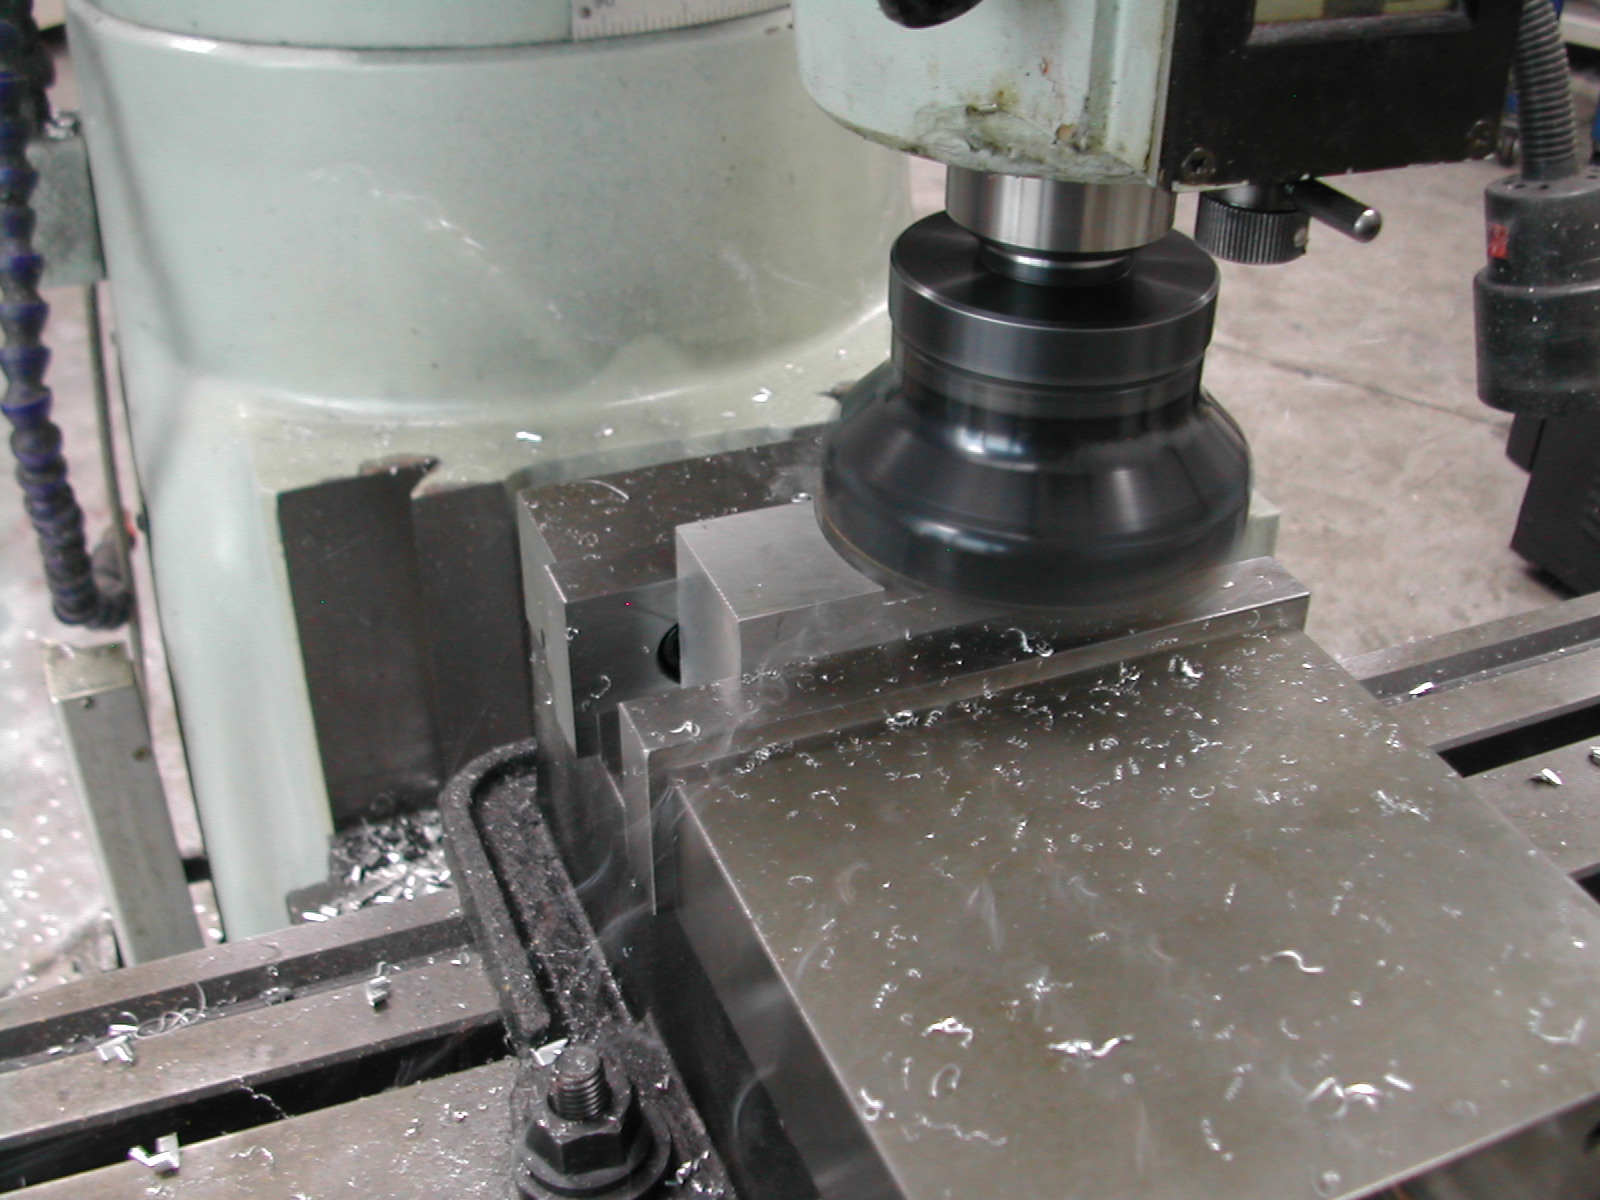
 With the three pieces of stock machined to size, we’ll start putting in the holes while the pieces are still easy to clamp.
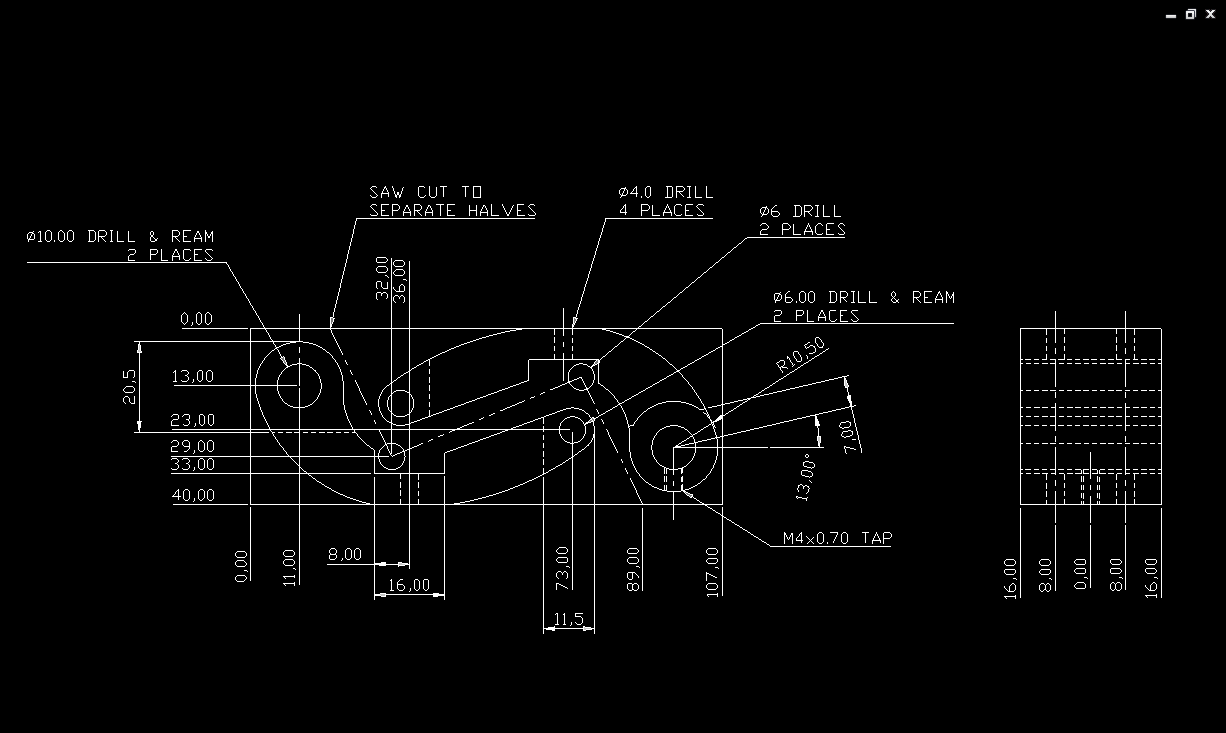 Here’s how the two frame halves fit into the stock. As you can see, the holes in one half are the mirror image of the holes in the other half. We’ll use this bit of information to cut our setups in half.
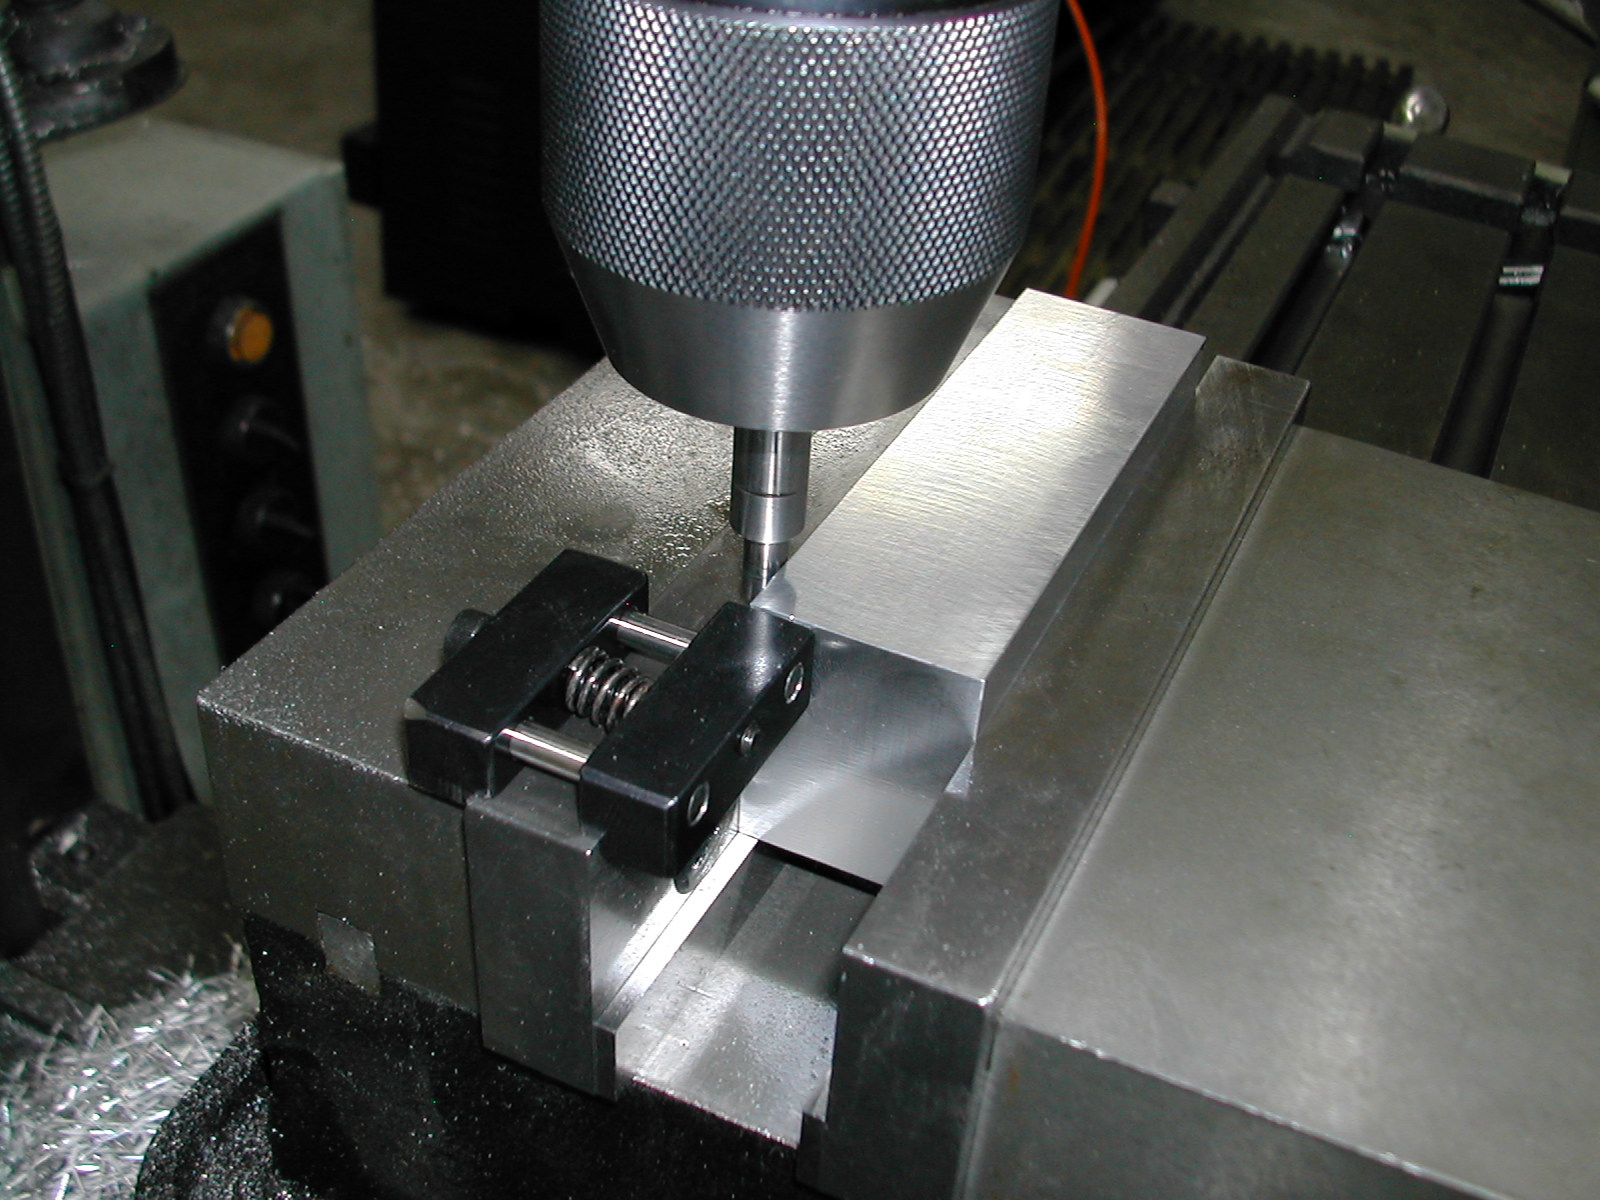 With a vise stop setup, I’m setting my zero on the center of the 32mm stock width, and the edge of the 107mm length.
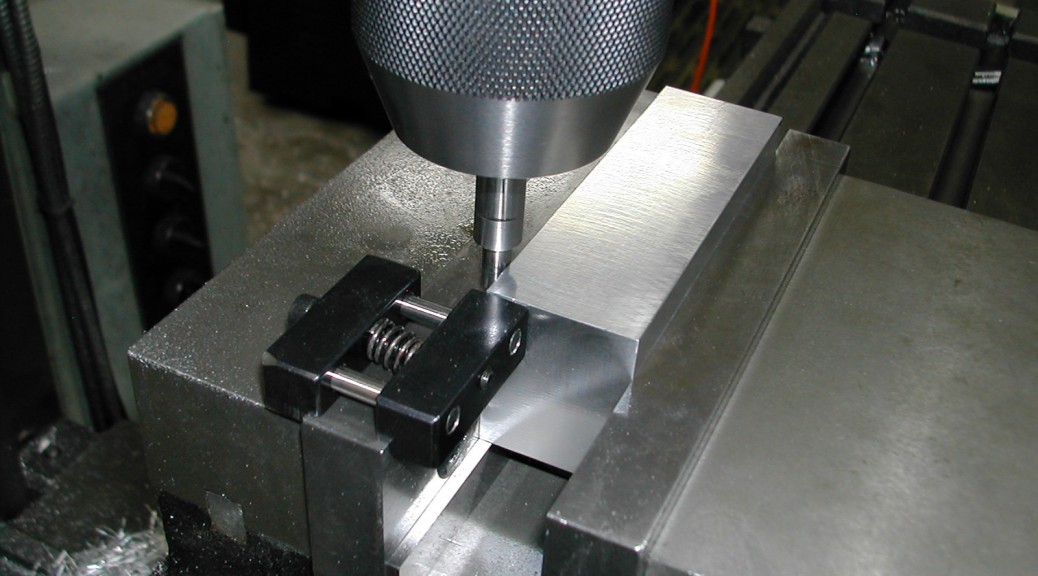
 I’m starting with the 4mm clearance holes for the anvil retention screws. Move back 8mm from center and 36mm from the end and center drill the first position. Rotate the part 180°, flip it 180°, and spot the second hole. Repeat on the other two blanks.
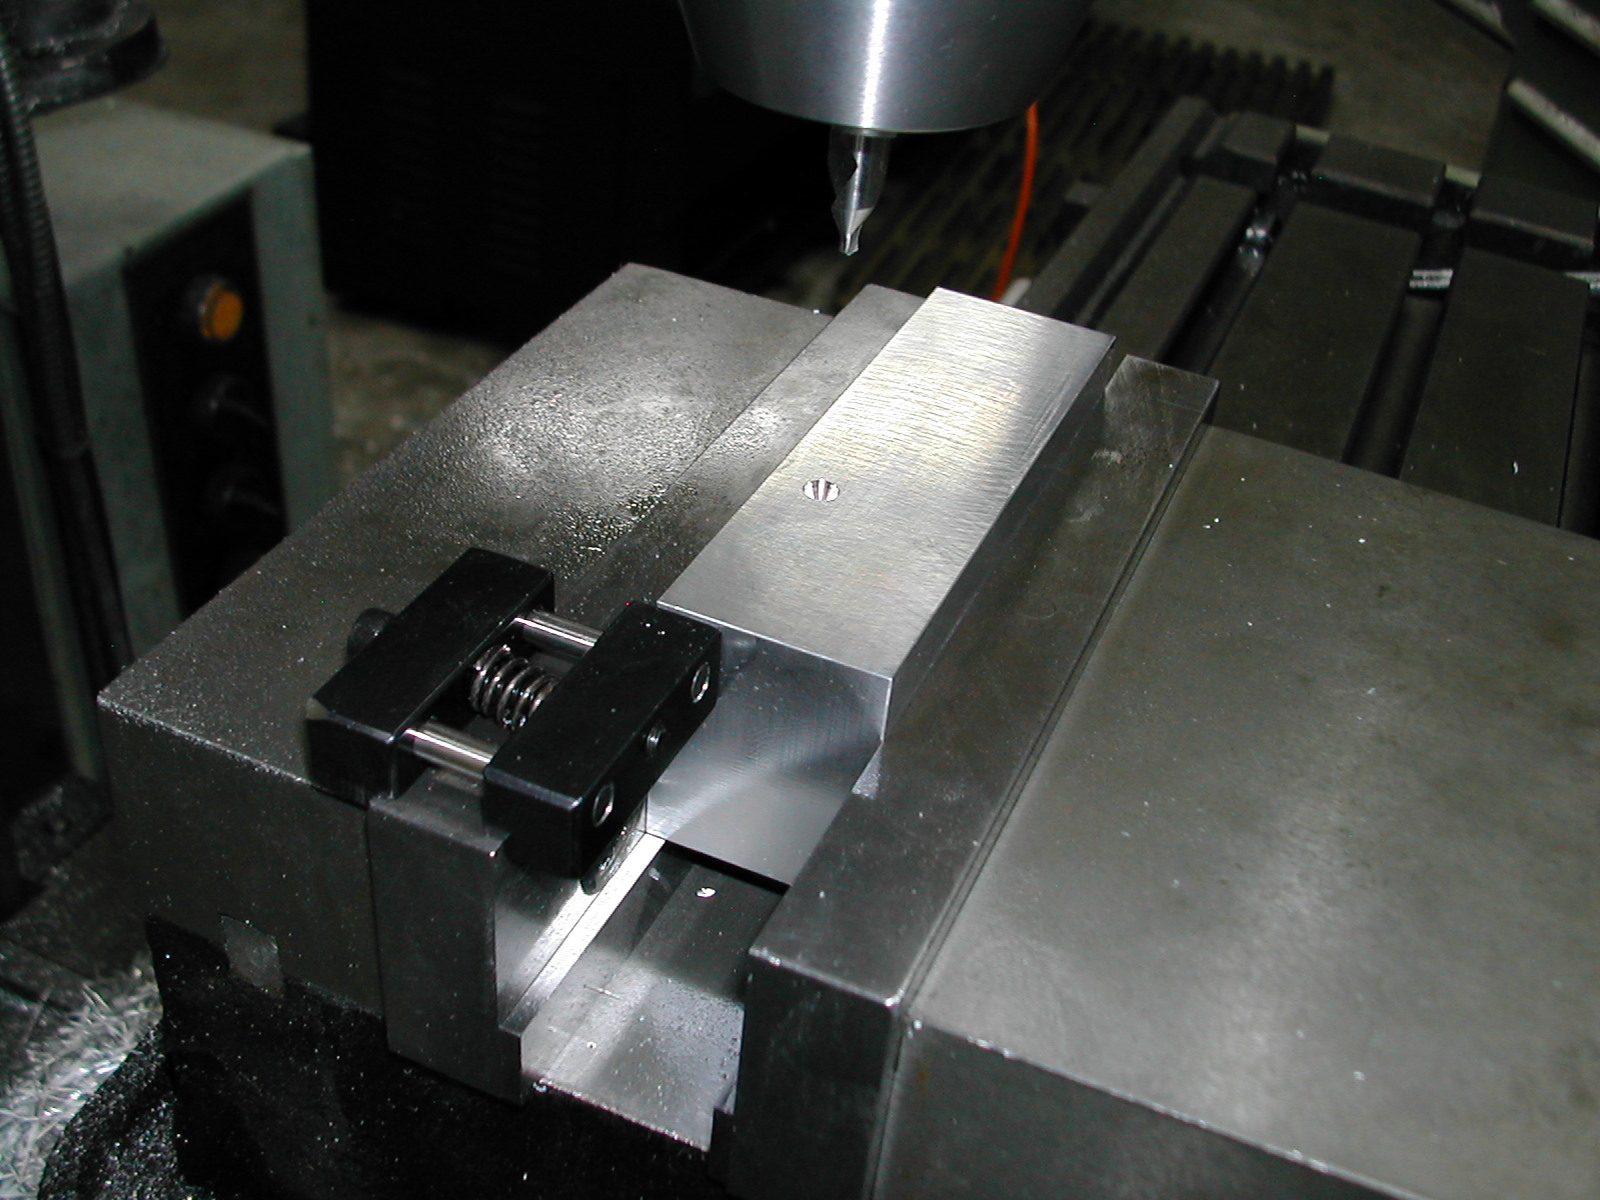
Move 8mm forward from the center, and repeat the above procedure until you have four holes spotted on each blank.
 With the retention screw holes spotted, drill them M4 by 10-15mm deep by repeating the above procedure.
 You can now drill and tap M4 for the main axle setscrew along the centerline and 11mm from the end. Note that there is only one of these holes per blank and you don’t want to drill any deeper than 16-17mm.
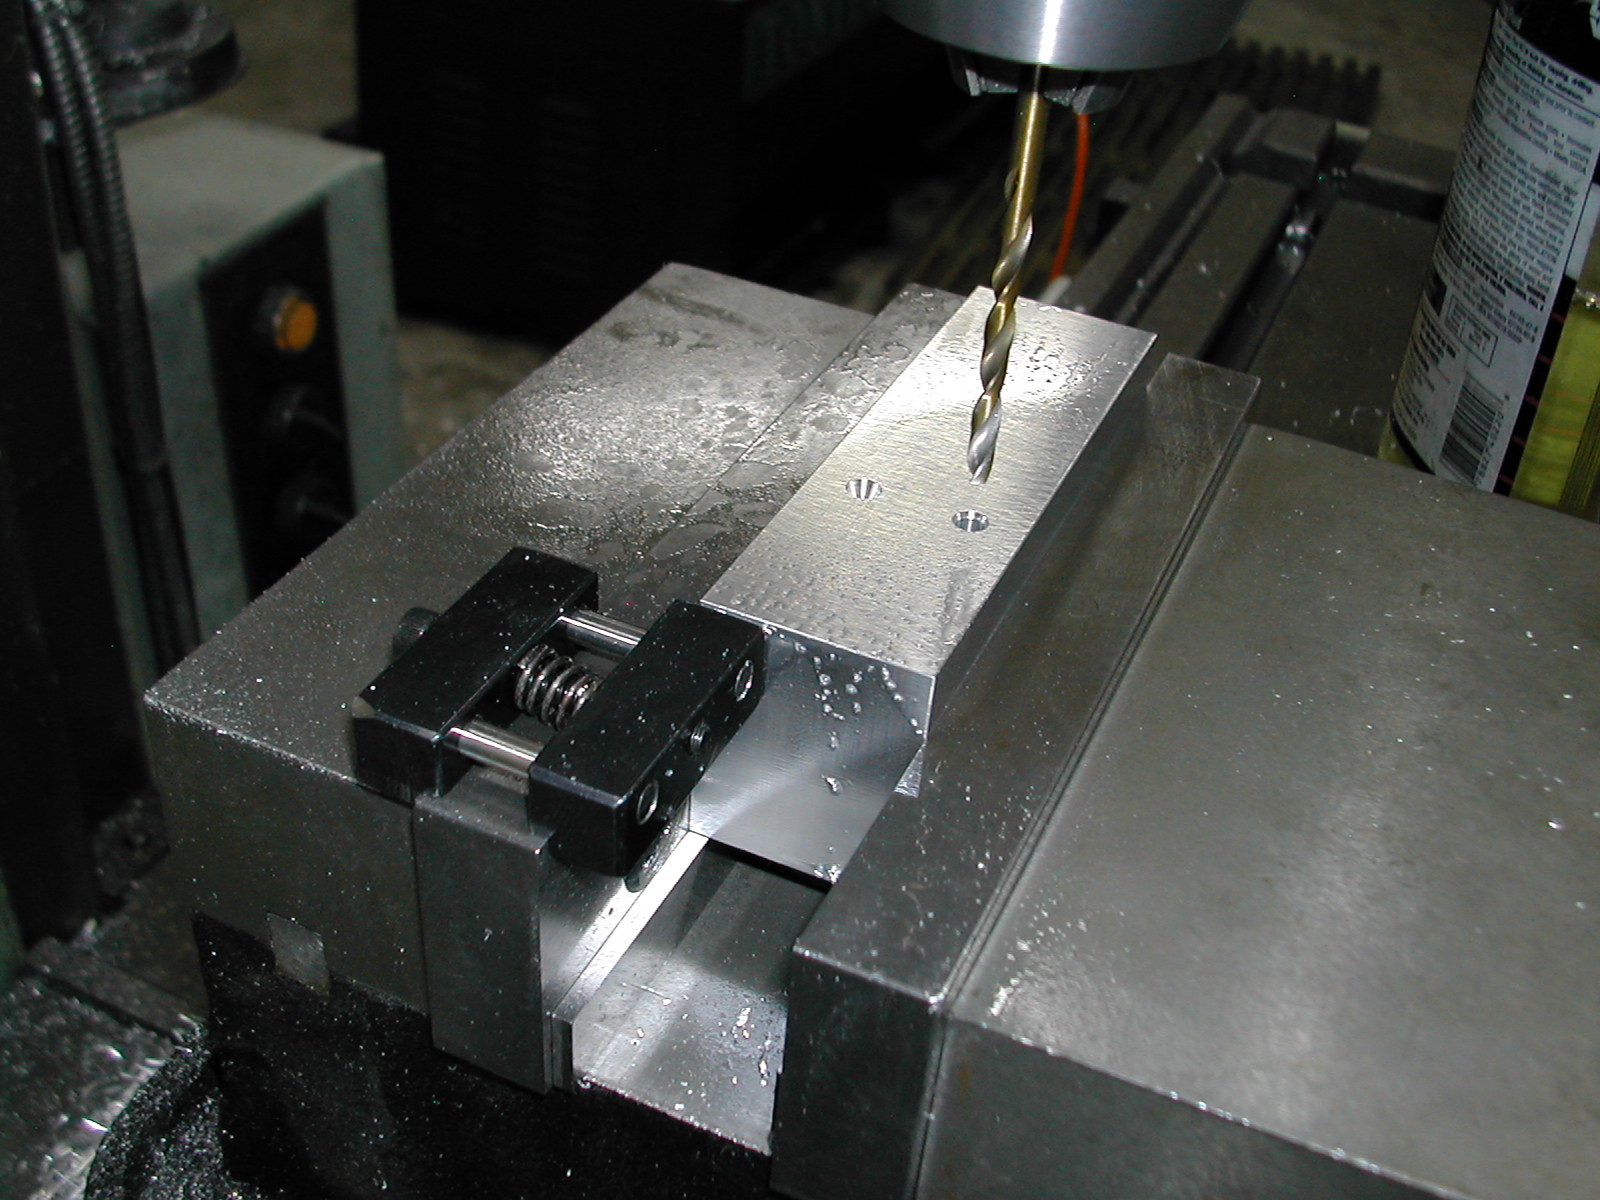
Now, flip the block over to work on it’s 40mm side and set your zero on the back edge of the part.
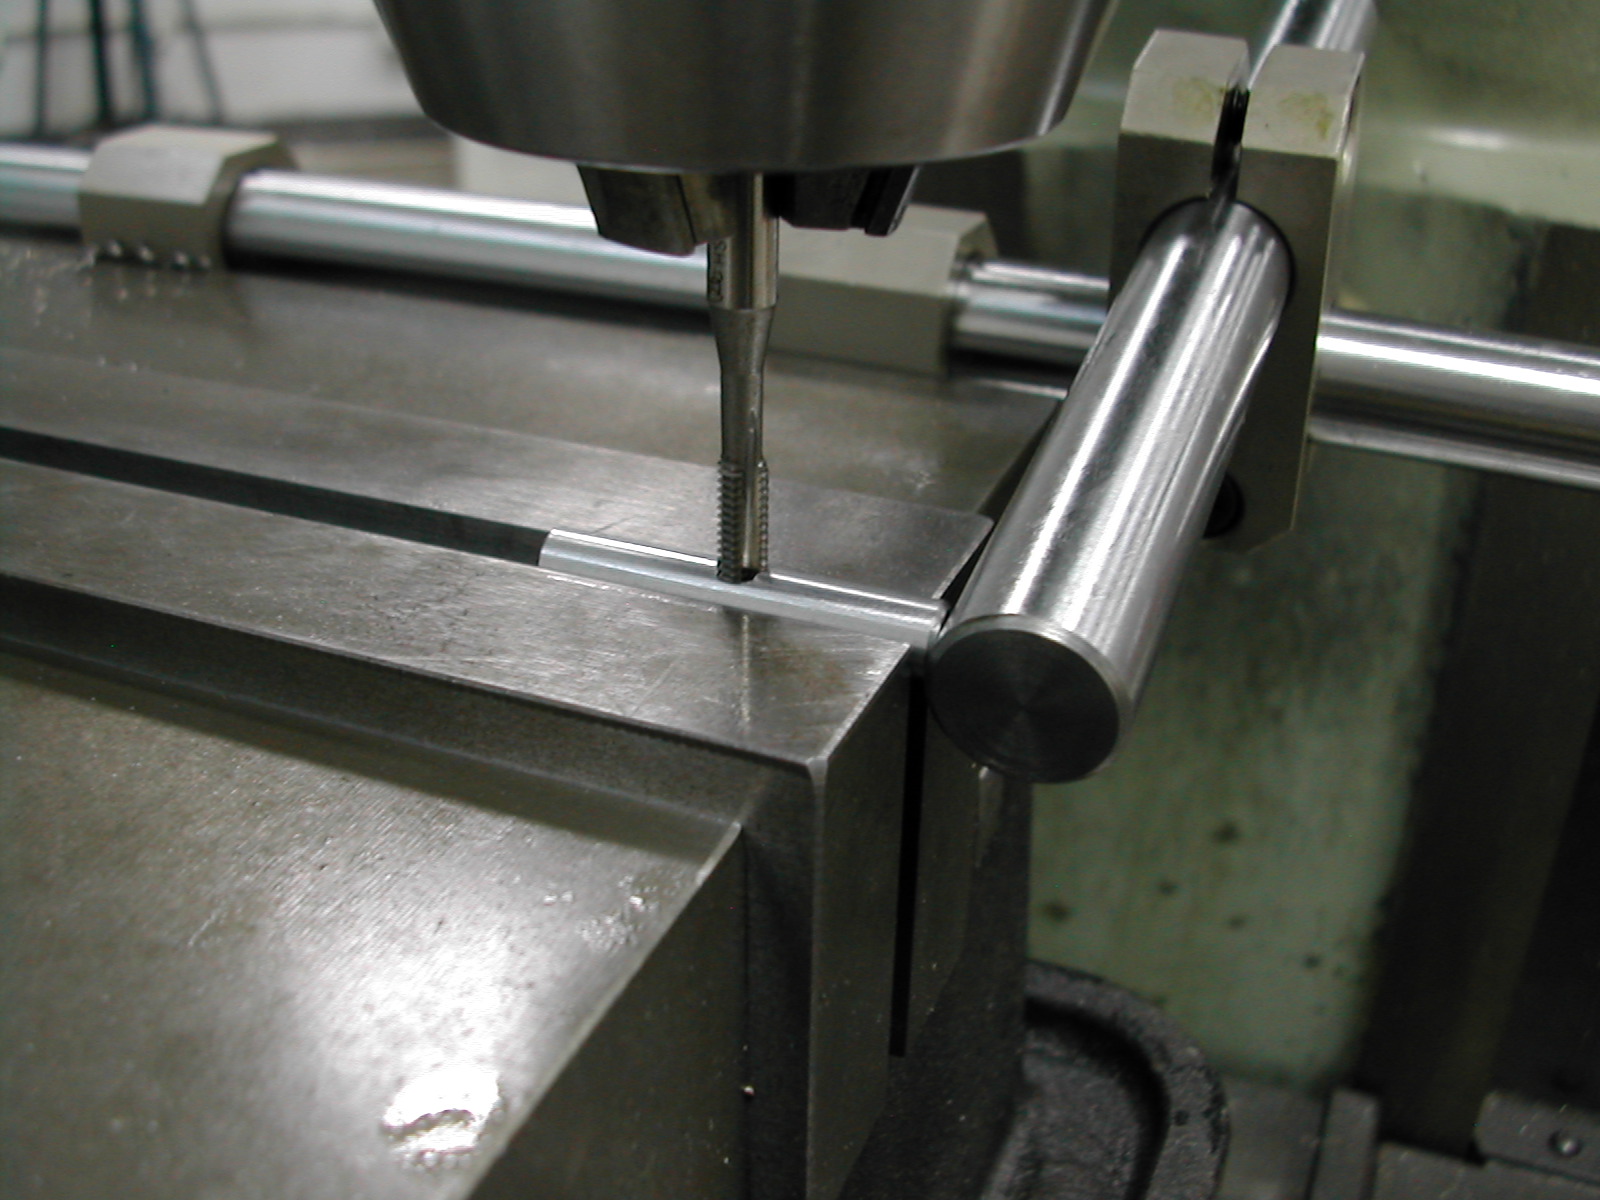
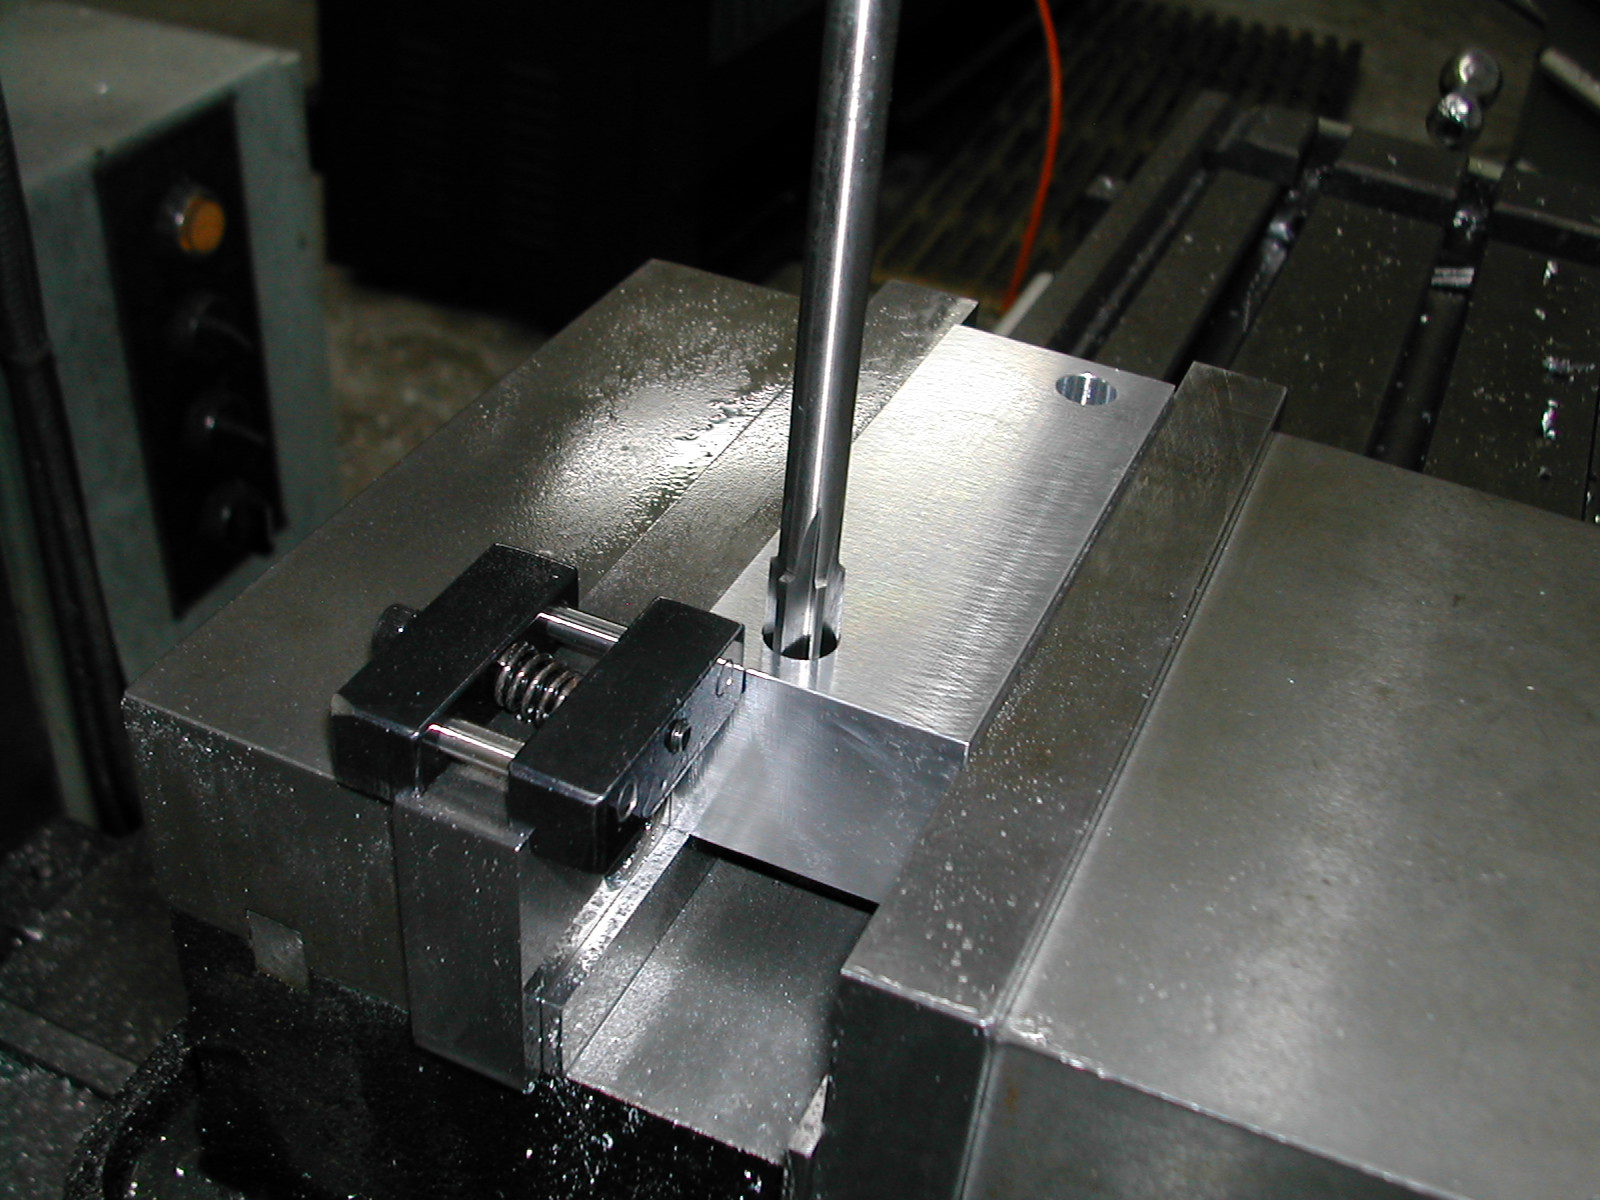 Begin by drilling and reaming the two 10mm main axle holes following the above drill-flip process. These holes go all the way through and should be a nice slip fit on your 10mm axle.
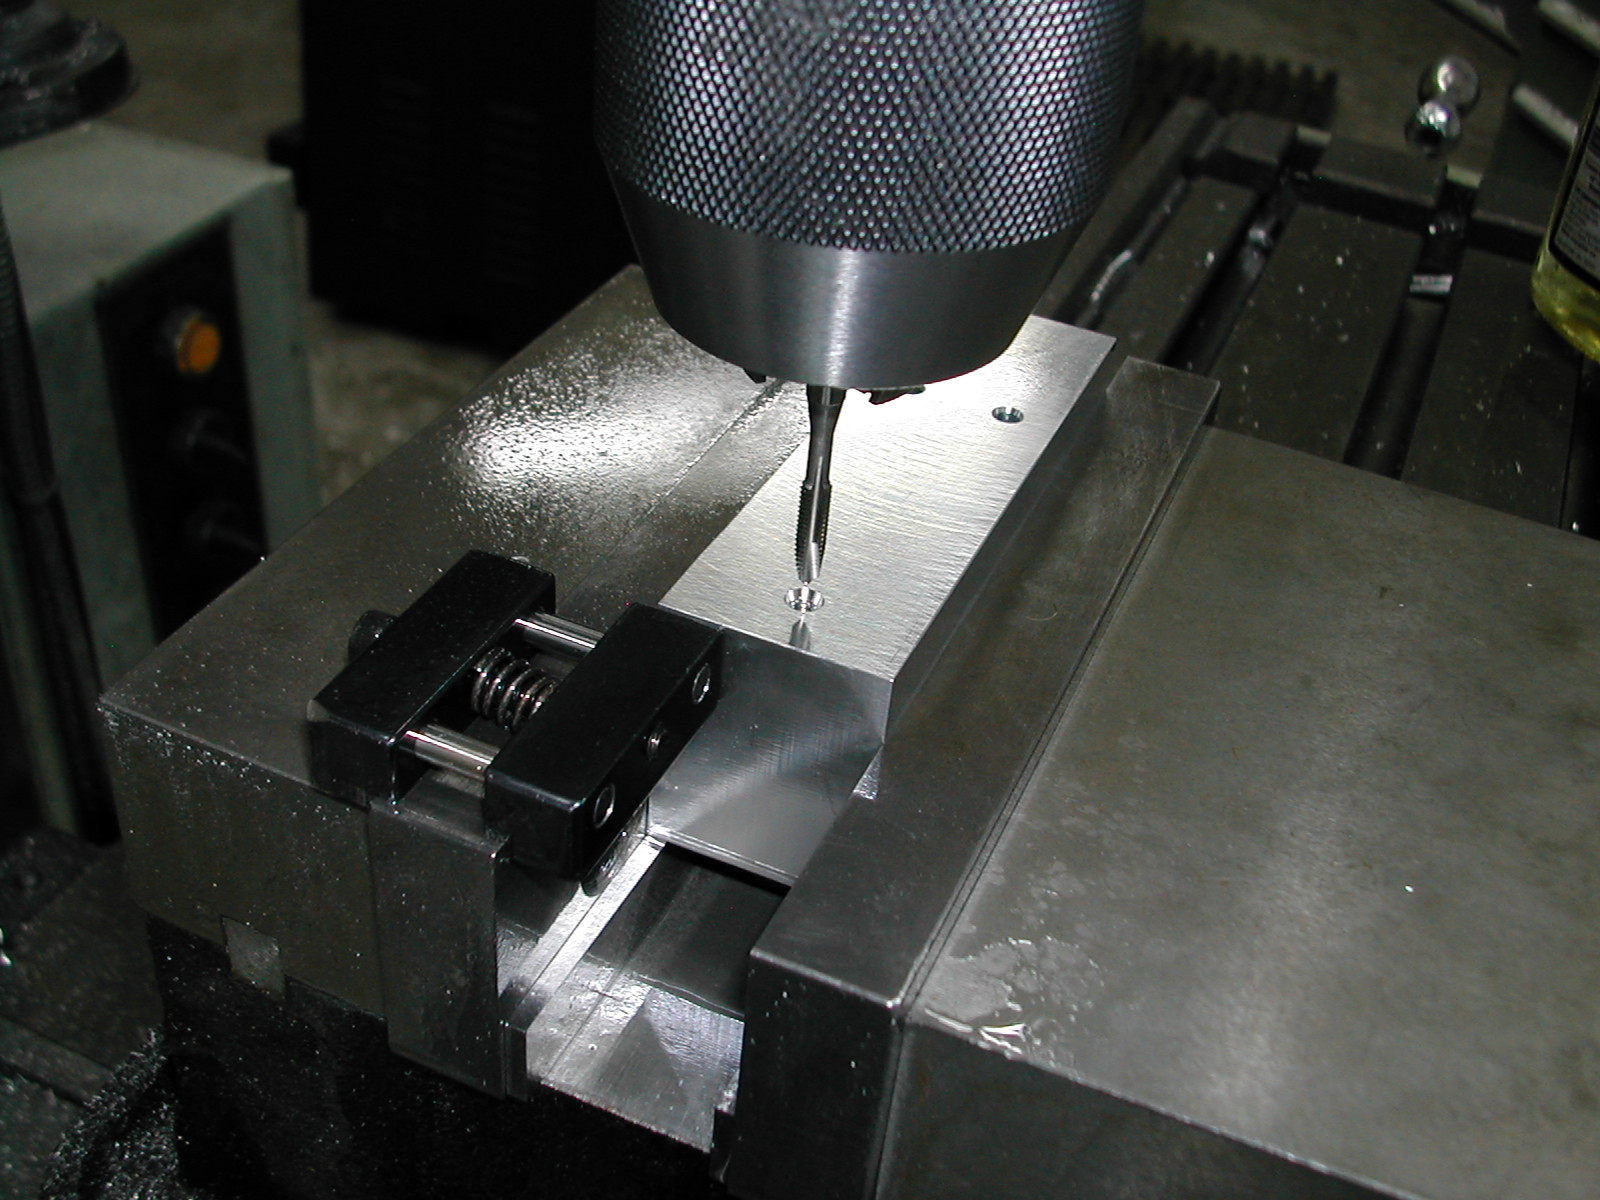
 Repeat the process for the two reamed 6mm adjustment axle holes, and finally the two drilled 6mm saw blade clearance holes.
At this point your blanks should look like this. The one side not shown should have the two retention screw holes but not the axle set screw hole.
Next post: sketch and saw
All material, including the CAD drawings, relating to the construction of the External Hone presented on this site is free to use any way you see fit. However, no guarantees are made regarding the accuracy or correctness of the material presented here.
CAD Files Used On This Page (AutoCAD 2010 Format)
- All CAD files (4.6M .zip)
- Rotary table process plan (4K .txt)
- Engraving division degrees (24K .xls)