- Hodgson Part 045, Master Rod
- Hodgson Part 046, Main Rod Bearing
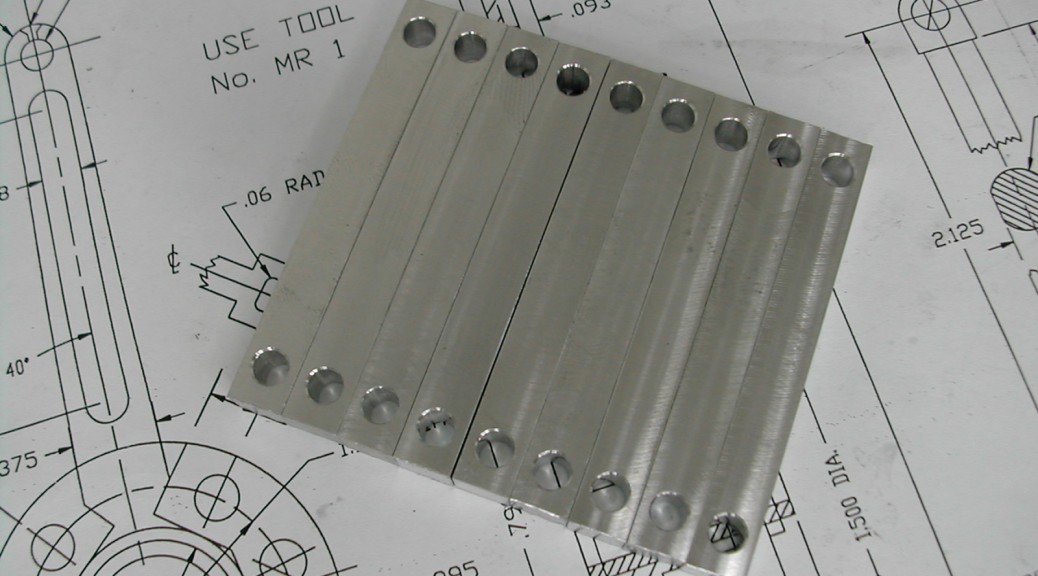
- Hodgson Part 047, Slave Rods
- Hodgson Part 048, Slave Rod Pins
The slave rods were made from a piece of aluminum 7075-T651 sawn from plate.
 Here’s the material sawn up for the master rod and the slave rods. Everything was sawn about 0.1″ oversize in all dimensions to all for clean up.
 The 10 slave rod blanks were squared up to 0.312″ but the ends were not machined at this point.
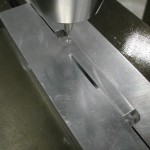 The squared-up slave rods were nested in a soft-jaw in the vise to drill and ream the pin holes. The parts were still long at this point, so the actual distance from the end of the rod did not matter, only the center-center distance between the pin holes was critical.
To help center the pin holes in the long stock, a line was scribed on the soft-jaw to visually position the parts for drilling.
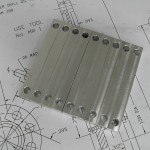 Here’s the fleet of slave rods with their pin holes drilled and reamed to 0.1880″ ready to have their ends radiused.
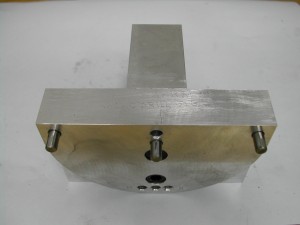 This 047 Radius Tool (AutoCAD 2010), was designed to be used to radius the rod ends and act as a jig for drilling the oil holes in the ends.
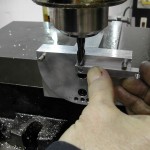 I had originally thought that radiusing the ends by cutting with the end of the end mill would be all that was needed. Since I was doing this by hand (this is very dangerous – do not do this unless you fully understand the risks), I reasoned cutting with the end of the mill would reduce the risk of the cutter grabbing the part and me loosing a few fingers.
Please note the position of the part and the location of the cutter. These were chosen so that cutting forces would tend to force the part against the fixture. Also note the use of stops to limit the travel of the rod and prevent digging in at the ends of the cut.
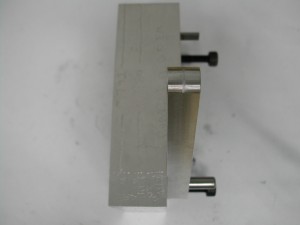 This went very smoothly and quite fast. Unfortunately, radiusing the rod ends this way was not without problems. Since end mills are gashed on the end with a slight amount of clearance towards the center, this method of cutting left a little dihedral on the end of the rod.
Because of this, I decided to use the method above to just rough-out the rod ends leaving them 0.003″-0.004″ oversize to clean up with the even more dangerous method below.
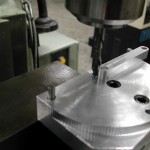 Once again I state – very dangerous, do not do this unless you fully understand the risks. This has the potential to turn hands into hamburger!
To clean up the ends and flatten out the dihedral, I decided to attempt milling them with the side of the cutter. Once again cutter type, location, and cutting direction were chosen to force the part into the fixture and reduce the risks associated with hand-holding parts for machining.
Remember I am milling only 0.003″-0.004″ – do not try to knock the corners off with this method! The cutter is a 1/4″ down cut router bit. This forces the part down onto the jig instead of trying to pull it up off the guide pin.
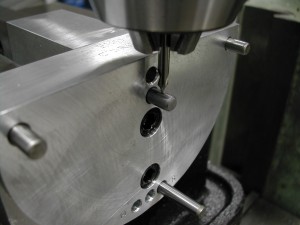 Once the ends were radiused, the jig was used to center drill the oiling holes in the rods. The fixture was indicated in in the mill and the quill stop was set to allow the center drill to fully drill through the rod (this is why a dowel pin could not be used in this position).
Note the dowel pin located towards the bottom of the photo. There are two holes at the bottom of the jig. With the pin in the hole marked “S” we are ready to drill the “S”lave rods.
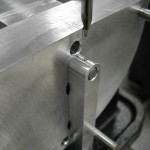 The slave rod is slipped over the guide pin and held firmly against the fixture and the “S” stop pin for drilling. The slave rod is then flipped and the opposite end drilled in the same manner.
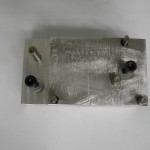 Next, we’ll use the rod milling fixture shown on the master rod page to mill the flat relief on the rod sides.
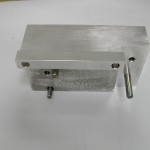 To mill the slave rod sides, the blanks are positioned using the two locating pins. This fixture is designed so the vise actually clamps the part and the fixture at the same time. The height of the fixture needs to match the height of the vise jaws to work properly.
Note the centerline location engraved on the top of the fixture. This allows you to work from the centerline of the rod assuring that the relief cuts are symmetrical.
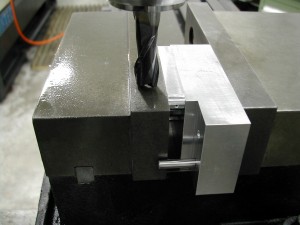 Here the part is mounted in the fixture ready for cutting. Notice the dowel pin used when using the fixture to mill the pockets on the master rod is used here as a vise stop. This allows the fixture to be easily put back into the correct rod centerline position when flipping rods from one side to the next, or when changing parts.
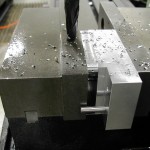 With the cutter depth properly set, The mill table is offset from the part centerline the appropriate amount in X and moved in Y across the part. The table is then adjusted in X to the opposite of the previous setting, and again fed back across the part in Y. Finally, the remaining center portion is milled away.
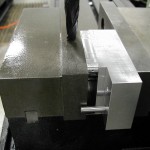 Flip the part and repeat on the other side, and then repeat for the remaining slave rods.
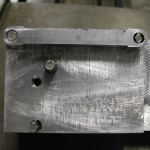 Here is a slave rod after milling both sides. I’ve used an endmill with a 1.0mm corner radius to give a slightly more pleasing appearance to the finished rod.
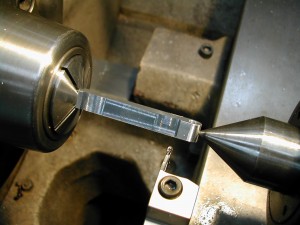 Over to the lathe where a 5/16″ (or in this case an 8mm) square collet with a collet stop has been mounted. A live center in the tailstock is then run lightly into the center-drilled oil hole.
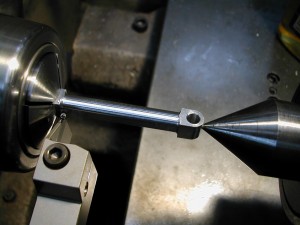 A 1.0mm radius cutter is then used to radius the sides of the slave rod. The start and stop points are chosen to blend the radius on the end of the turned section in with the previously milled radii.
Disclaimer and License
All material, including the CAD drawings, relating to the construction of the Hodgson Radial presented on this site is free to use any way you see fit. However, no guarantees are made regarding the accuracy or correctness of the material presented here.
Links Used On This Page
(CAD drawings are in AutoCAD 2010 Format)

