
- Hodgson Part 050, Pistons
- Hodgson Part 051/052, Wrist Pins & Buttons
 For the full floating wrist pins, I started with some 12L14 unhardened precision ground shafting from McMaster-Carr. This shafting, p/n 1327k52, has a diametrical tolerance of +0.0000″ to -0.0002″ with a 10rms surface finish. The aluminum rivets used for the buttons were also purchased from McMaster (p/n 94439A330).
 With the parting tool used as a length stop, enough material is extended from the collet to make one wrist pin.
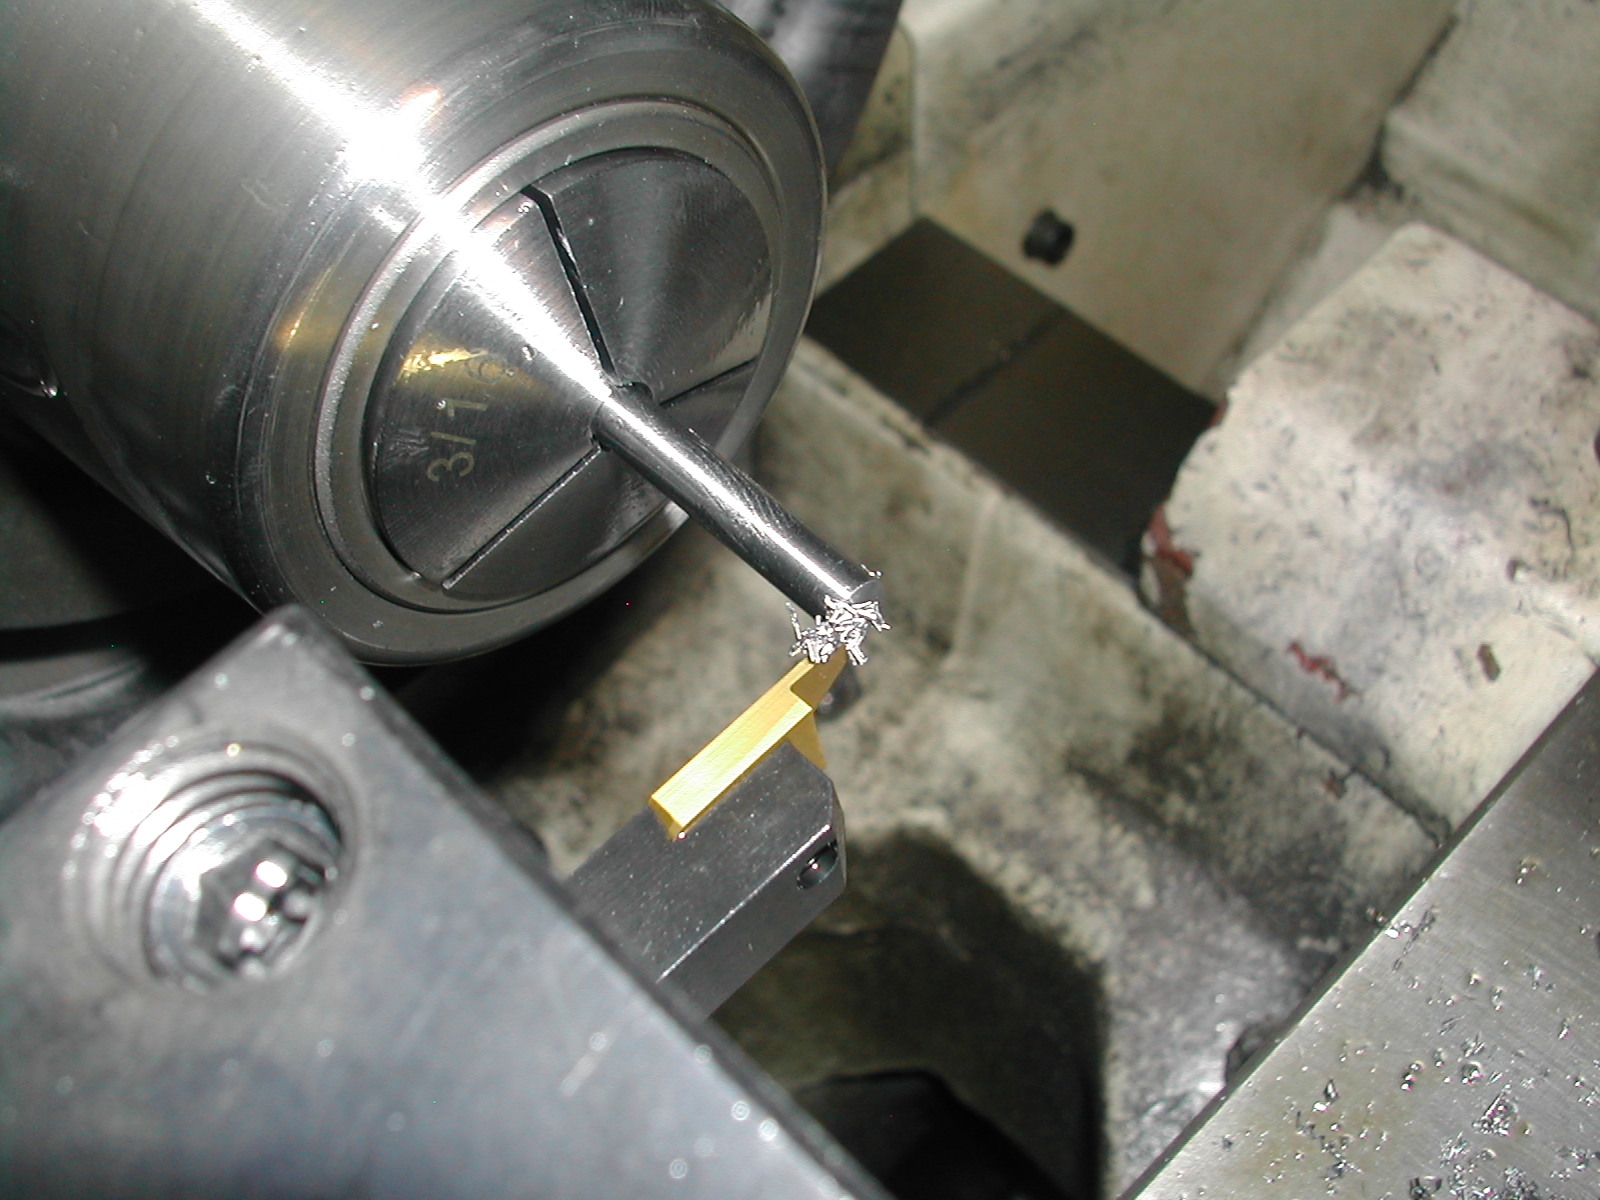 The pin is faced with the parting tool to make a square surface for the button to seat against.
 A center drill is used to locate the hole for the wrist pin button.
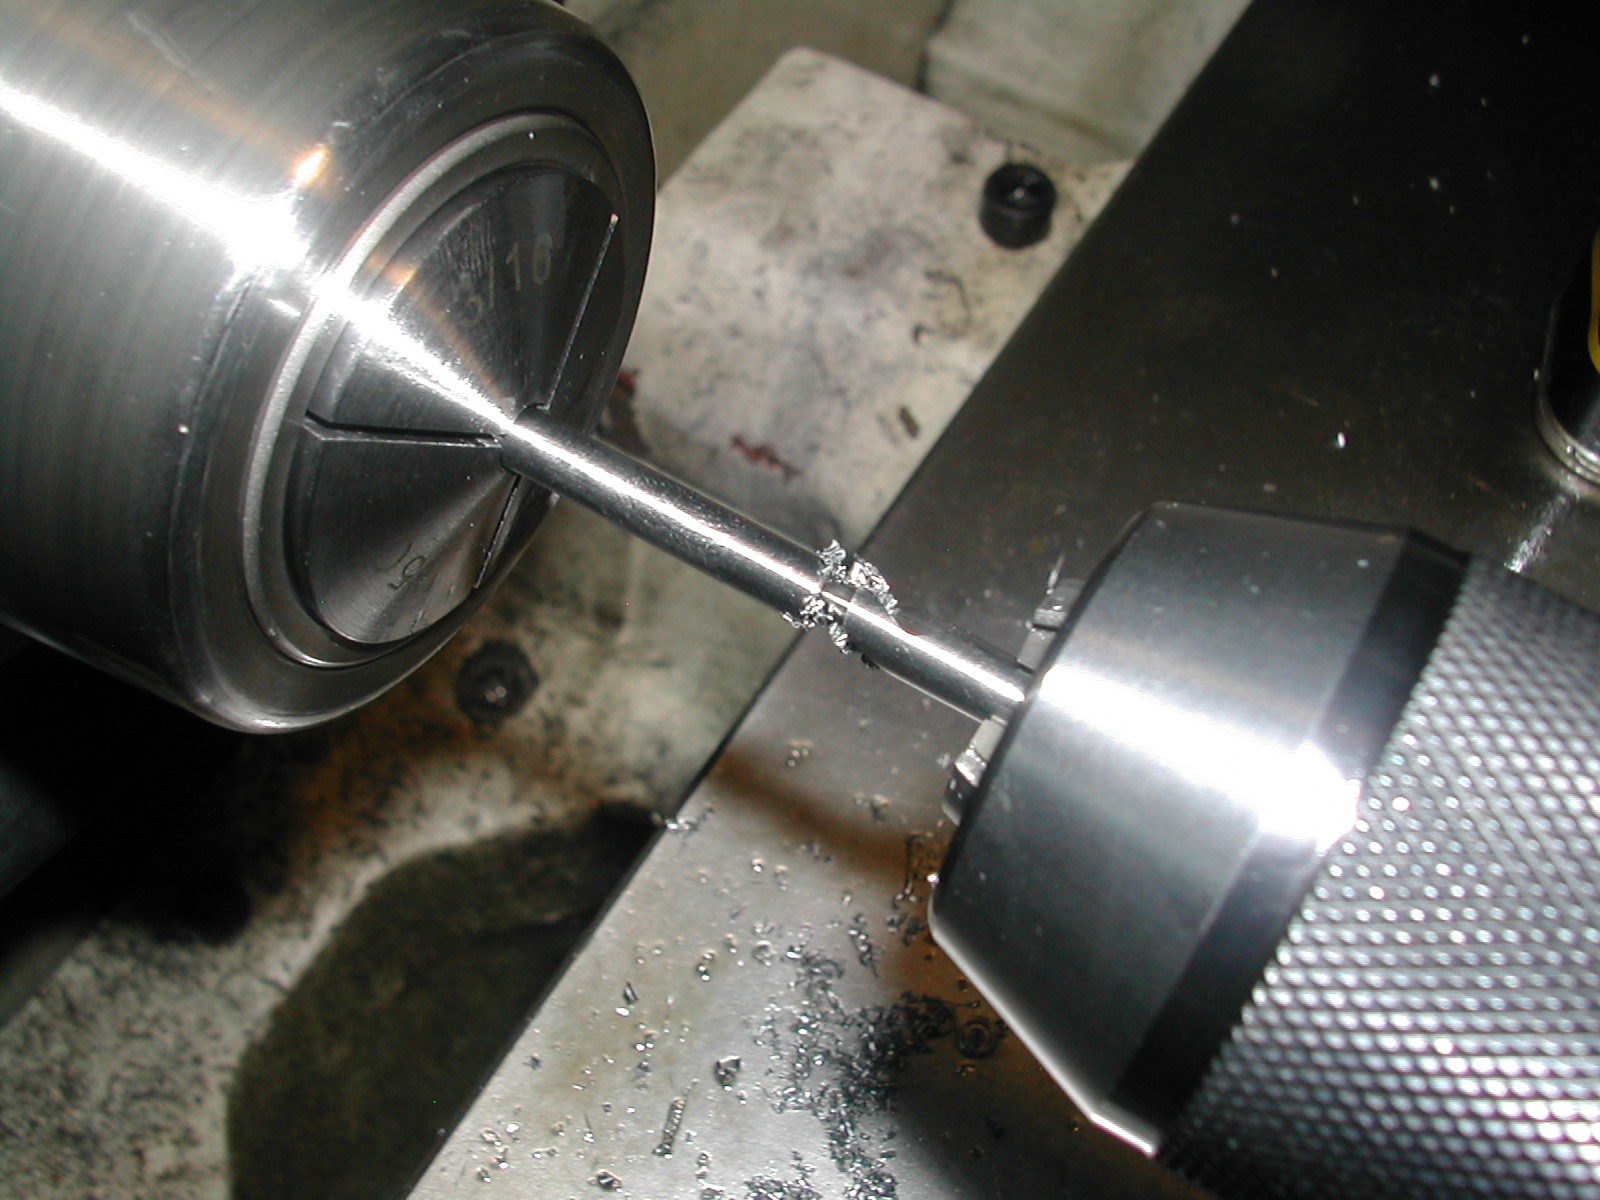
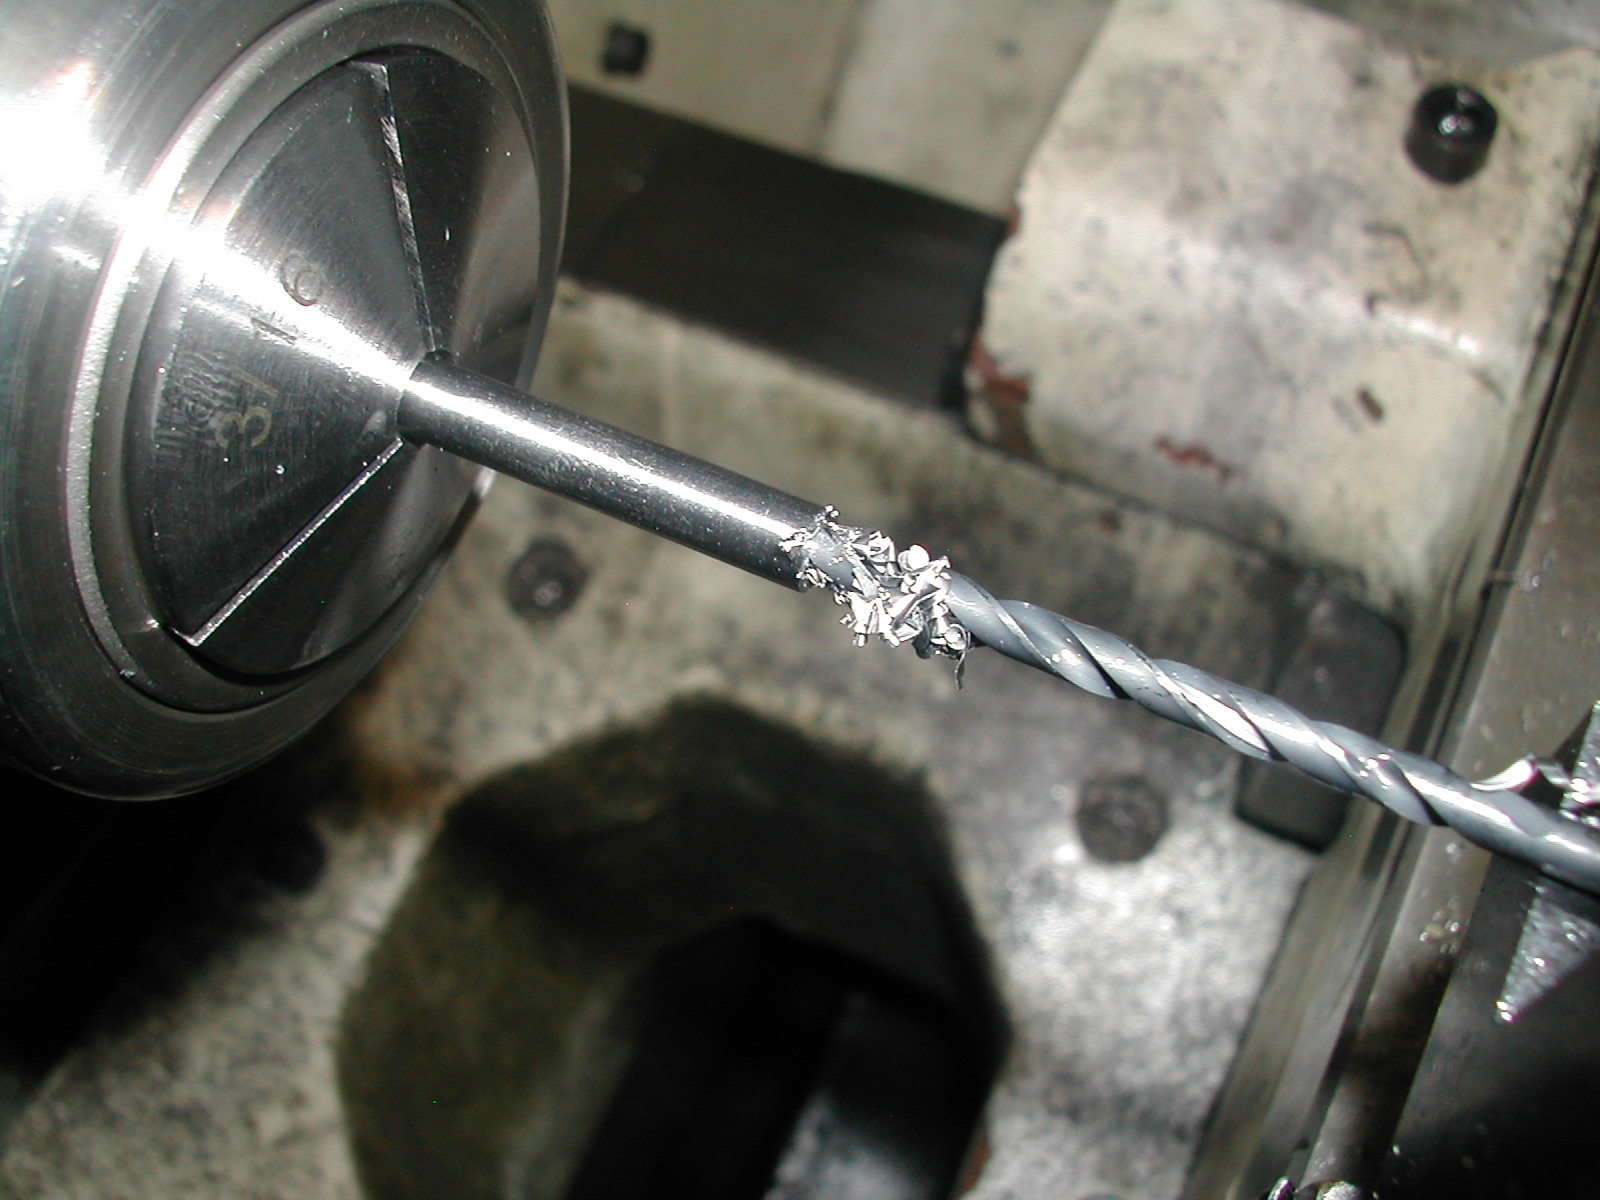 Here, I’m drilling a slip fit hole for the aluminum rivets used as the buttons. There is no need to ream this hole, and, in fact, you want a couple of thousandths of clearance on the rivet.
If you make this a press fit on the rivet, you risk expanding the pin so it will no longer fit your wrist pin holes in the piston.
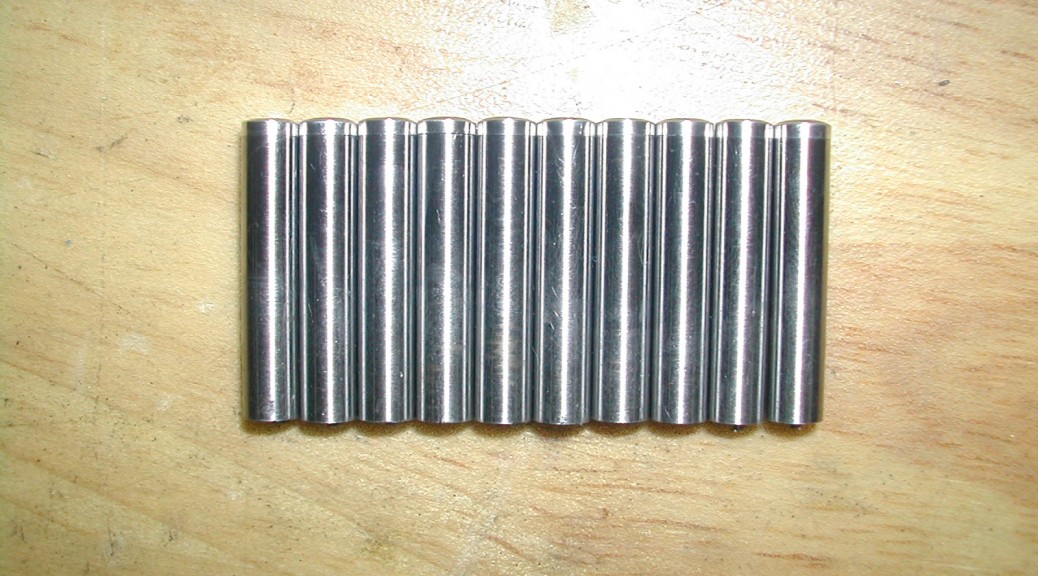
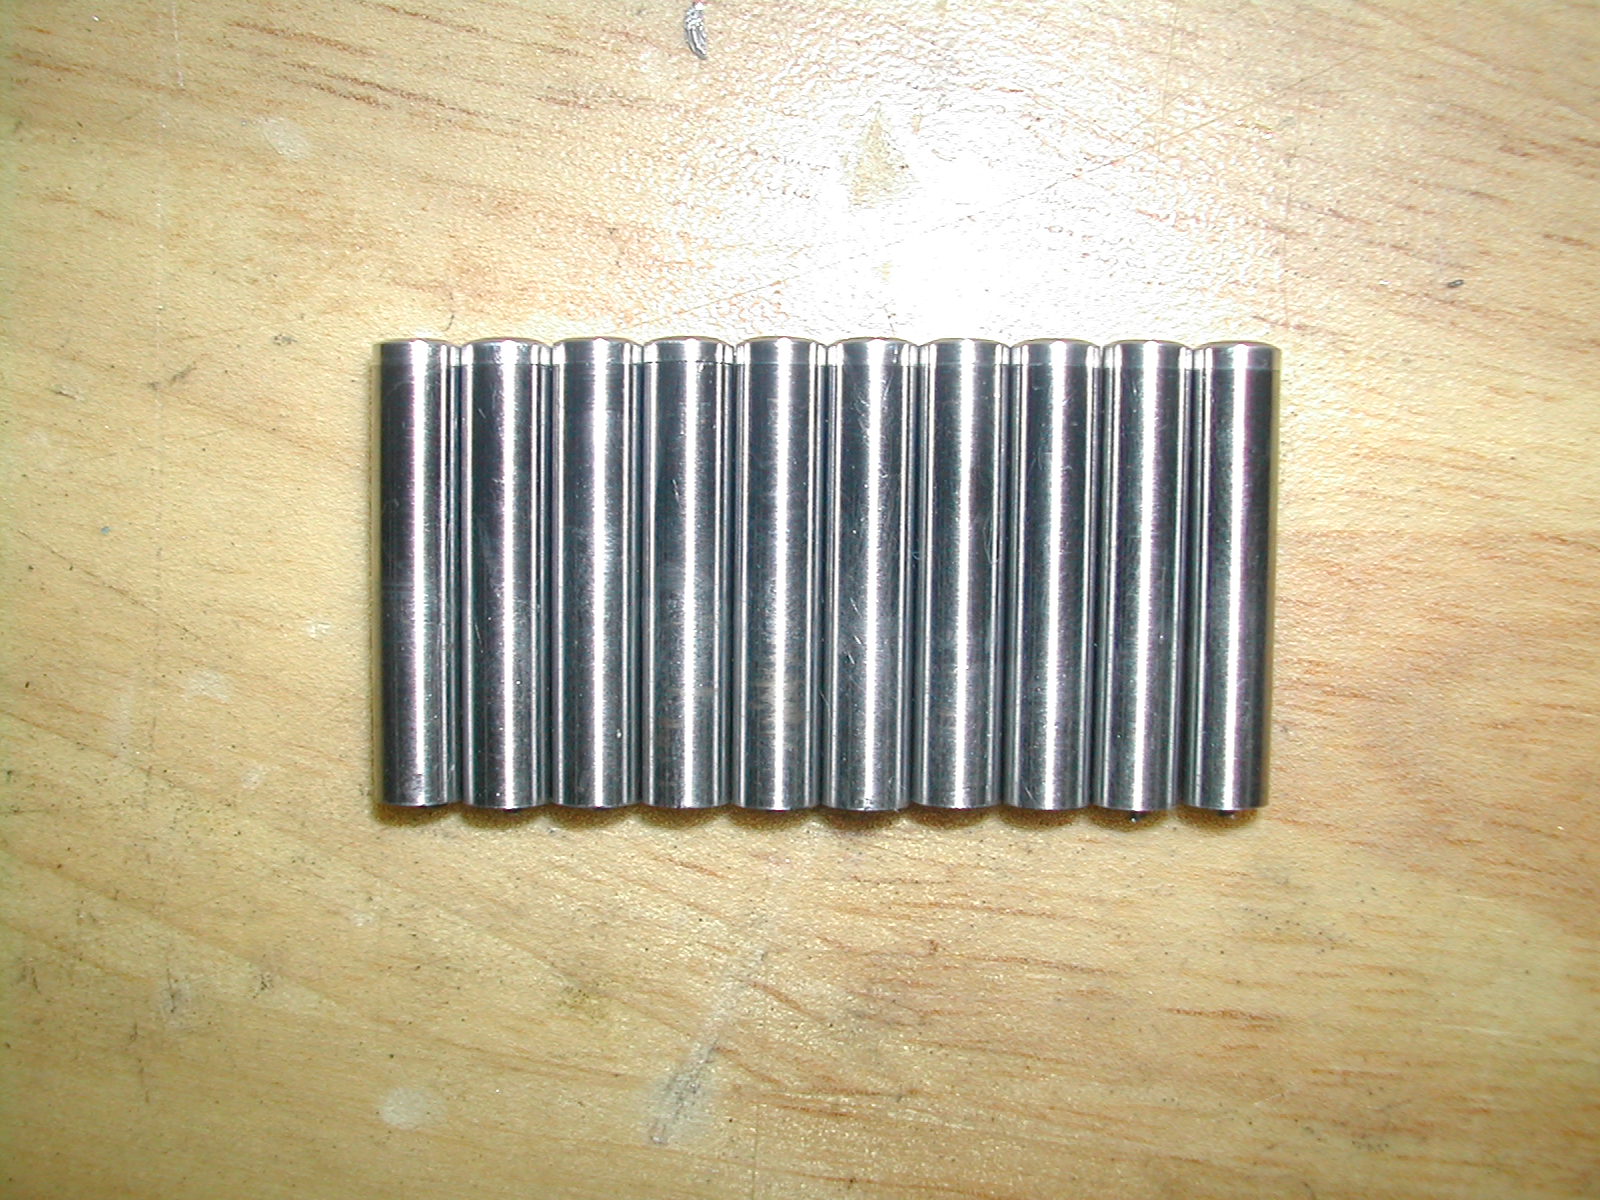
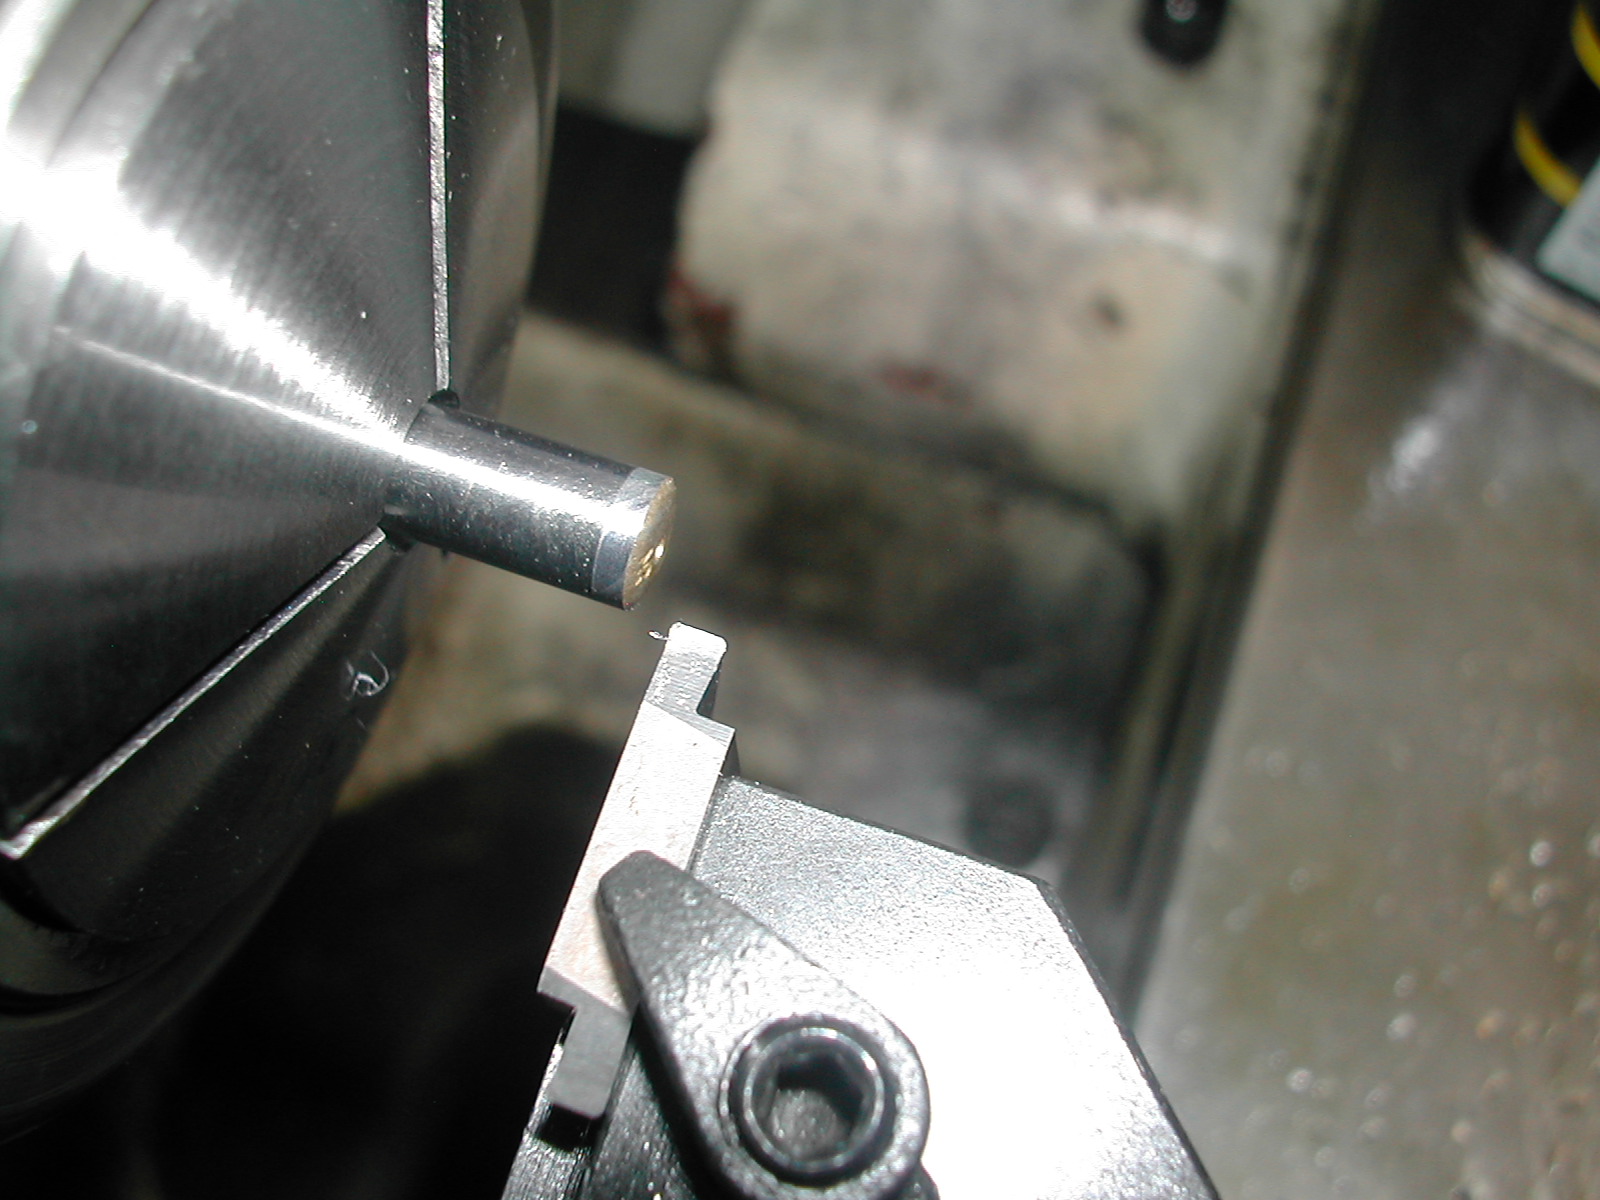
 Finally, the wrist pin is parted off. Repeat the above steps until you’ve made the necessary number of pin blanks.
 I’m using a drop of cylindrical retaining compound to affix the rivets. Make sure your rivets and holes are clean and free from oil before gluing the buttons in.
The couple of thousandths of clearance you left when drilling the hole will provide for the proper film thickness to allow the retaining compound to work properly.
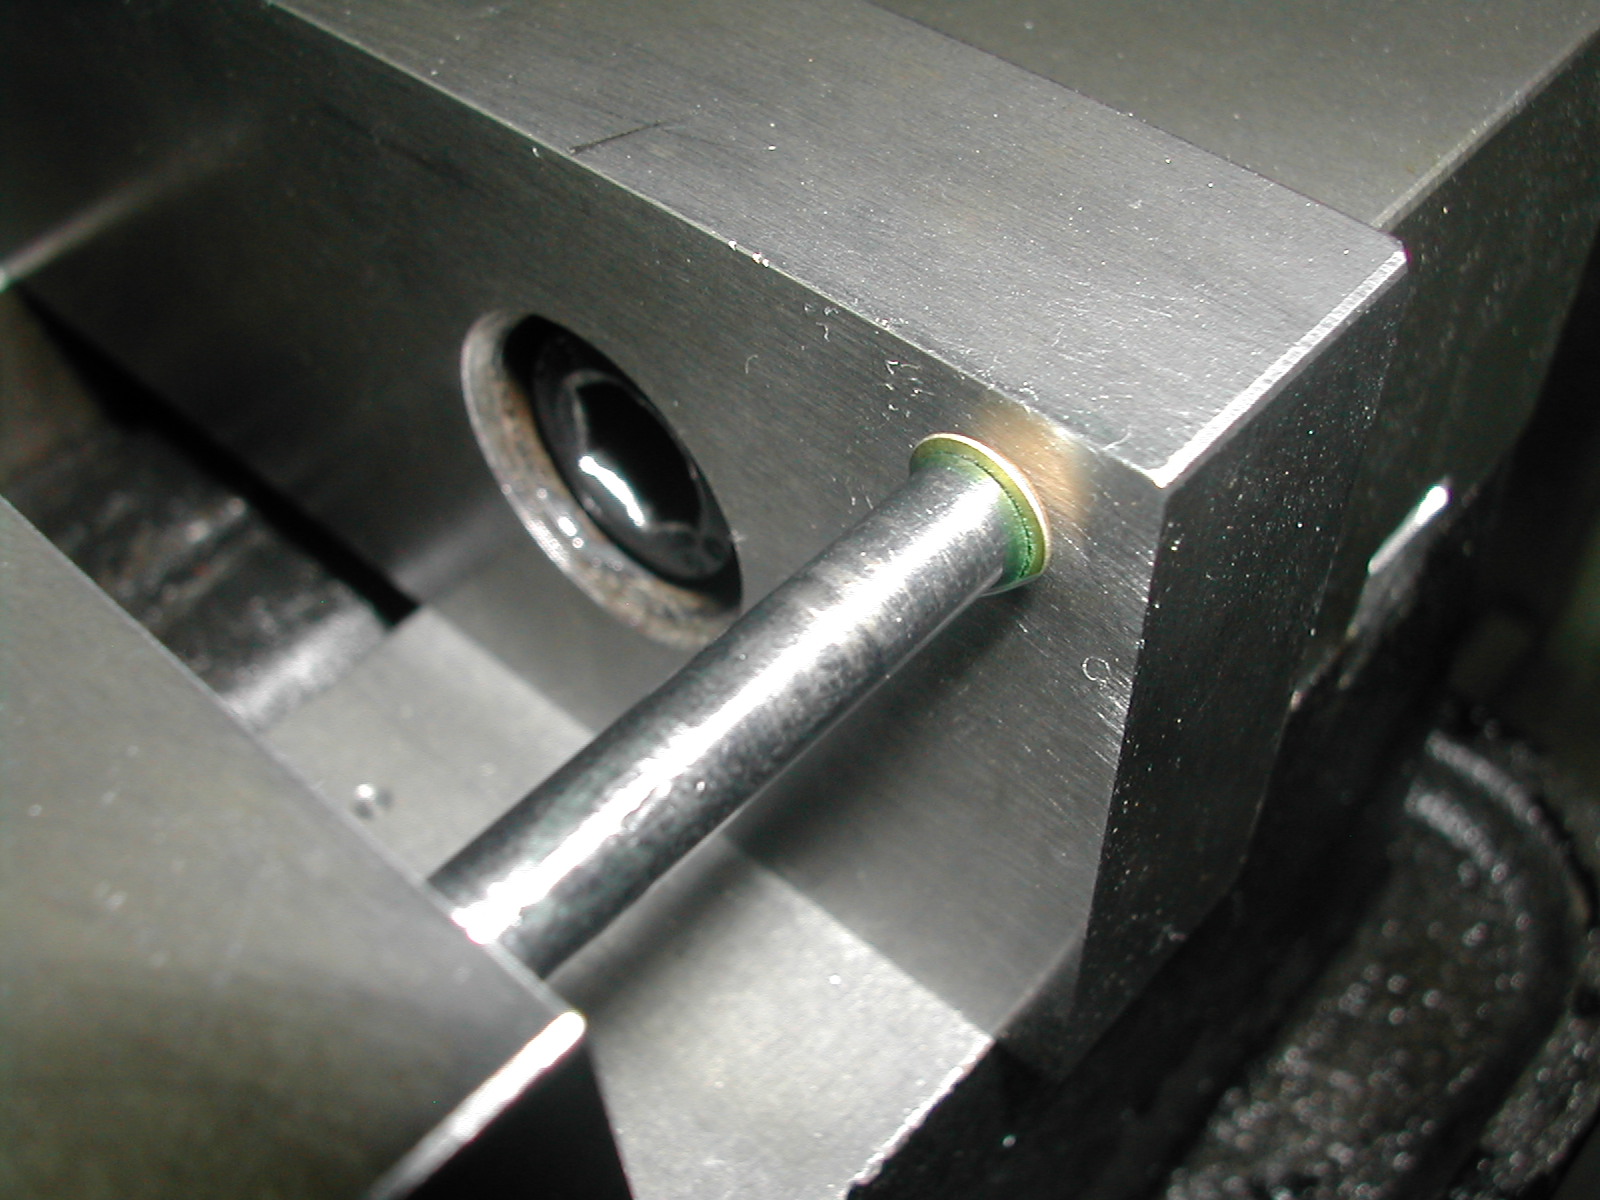 Here I’m using the mill vise to hold the rivet in place while the retaining compound cures. Don’t use the vise to force the rivet into the hole – press slowly by hand to allow the excess retaining compound to escape.
If you force the rivet in place from either too tight of a fit or without letting the excess compound escape, you’ll expand the wrist pin rendering it unusable (don’t ask me how I know).
 With the rivets in place on one end of each of the wrist pins, carefully turn the head of the rivet down to match the O.D. of the wrist pin (slightly smaller will not hurt).
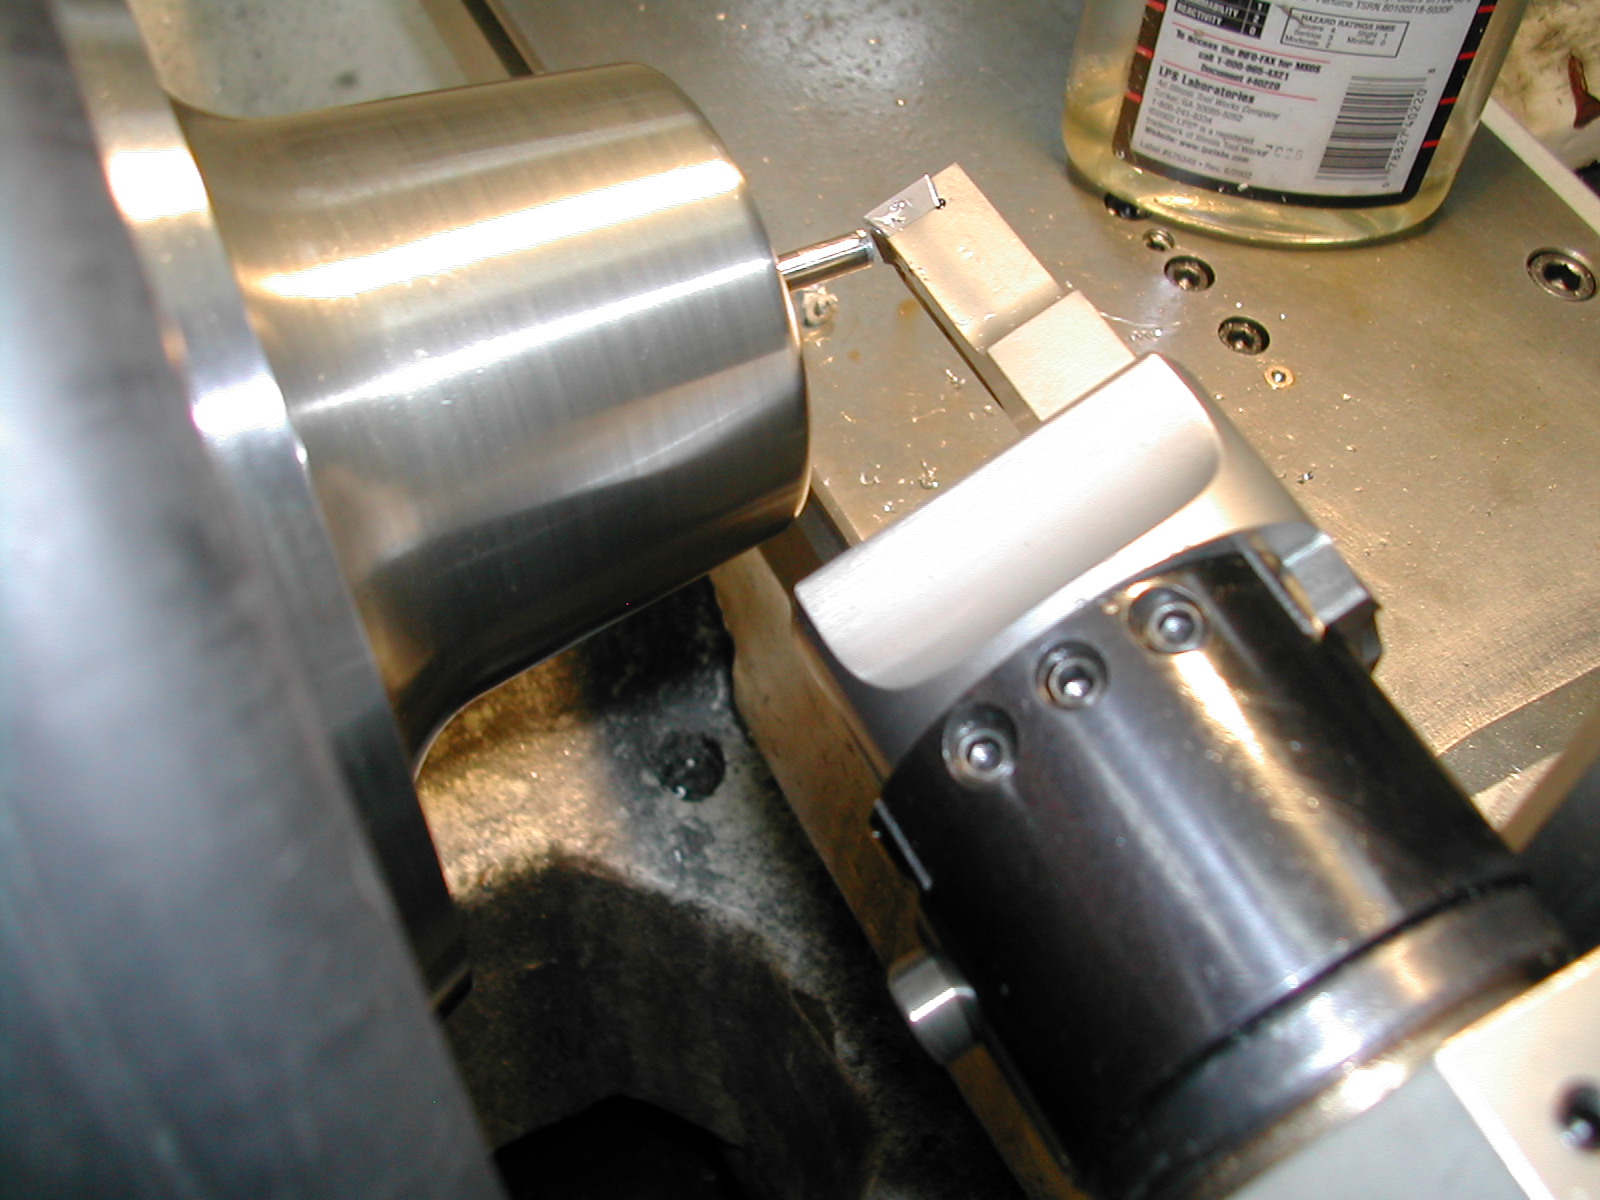 Now add the 1.000″ spherical radius to the head of the rivet turning it a wrist pin button. The tool I’m using for this is my boring head ball turner.
Now with one end of each wrist pin complete, flip them over and repeat the above steps to complete the button on the other end.
Disclaimer and License
All material, including the CAD drawings, relating to the construction of the Hodgson Radial presented on this site is free to use any way you see fit. However, no guarantees are made regarding the accuracy or correctness of the material presented here.