
- Inspiration and Design
- Machining Blanks for Hones
- Cut Out Hones and Machine
- Finish External Hone Project
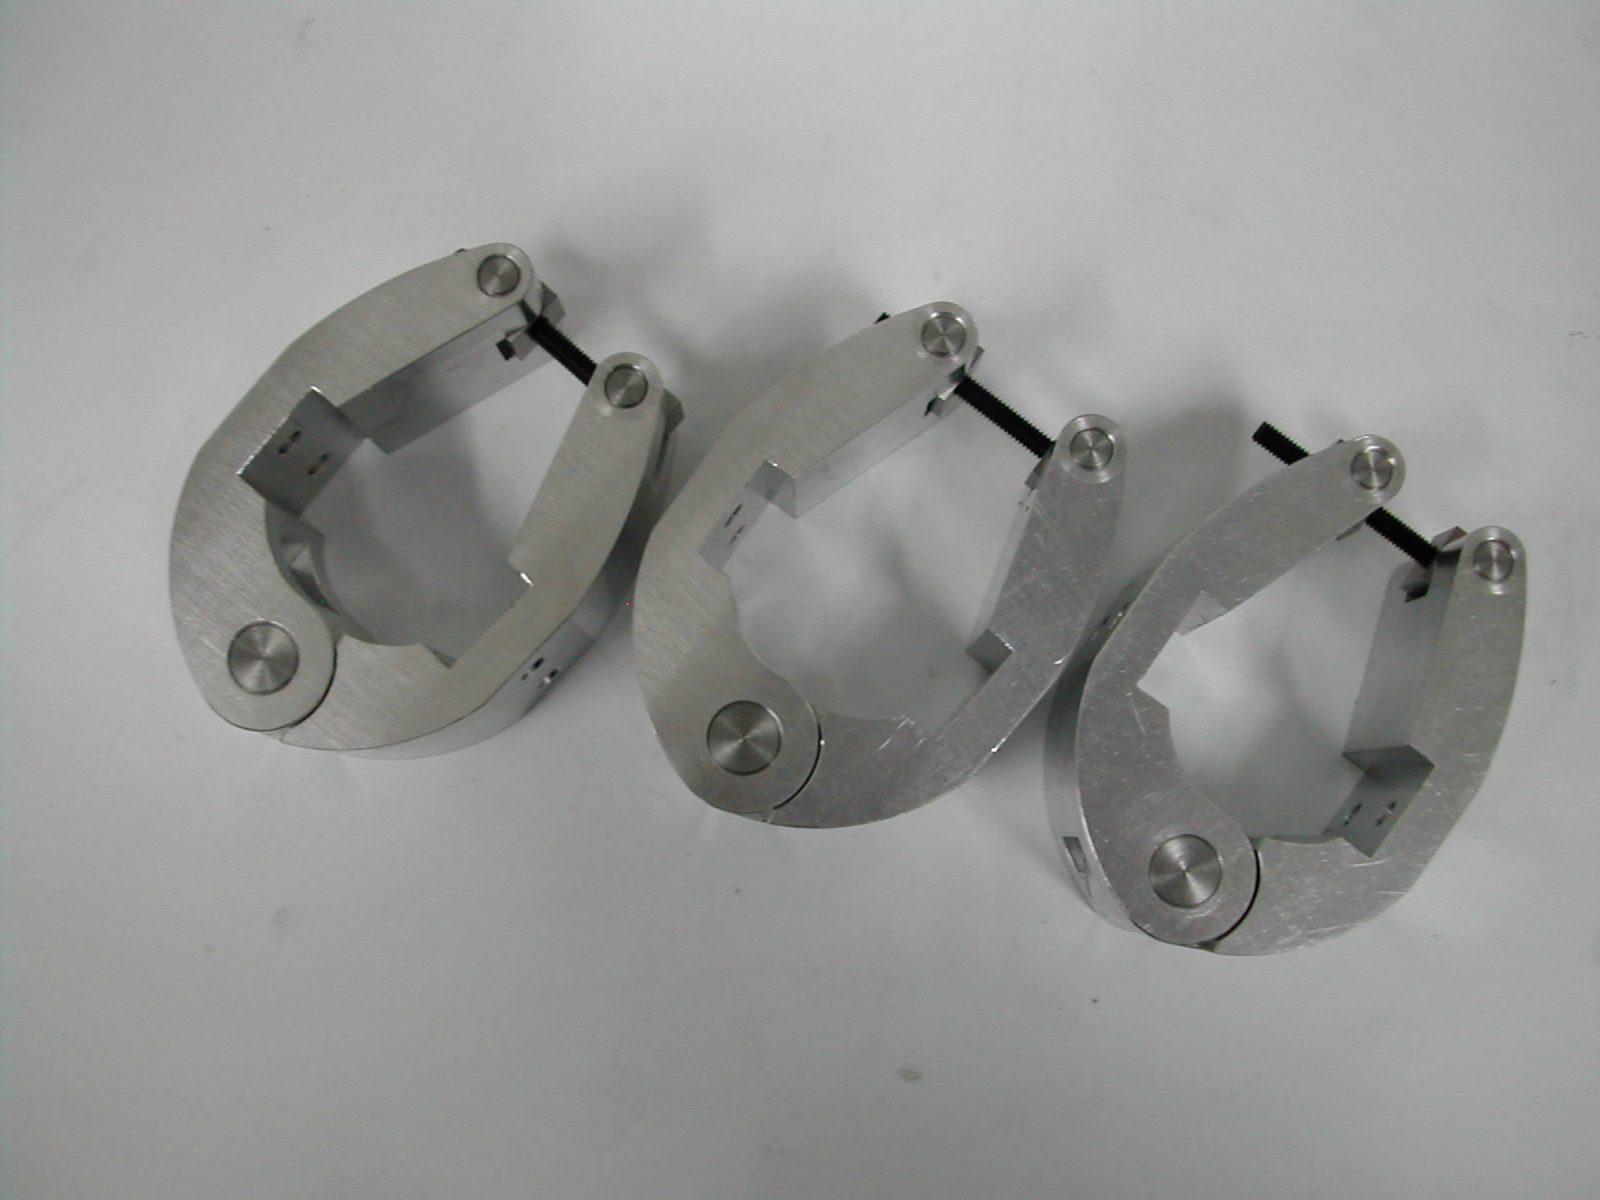 Dry fit all the pieces and make sure each of the hone bodies opens and closes smoothly with no drag or catching. Any sloppiness in the hinge will affect the hone’s ability to hold close tolerances.
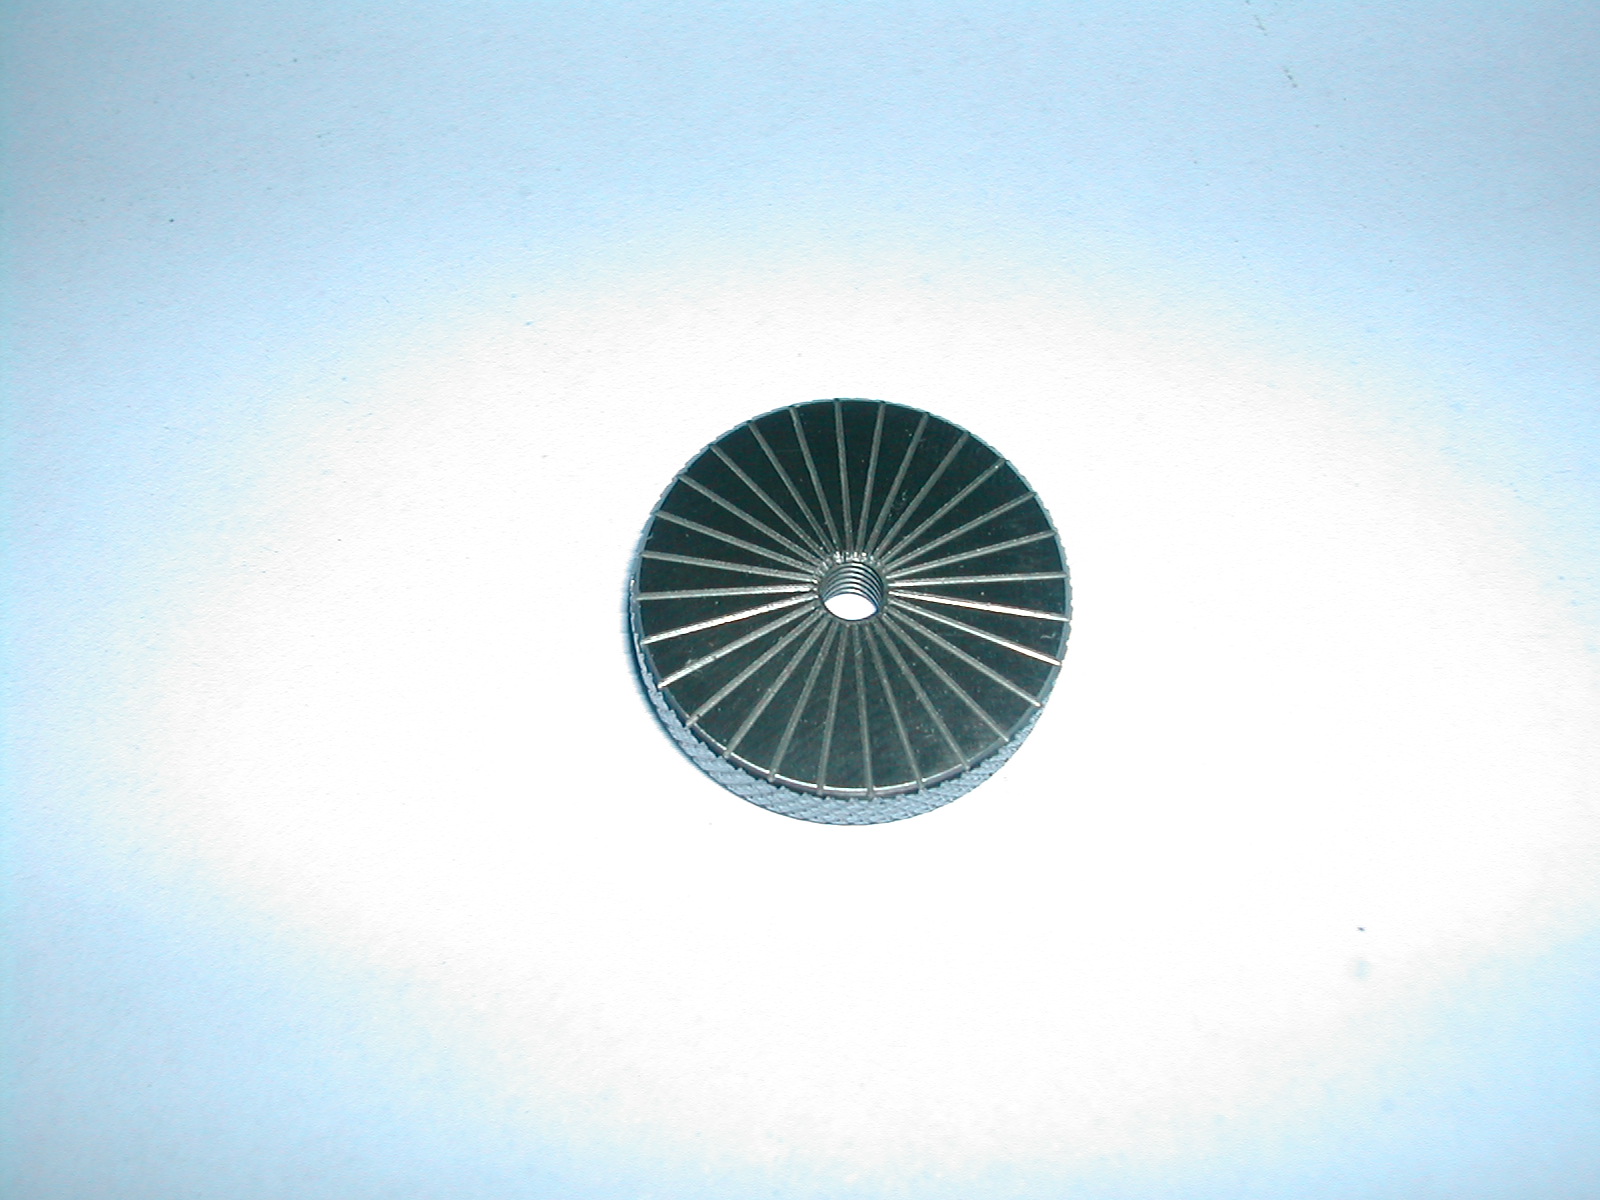 The geometry of the hones is such that for every millimeter of movement at the adjusting screw, the diameter change at the honing point is about 0.4mm. With a M4x0.7 screw for our adjuster, that comes out to 0.28mm change in diameter. So, if we engrave our indicator with 28 graduations, each division should be about 0.01mm on the diameter.
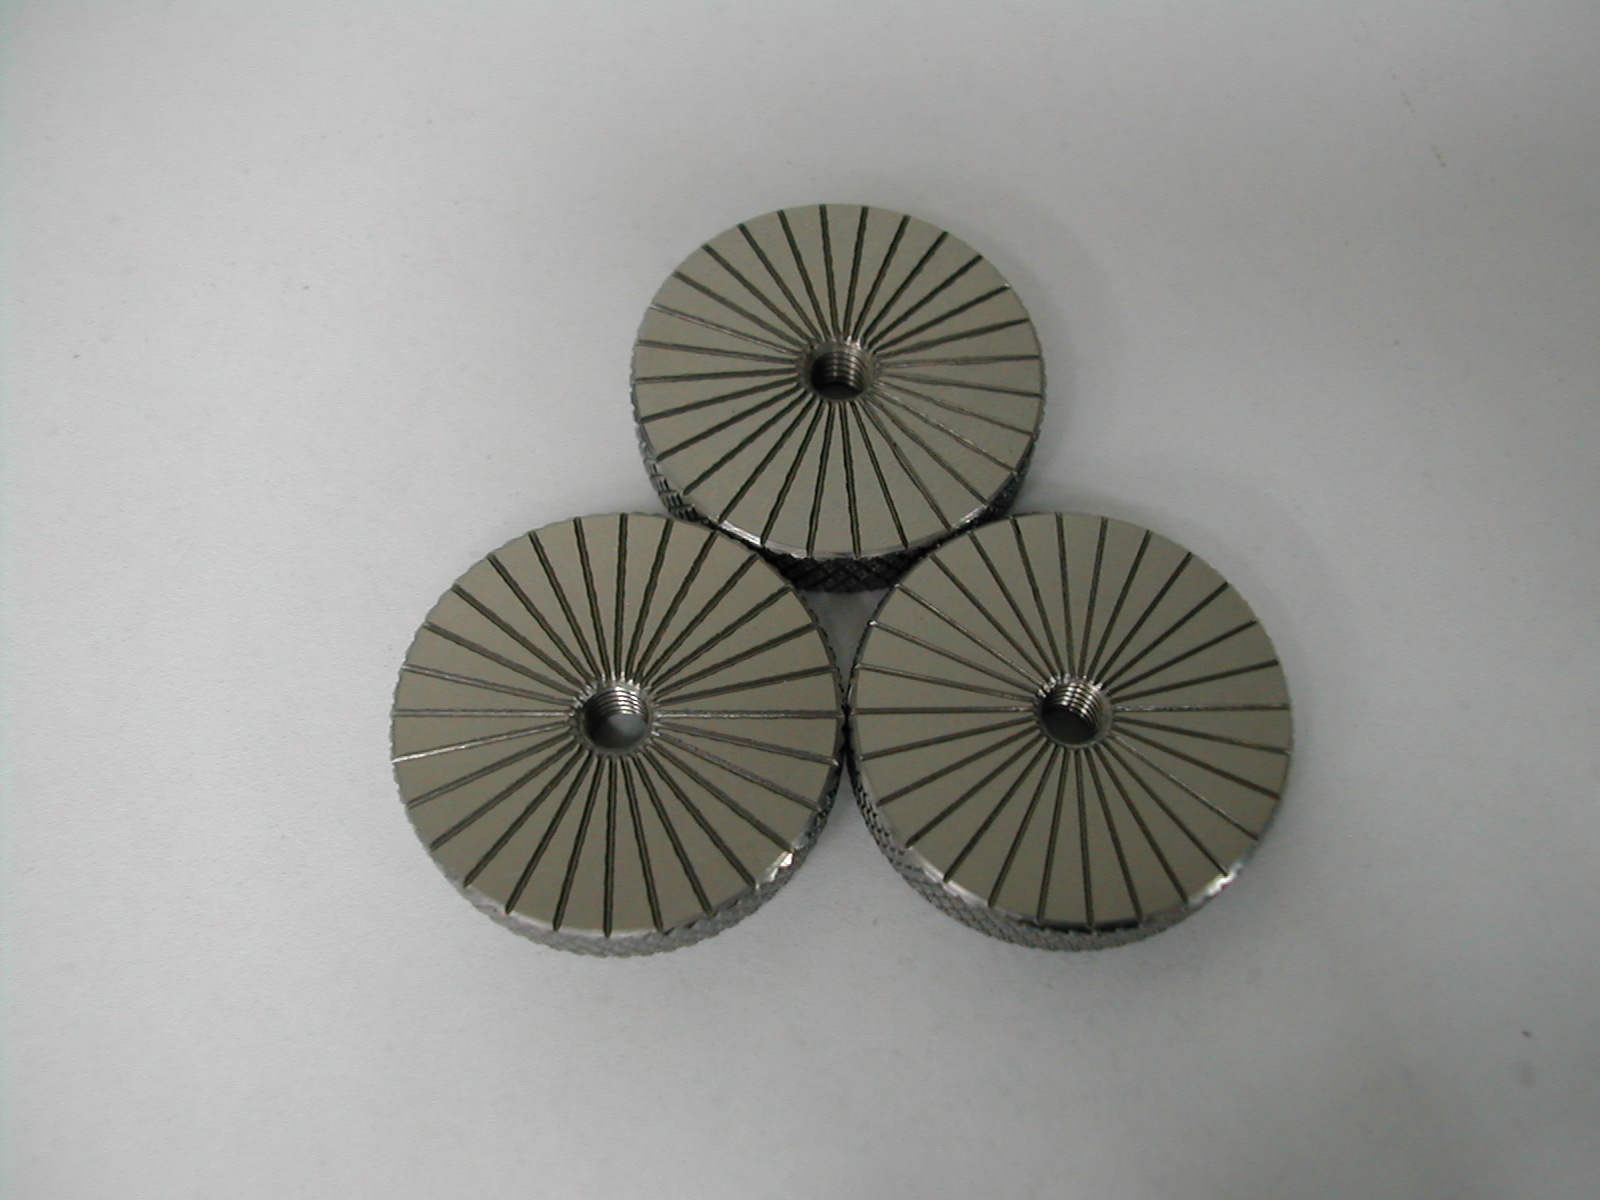
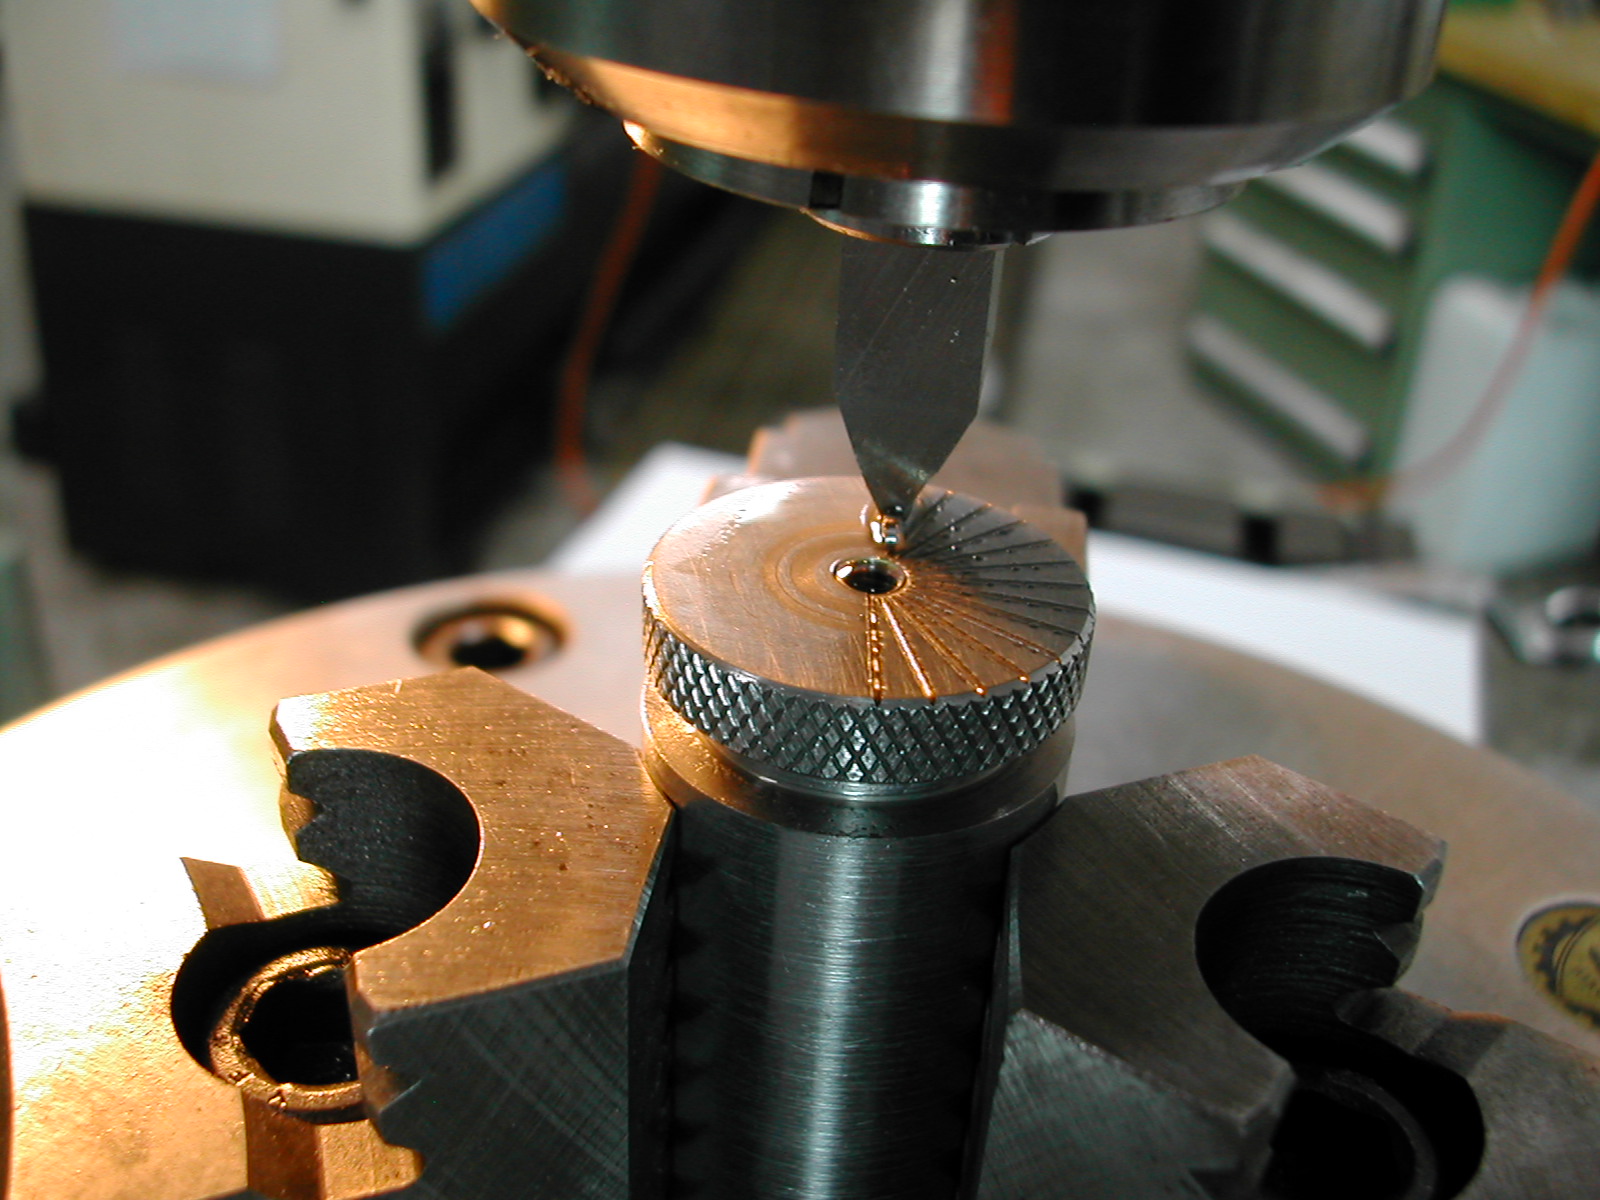 I knurled and tapped one indicator but did not part it completely from the stock. With the stock set up on the rotary table (or dividing head if you have one), I’m using a “V” cutter to engrave the divisions about 0.2mm deep.
With the engraving finished, it’s back to the lathe to finish parting off the indicator and prepare the next one.
 Repeat the above as needed. When all indicators have been engraved, add an M3 tapped cross hole for a soft-point setscrew to lock the indicator to the adjusting shaft, and finish with a light lapping of both sides of the indicator dial.
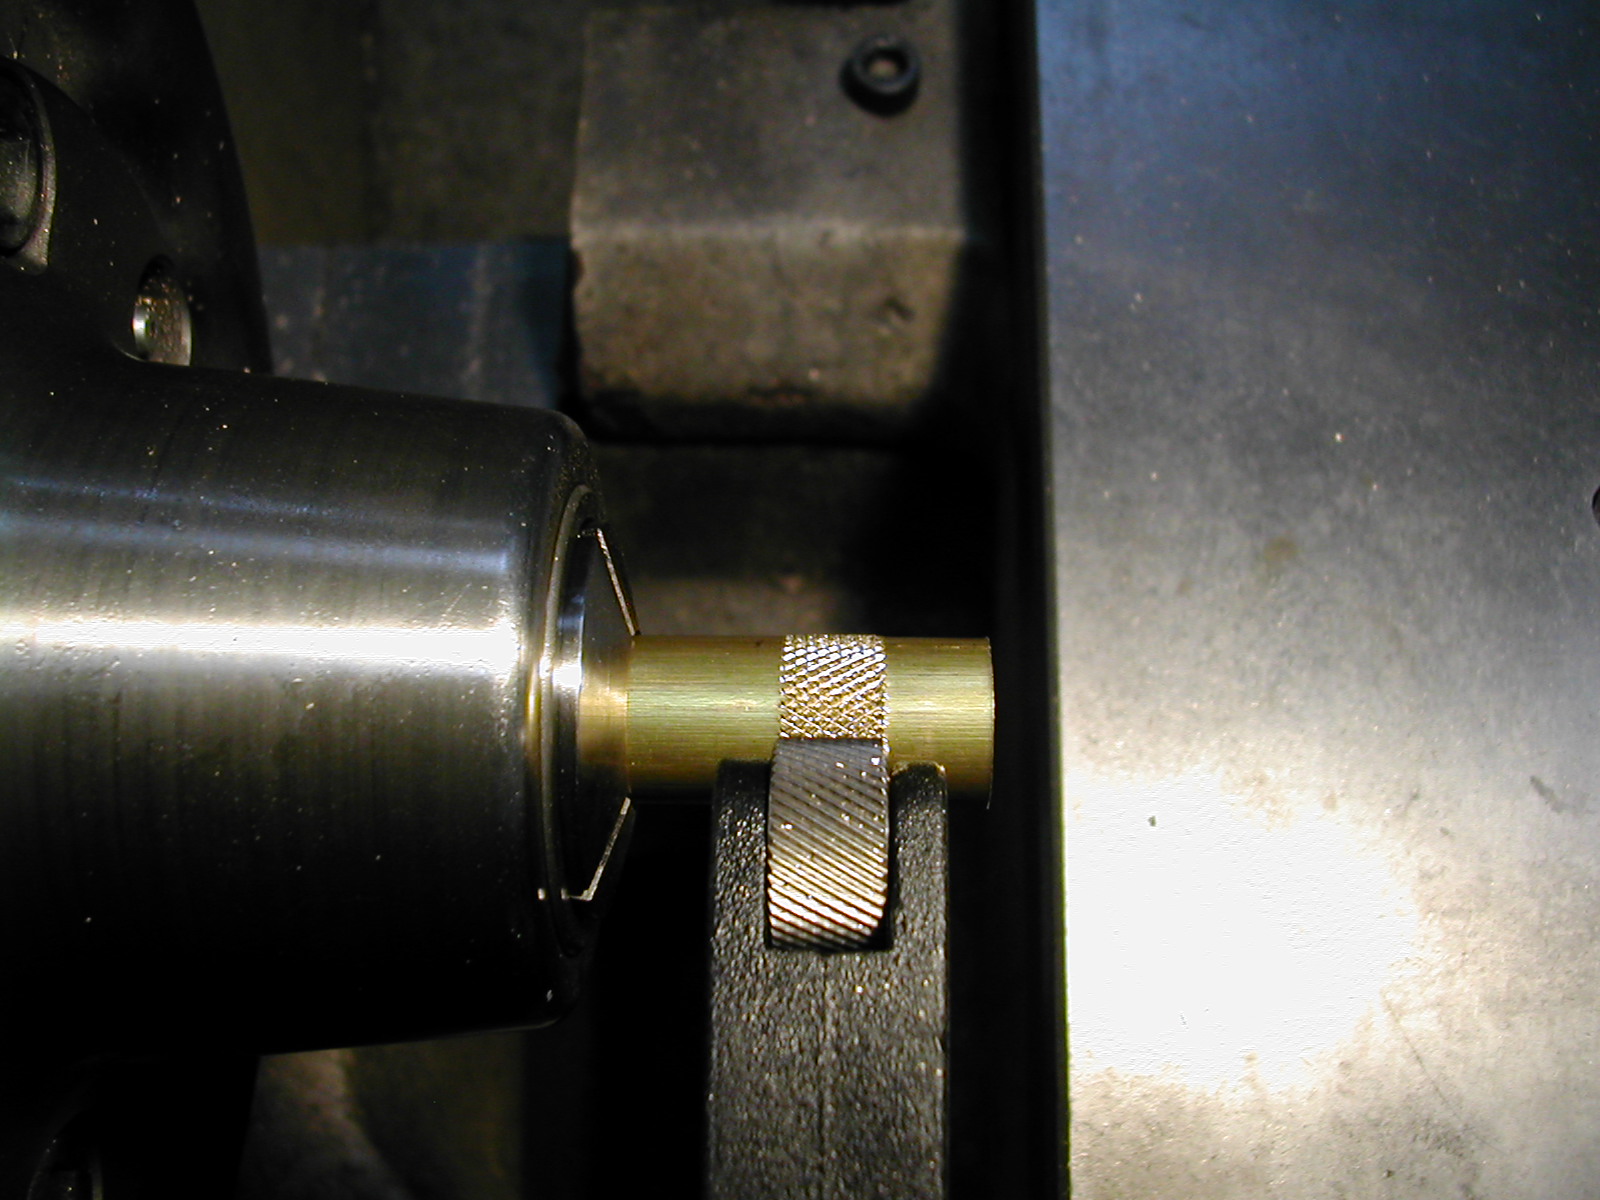 The adjustment knobs are made from brass and we begin by knurling. After the knurling is complete, a blind M4 hole is tapped in the end of the adjuster.
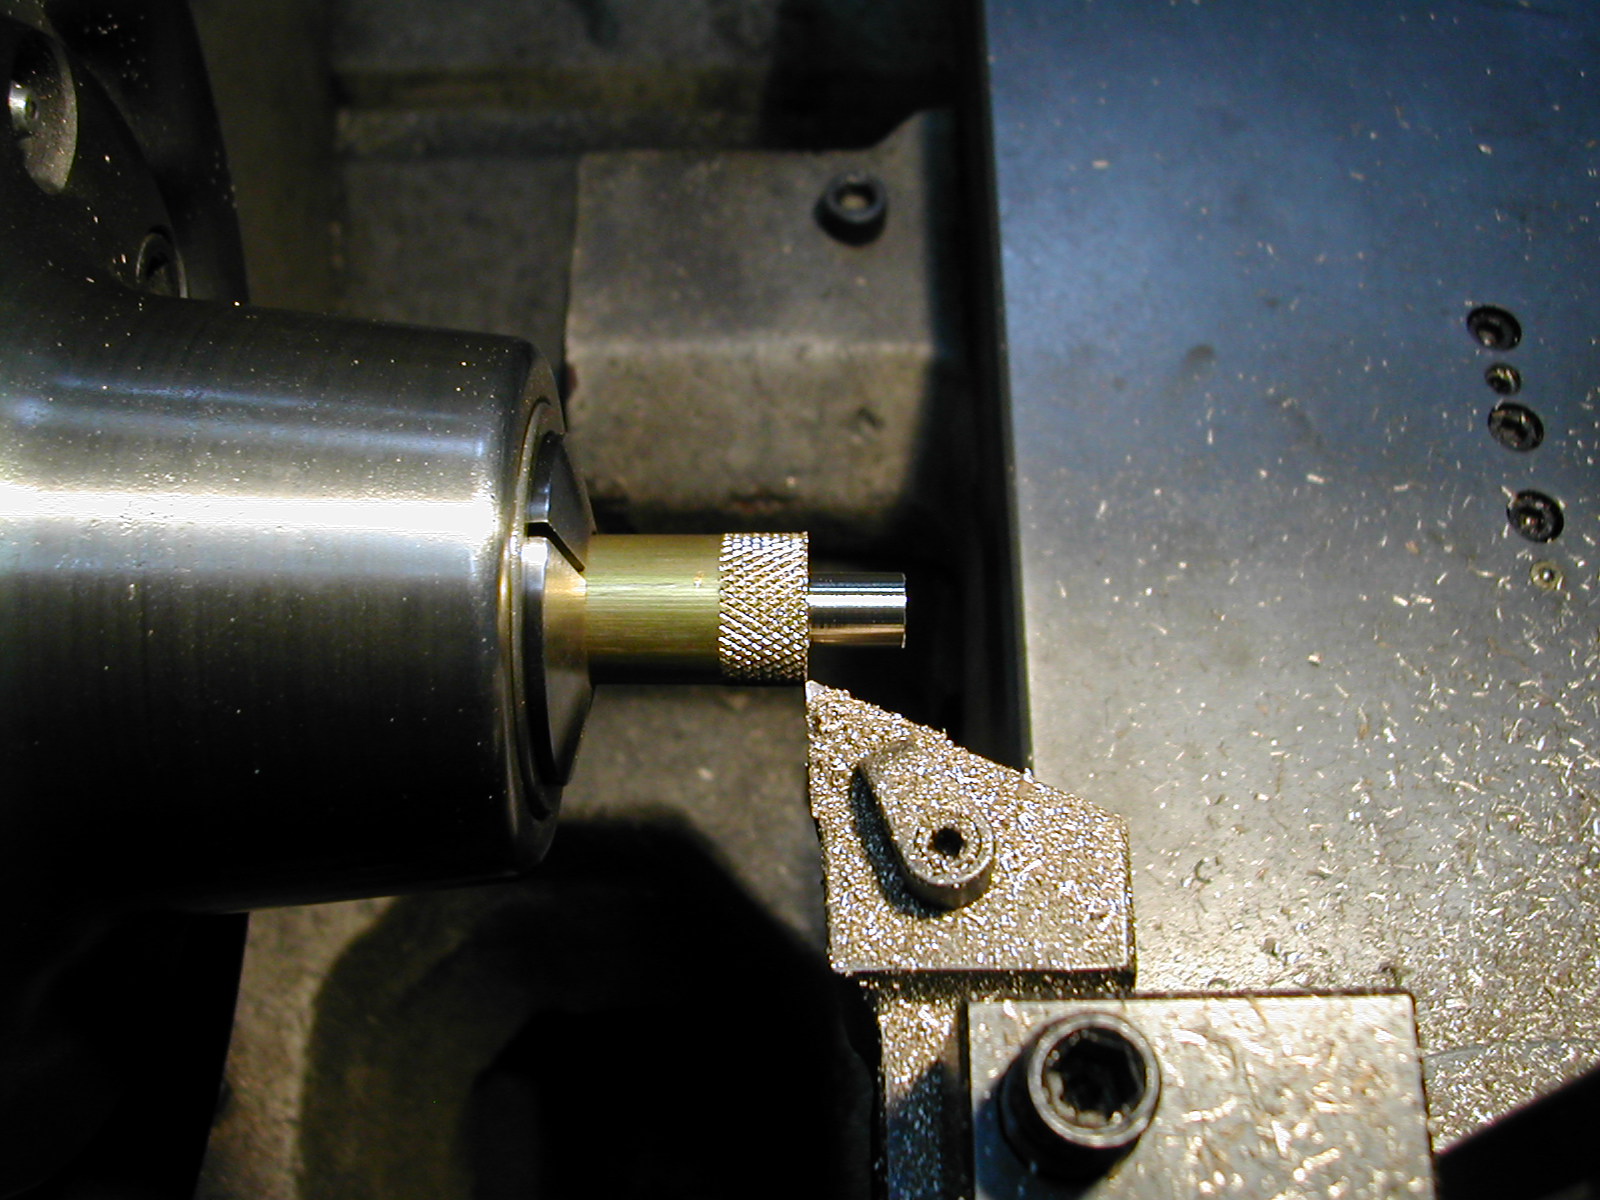 Next, the neck of the adjuster is turned down to approximately 1mm smaller than the ID of the spring. The springs I used were Lee Spring LCM095E03M.
 A quick chamfer to knock the sharp edge off the knurls.
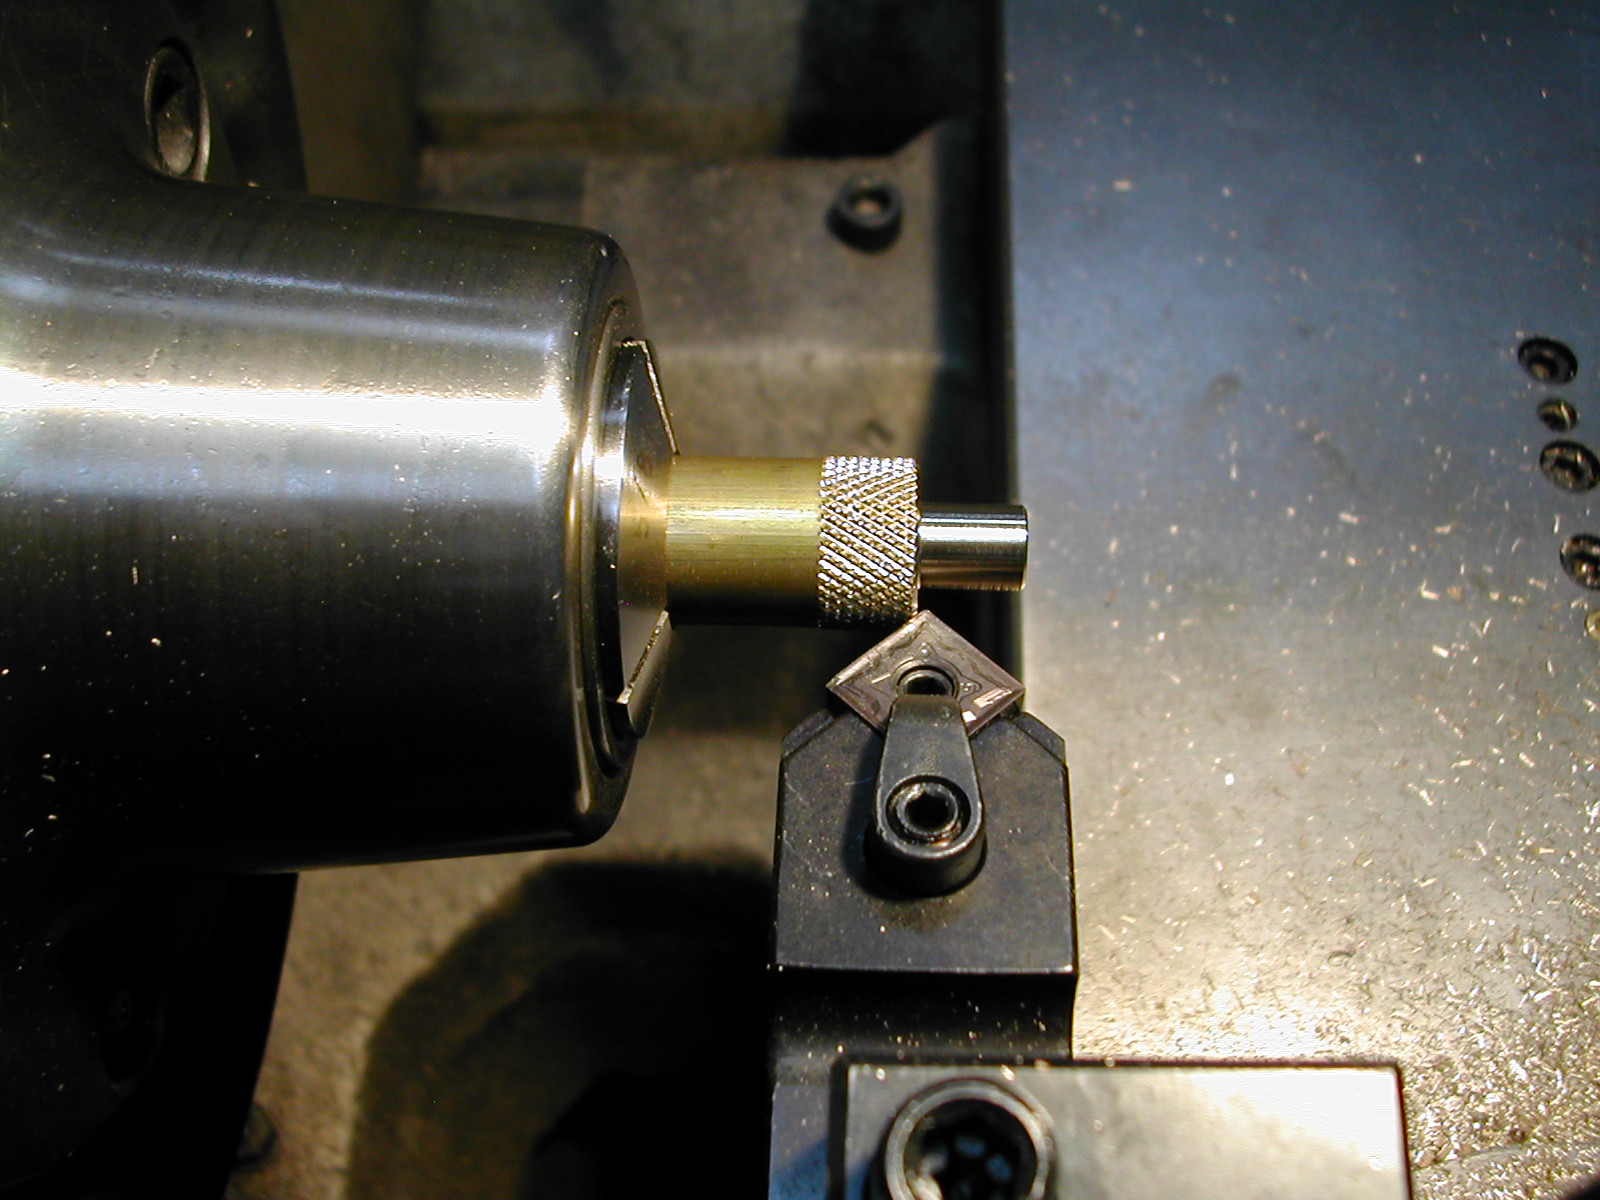
 The part was then chucked on the adjuster neck, faced and chamfered, and a recess was cut with a 4mm ball end mill.
 The only thing remaining are the bronze anvils and the aluminum stone holders. There are a few pieces missing in this shot, but I cut enough stock for three sets of anvils and stone holders.
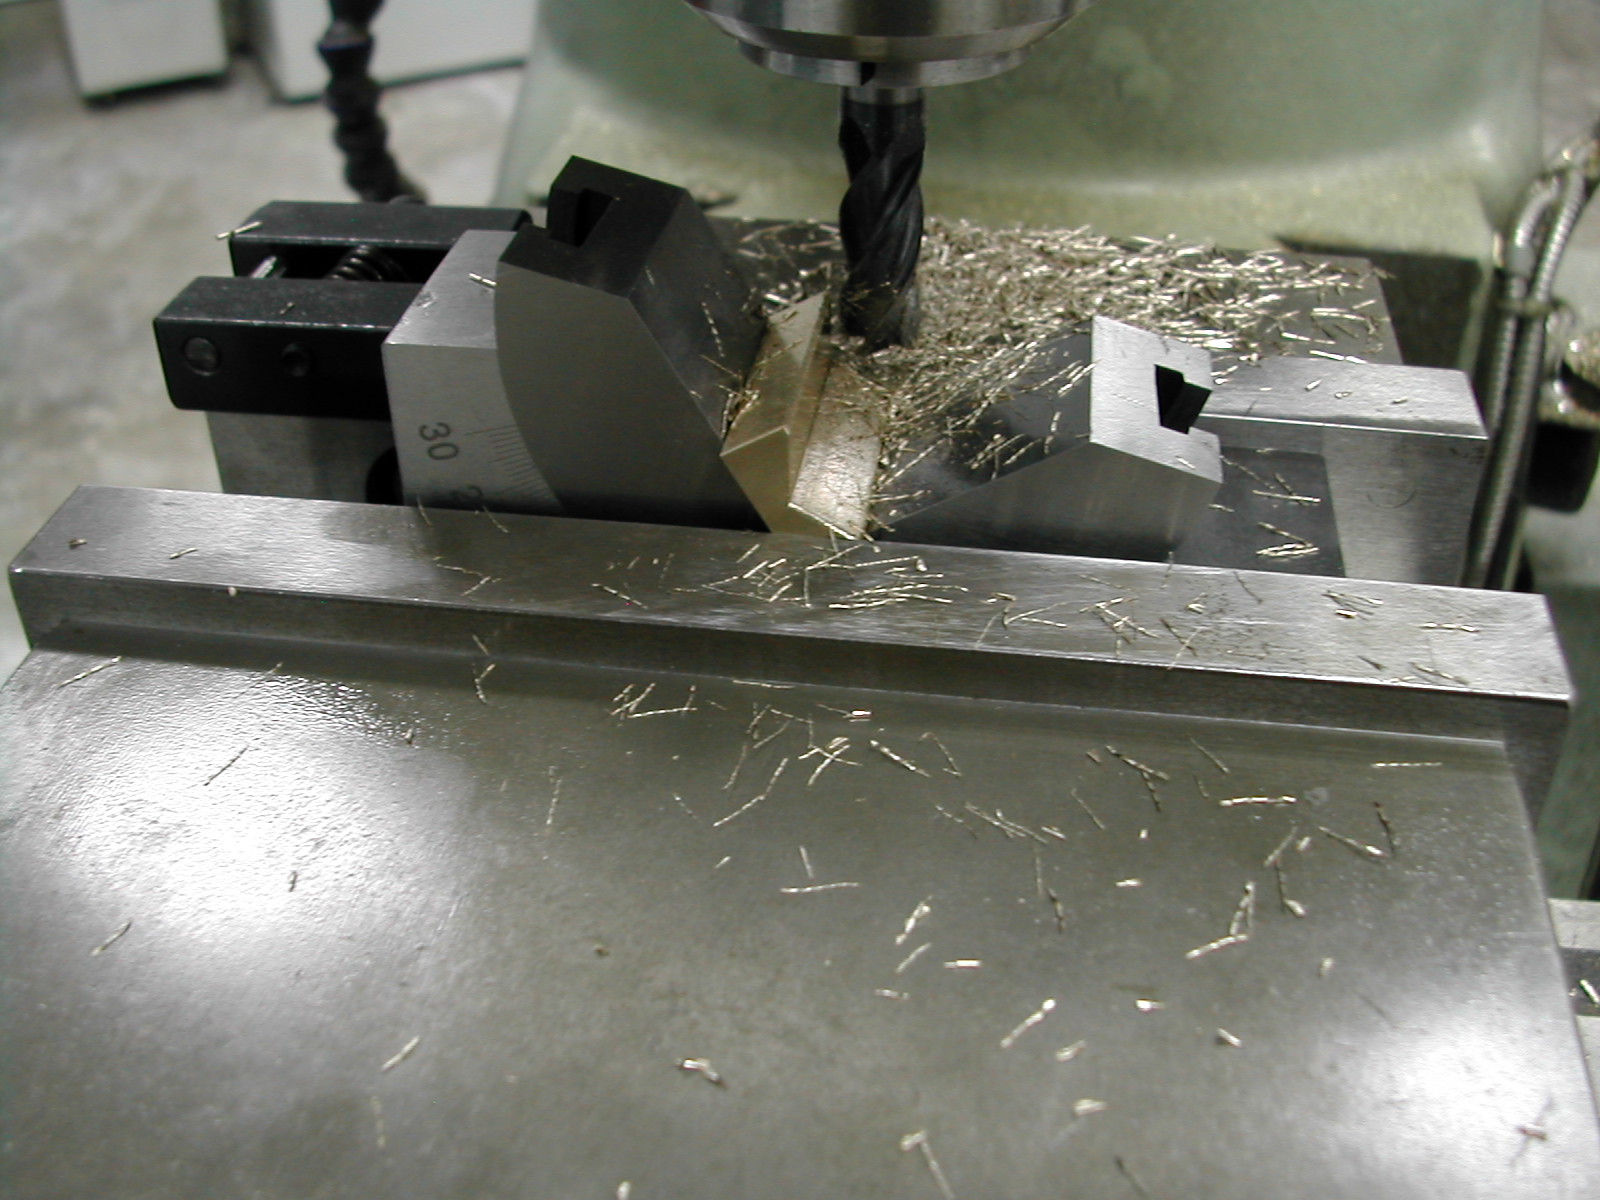
 After sizing all the pieces (adjust the widths as needed to snugly fit the pockets in the hone bodies), I began cutting the v-grooves in the anvils. Try your best to get these centered in the blocks. The small and medium anvils are cut at 90°.
 The large anvils are cut at 120°.
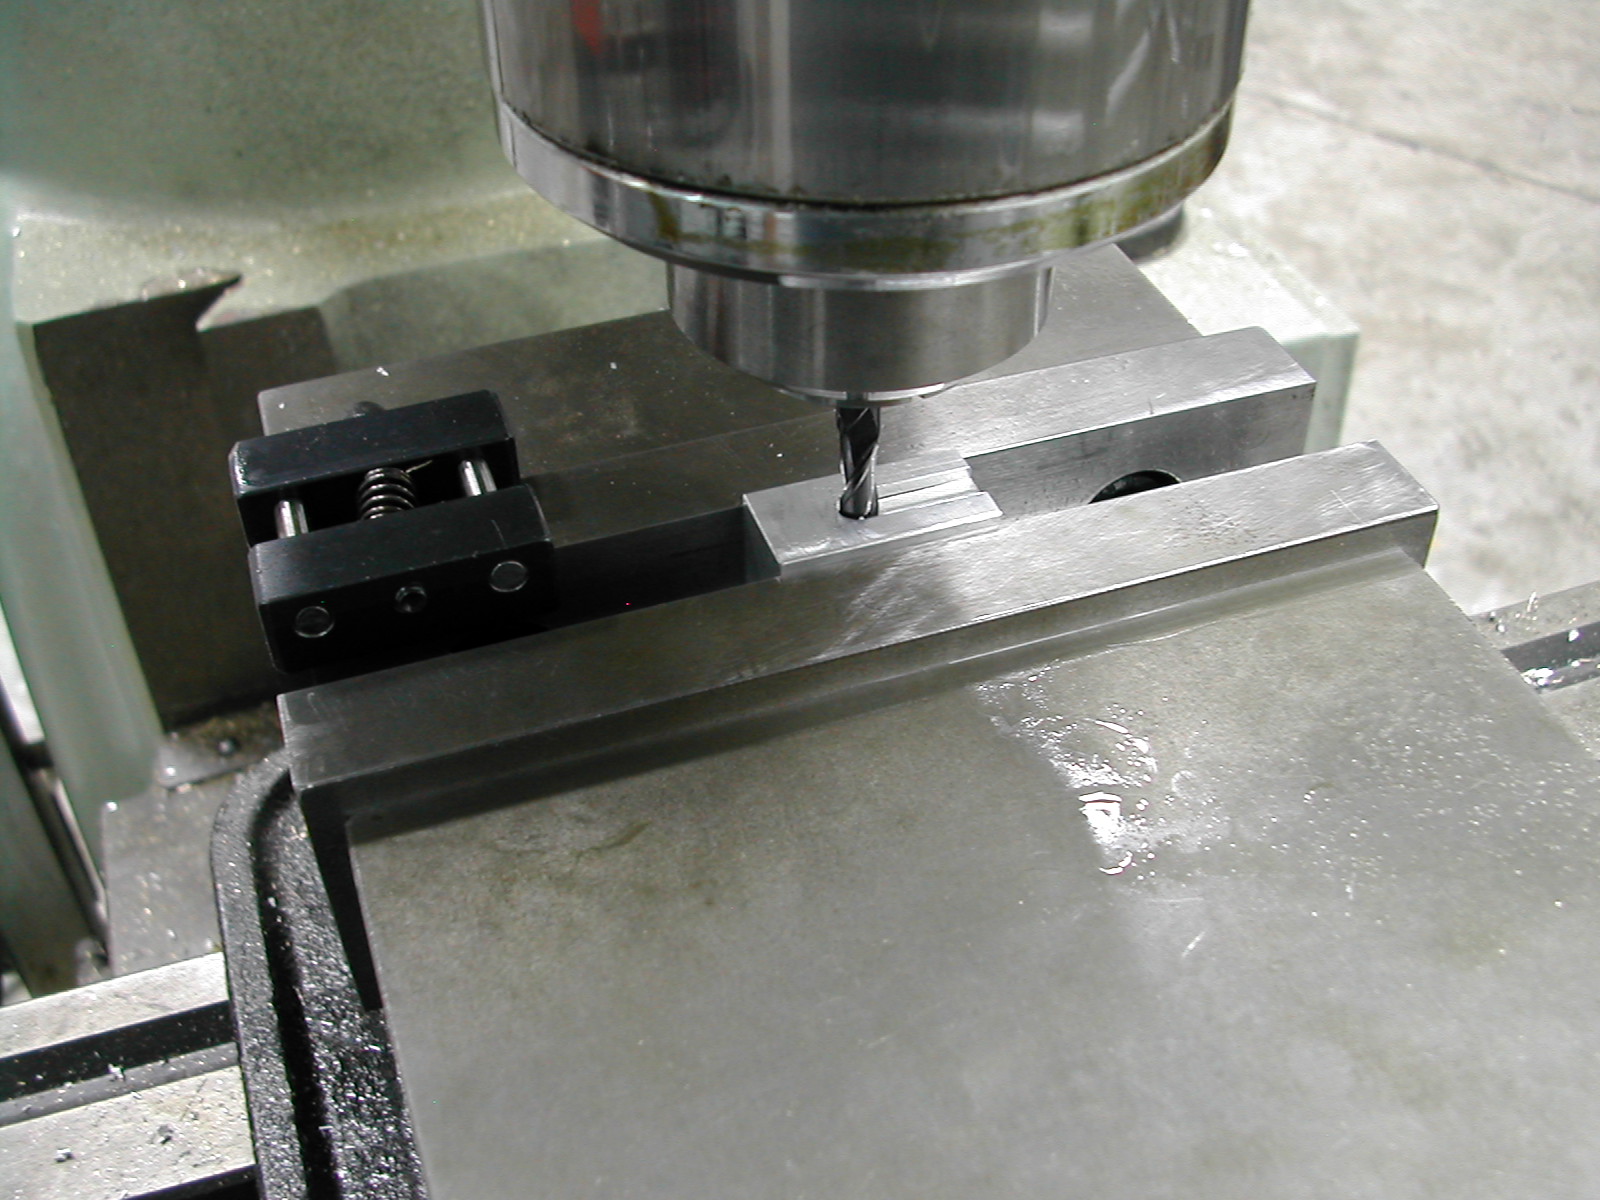 I’m using Boride Abrasives 1/4″ x 1/4″ die finishing sticks for my stones, so I’m grooving the stone holders to fit.
 The M4 tapped holes are added for the button head retention screws.
 The last step on the stone holders and anvils is to stamp or engrave the identification codes. I’m using some 3/32″ stamps to mark mine.
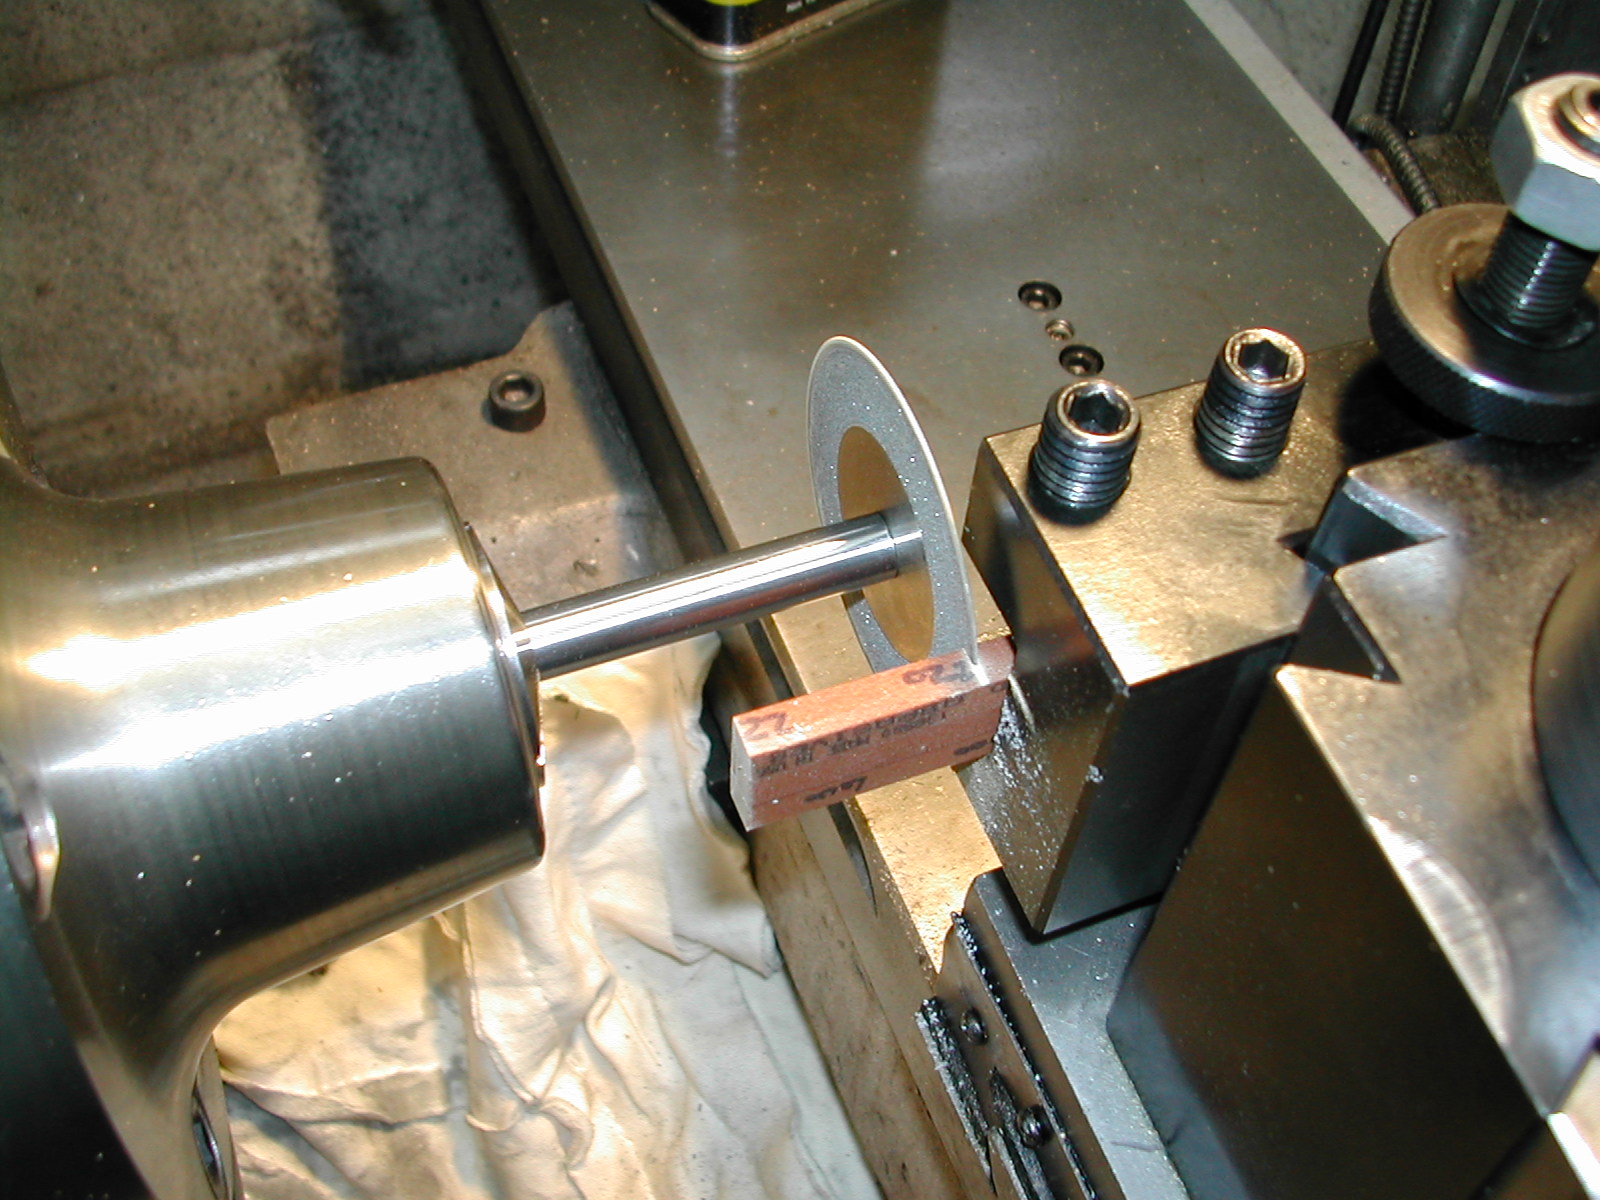 I used a small diamond cutting wheel to cut the die polishing sticks into 32mm lengths for my hones. Since I made three sets of holders, I can mount up some 240, 400, and 600 grit stones. The stones are held in the stone holders with 5-minute epoxy.
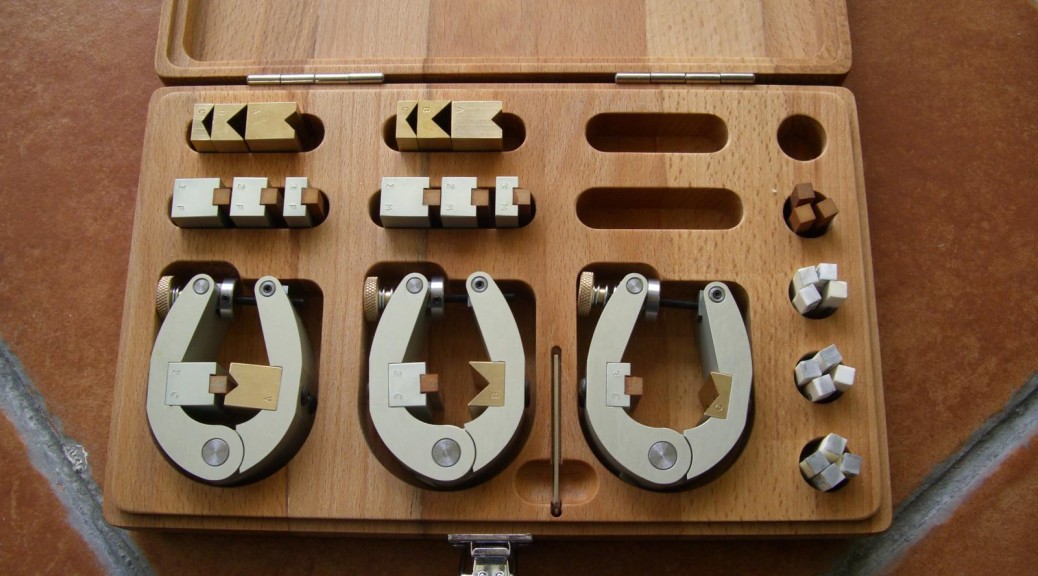
 Here are the completed external hones. This photo show the hones with a previous iteration of the adjuster knobs. These have been changed to the knurled version presented above.
To assemble the hones, Loctite an M4x50mm long set screw into each brass adjuster knob. Assemble the two frame halves with the hinge pin and with the frame fully open, insert the M4x6mm cone point setscrew to lock the hinge pin in place.
Insert the threaded small axle into one side of the lower frame, through one of the 10mm cubes, making sure the threaded axle hole lines up with the hole in the cube, and into the other side of the frame. Do the same for the unthreaded axle in the upper frame half.
Slip the spring over the adjuster knob set screw and onto the neck of the knob. Insert this assembly through the upper axle and pivot block assembly, and thread it into the indicator dial making sure the graduations face up. Continue to thread the indicator dial and begin threading the adjuster shaft into the threaded lower axle. Once the adjuster shaft is threaded into the lower axle, continue threading the adjuster up the shaft until the spring begins to compress.
The amount of compression in the spring sets the honing force. You will want to play with different amounts of preload based on the hardness of the abrasive stones you are using. Once you find a setting you like, insert a M3x5mm soft point setscrew into the cross hole in the indicator and lock the indicator dial in place.
To use, insert the appropriate stone holder and anvil into the frame, slip the frame over your shaft and turn the adjuster know until the anvil and stone just touch your shaft. With your shaft rotating, move the frame side to side if needed and slowly turn the adjuster knob to begin removing material
To stop and check your work without disturbing your size adjustment, place your thumb in the adjuster knob depression, and your index and middle fingers underneath the axle in the upper frame and push down on the adjuster knob. This will open the frame slightly to remove it from the shaft. Reverse this process put the hone back on the shaft to continue honing where you left off.
With a new stone, you may need to true it before it’s first use. To do this, insert the stone holder with the mounted stone along with the appropriate anvil into the frame. Using a pencil, rub the surface of the stone, and then proceed to lightly hone a test shaft. Remove the hone frame from the shaft and check the pencil marks on the stone. Wherever the pencil mark has been removed is a high spot on the stone. Use a small diamond file to remove some additional material from this area, and repeat this process until the pencil mark is evenly removed across the entire stone surface when test honing.
Once this truing is done on a new stone, it should not be required again until the stone is replaced.
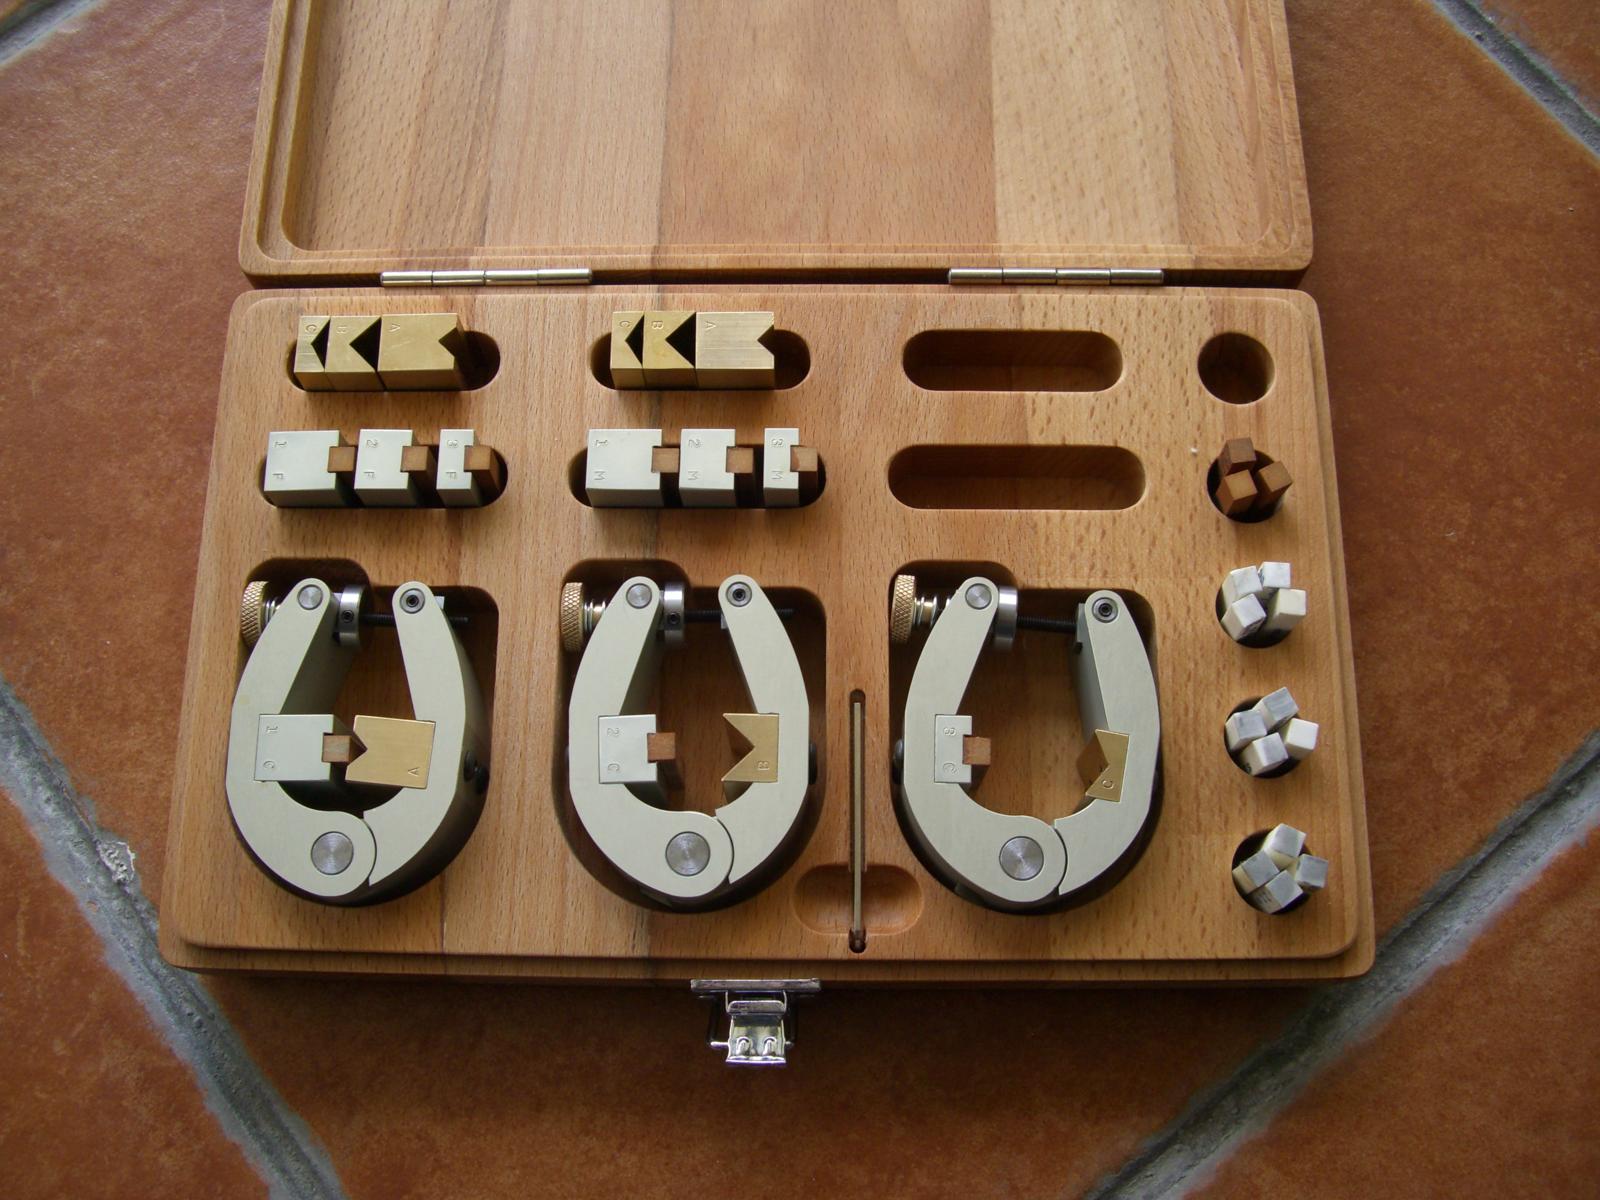 A nice tool deserves a nice case don’t you think? Happy honing!
All material, including the CAD drawings, relating to the construction of the External Hone presented on this site is free to use any way you see fit. However, no guarantees are made regarding the accuracy or correctness of the material presented here.
CAD Files Used On This Page (AutoCAD 2010 Format)
- All CAD files (4.6M .zip)
- Rotary table process plan (4K .txt)
- Engraving division degrees (24K .xls)