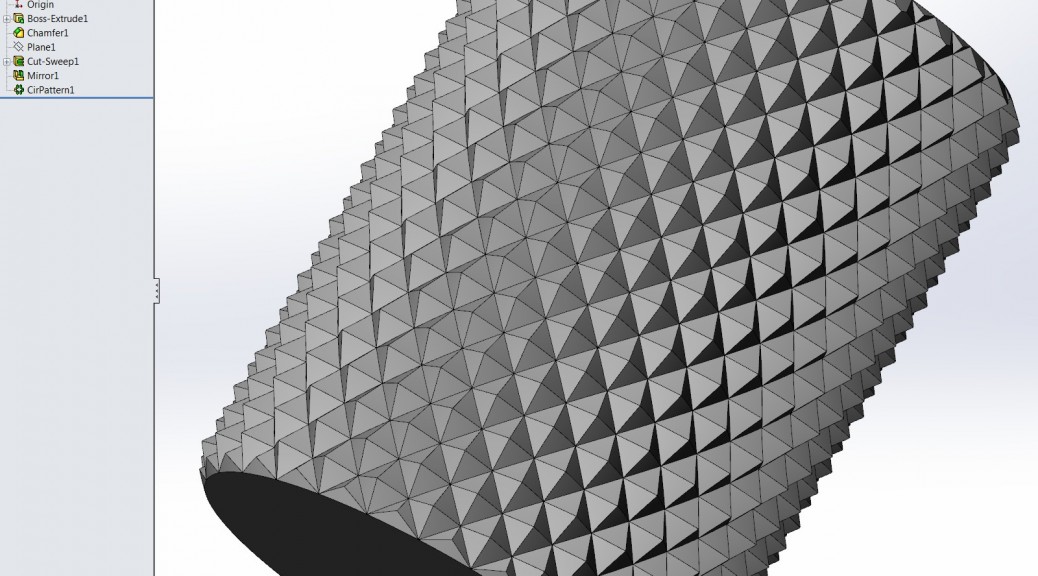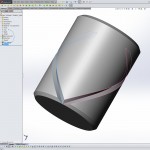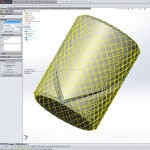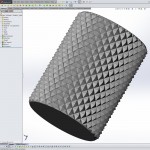
The steps below will guide you in creating a realistic and accurate knurl in SolidWorks. You probably will not want to do this every time as it will greatly increase the part size and load time, but it is necessary if you plan on 3D printing or molding your part.
This procedure will generate a 90° diamond pattern knurl.
“LPI” = lines per inch for the knurl (≈40 for a fine knurl, ≈20 for coarse)
- Generate a cylinder for the knurl (ex. ø0.762″ x 1.0″ with a 32 LPI knurl)
- Chamfer both edges >= 1/LPI x 45°
- Insert / Curve / Helix/Spiral
- select the end face of the cylinder for the starting surface
- convert the cylinder OD edge to the sketch
- exit sketch
- select Height & Pitch and Constant pitch for the helix
- Height = length of cylinder
- Pitch = diameter of cylinder * PI
- Start angle = 0
- select OK to exit the helix dialog
- Select the endpoint of the helix and then the helix curve
- Insert / Reference Geometry / Plane
- select OK
- Create a sketch on the new plane
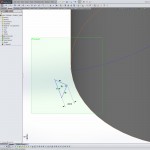
- sketch a 45°x45°x90° triangle with height = 1/LPI
- add a Pierce relationship between the midpoint of the base of the triangle and the helix
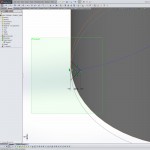
- add a Tangent relationship between the base of the triangle and the circle used to generate the helix (you may need to un-hide the helix sketch)
- exit the sketch
- Hide the plane and the helix sketch
- Select the triangle sketch and the helix from the feature tree
- Insert / Cut / Sweep…
- select OK
- Mirror the swept-cut feature
- Select the cut-sweep and mirror features from the feature tree

