
- Timberframing Basics
- Timberframe Advanced Week
I took my vacation in 2010 in Maine learning to timberframe at the Fox Maple School of Timberframing. It was great.
Here’s the main office at Fox Maple. This was a combination of two class projects, a two-bent saltbox, and a three-bent
high-posted cape built in the Fall 1994 & Spring 1996 workshops.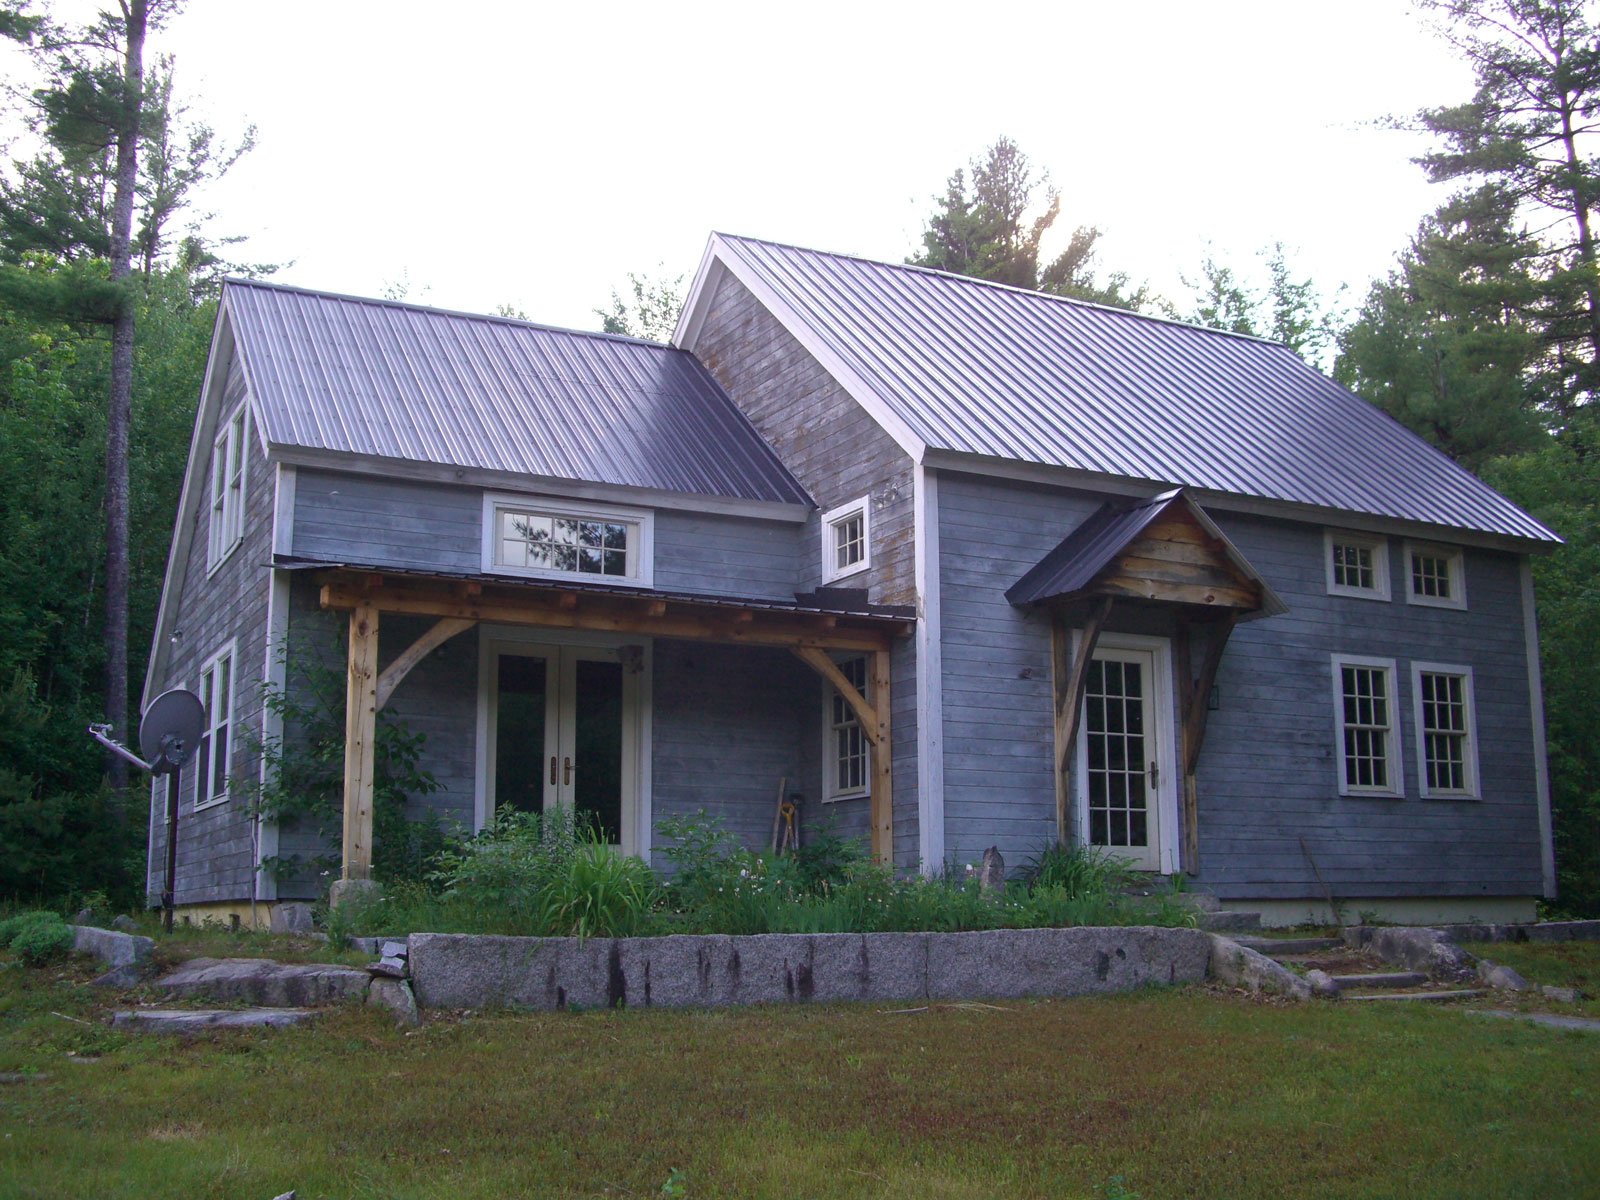 I attended both the Introductory and Advanced workshops in Spring of 2010. After four days of classroom instruction, we were set loose to start making shavings. In answer to the question we all asked in high school: what will I ever need this trig stuff for? This is it!
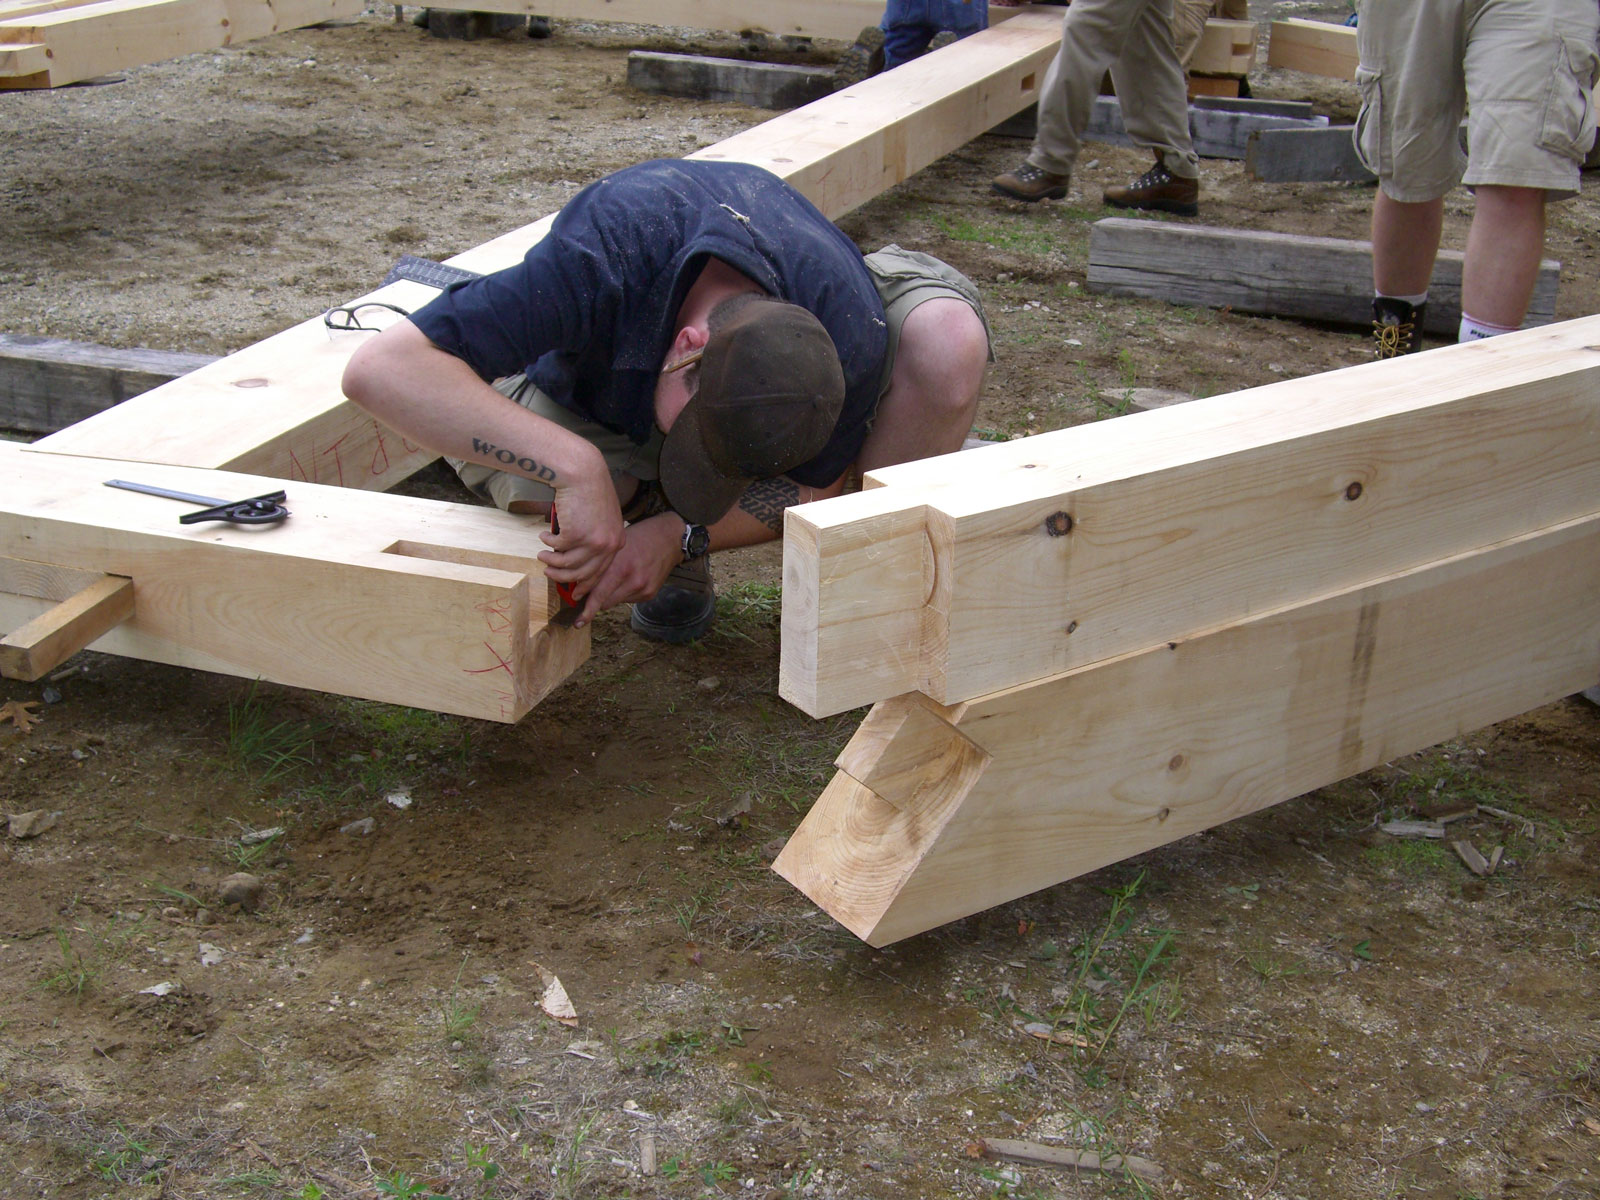
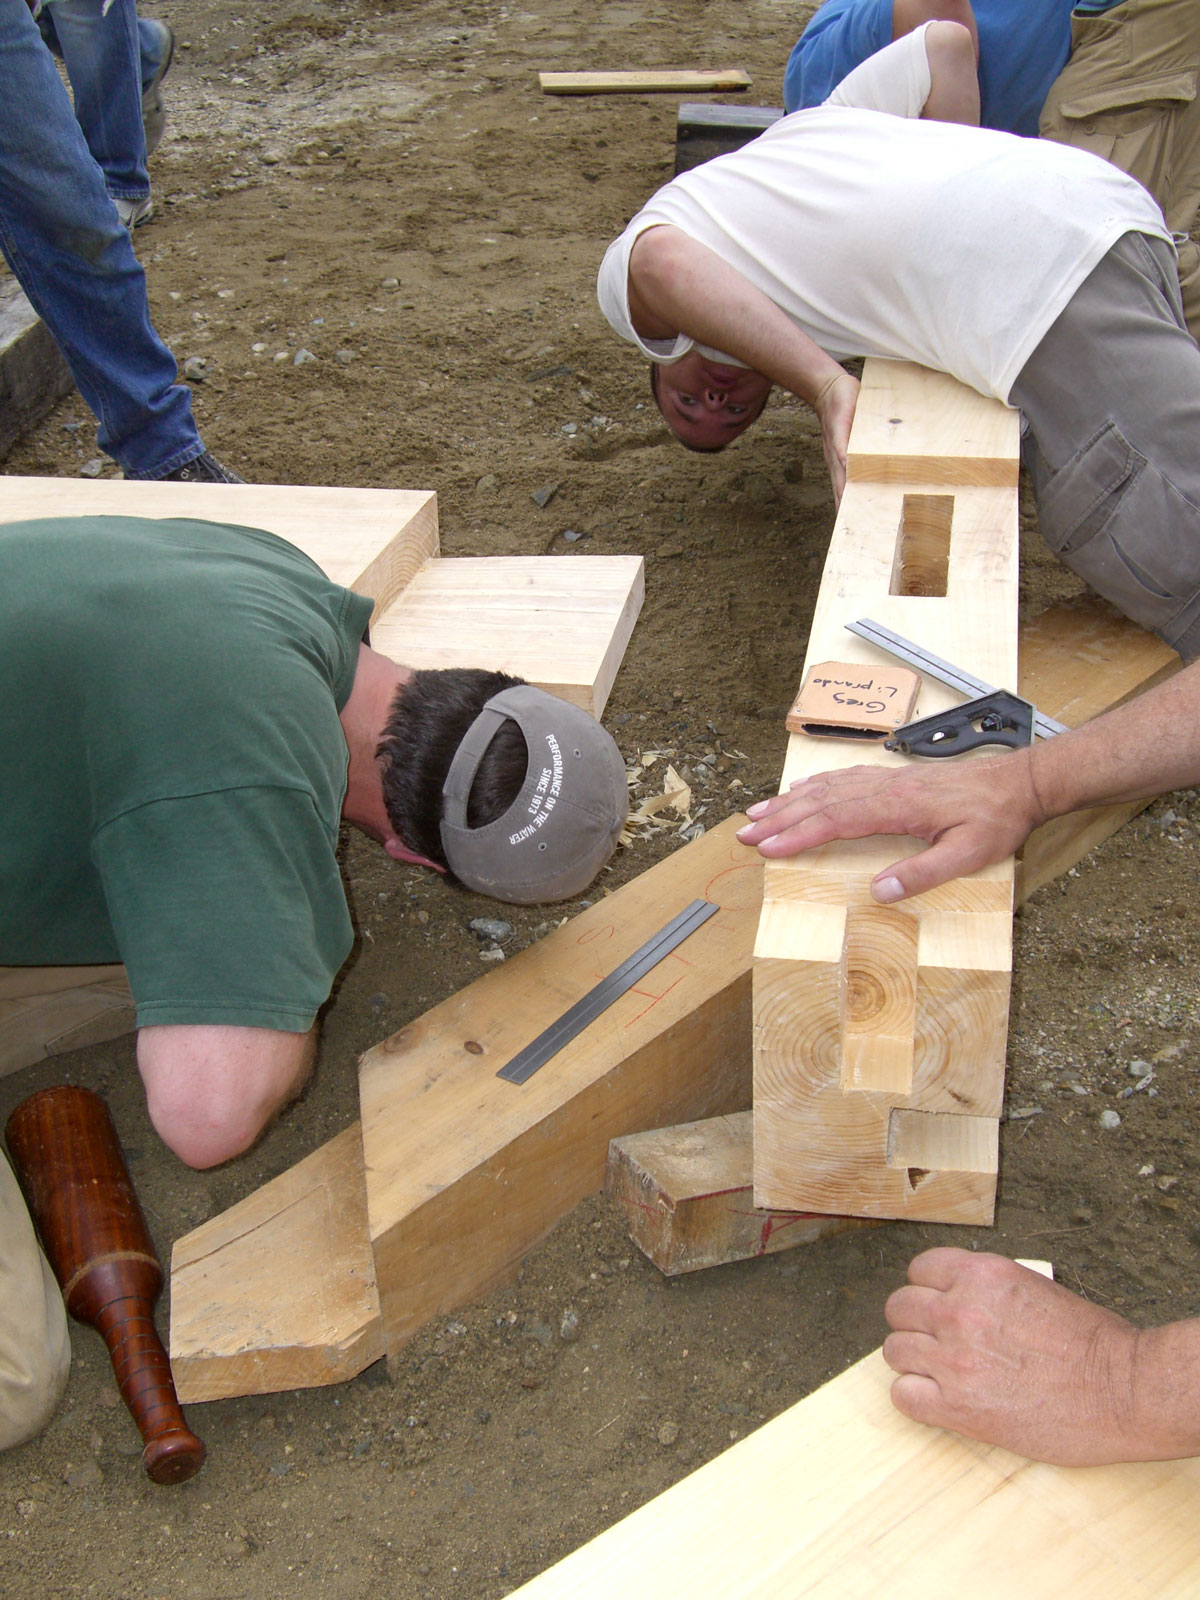
Our introductory class’s project was a 22’x32′ Hammerbeam Cape with three bents made from white pine with oak braces. Here, I’m cutting the fork portion of a tongue-and-fork rafter joint.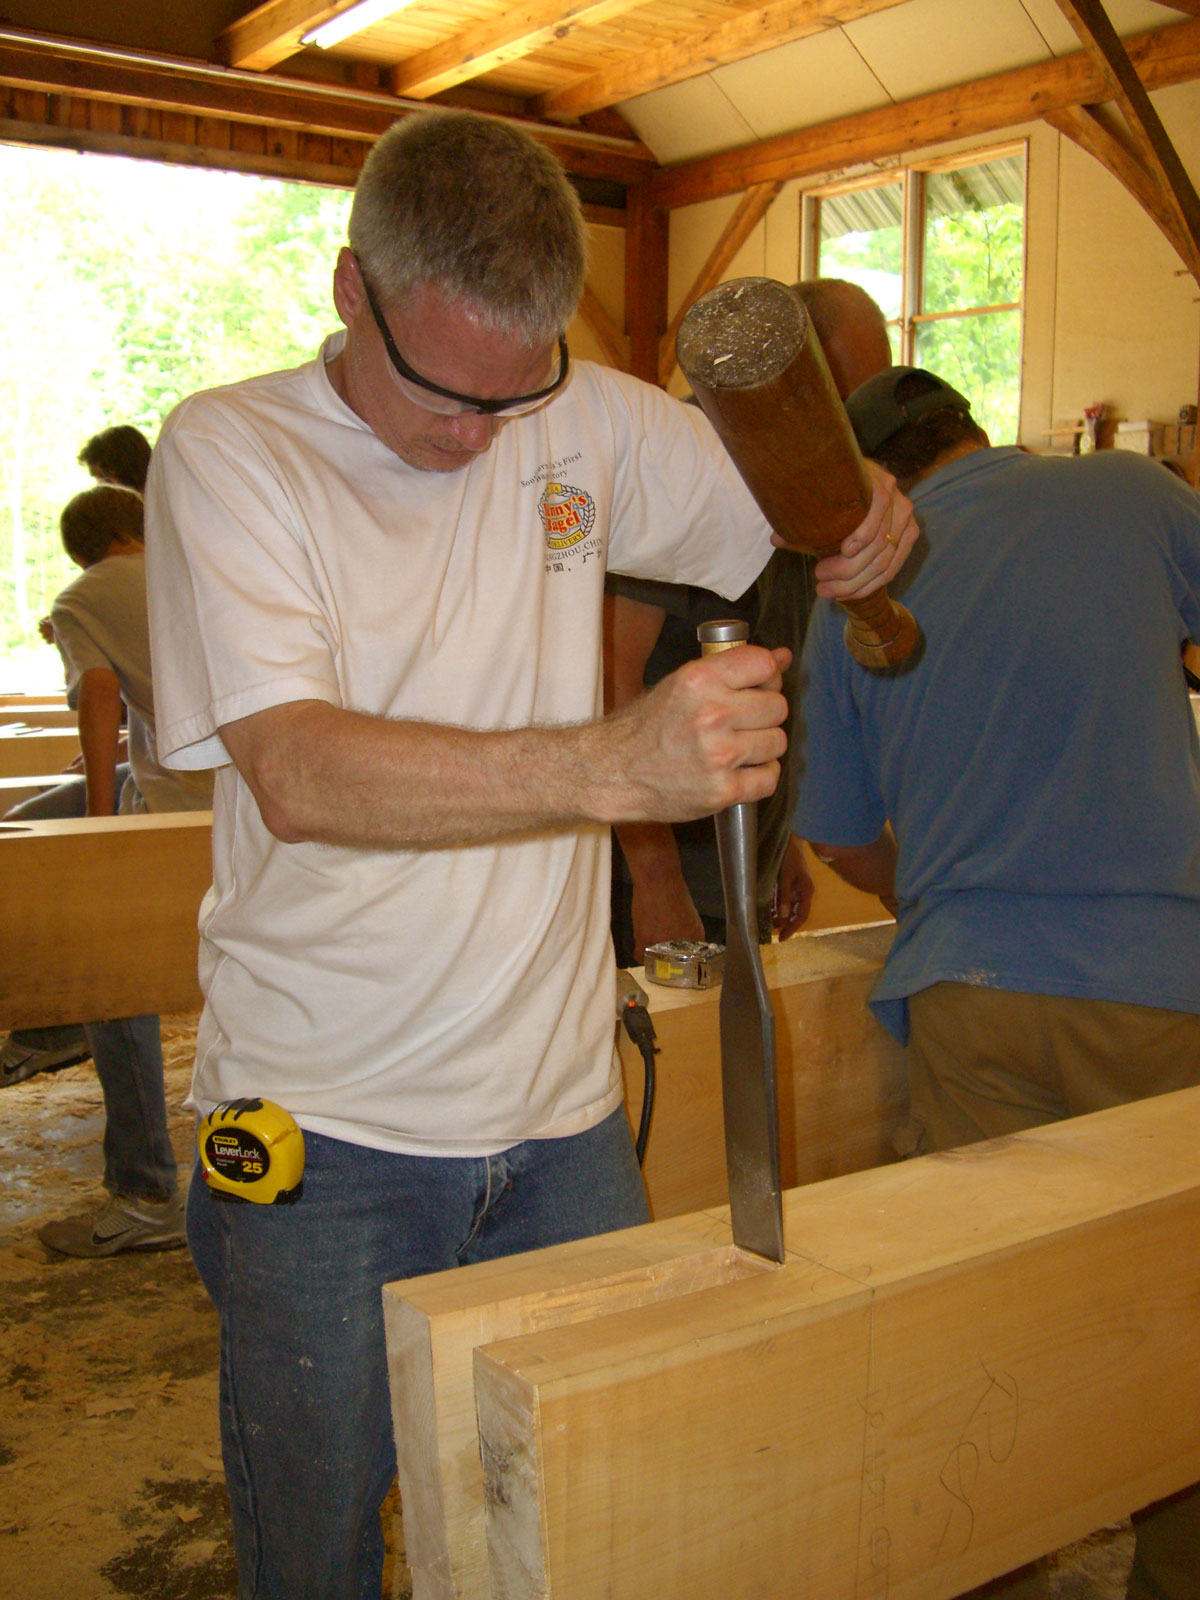
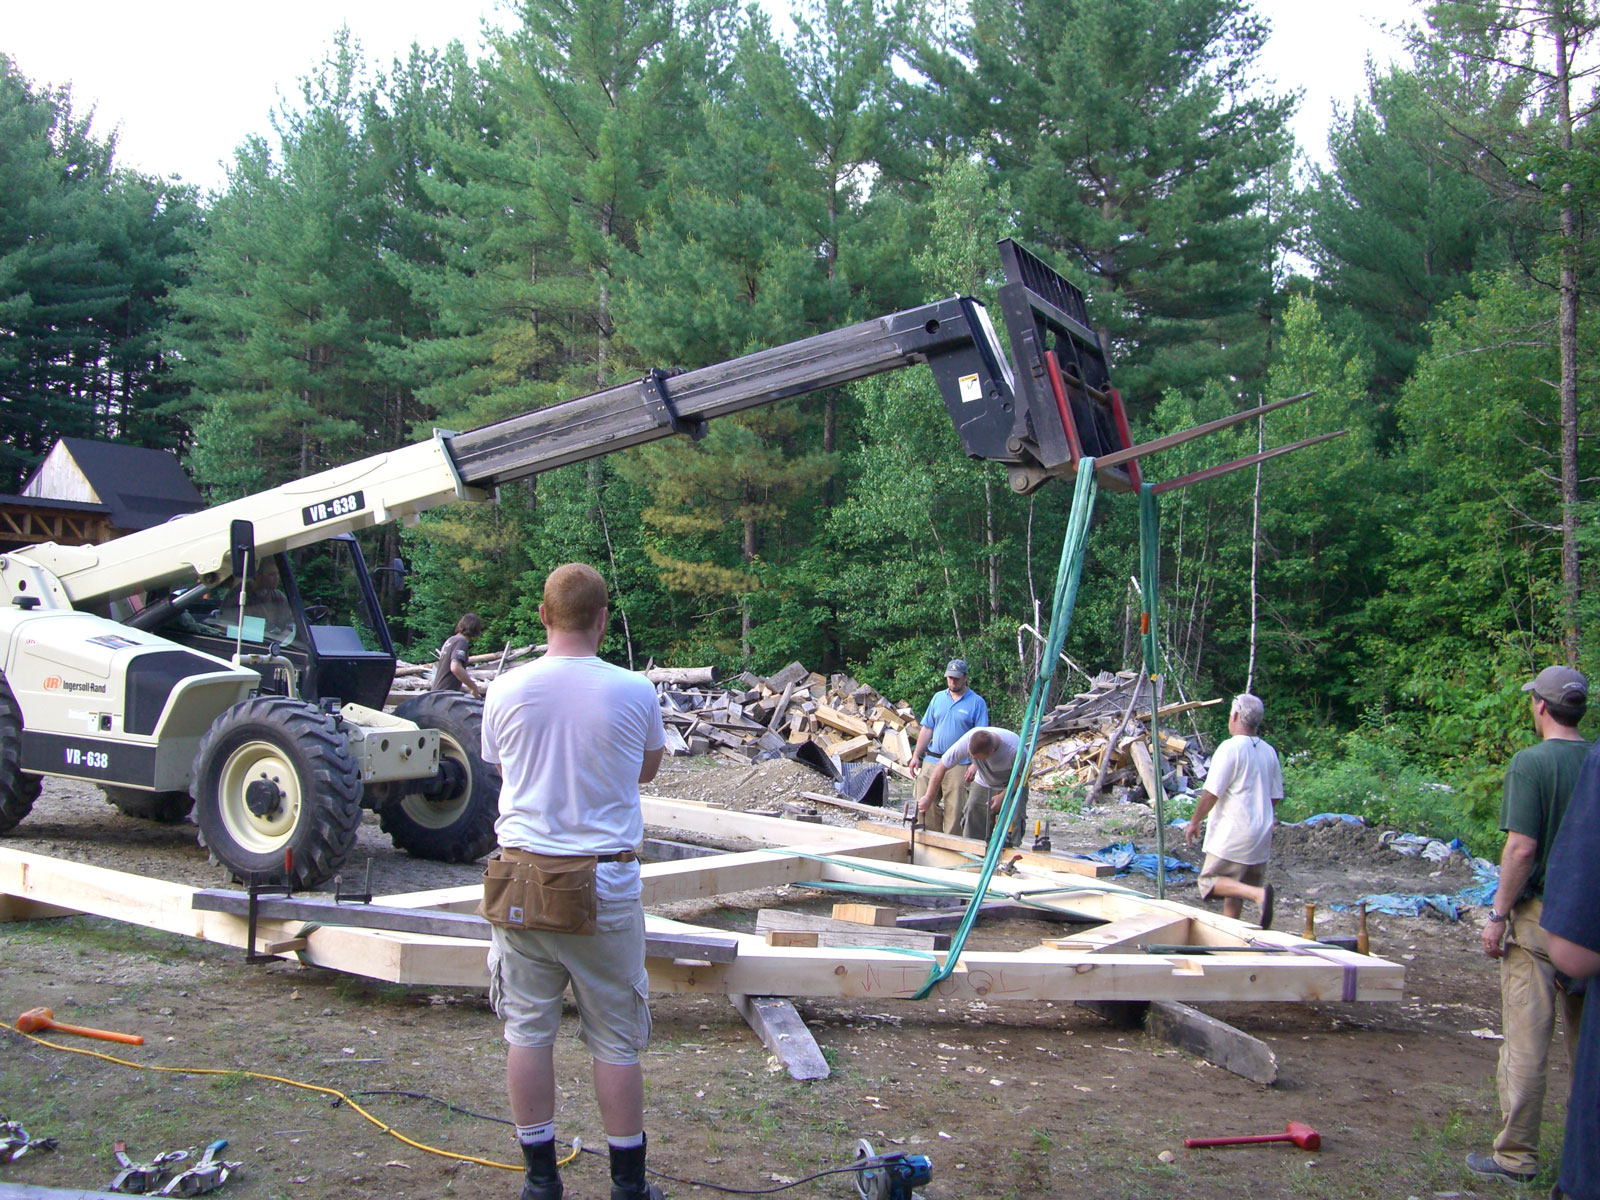
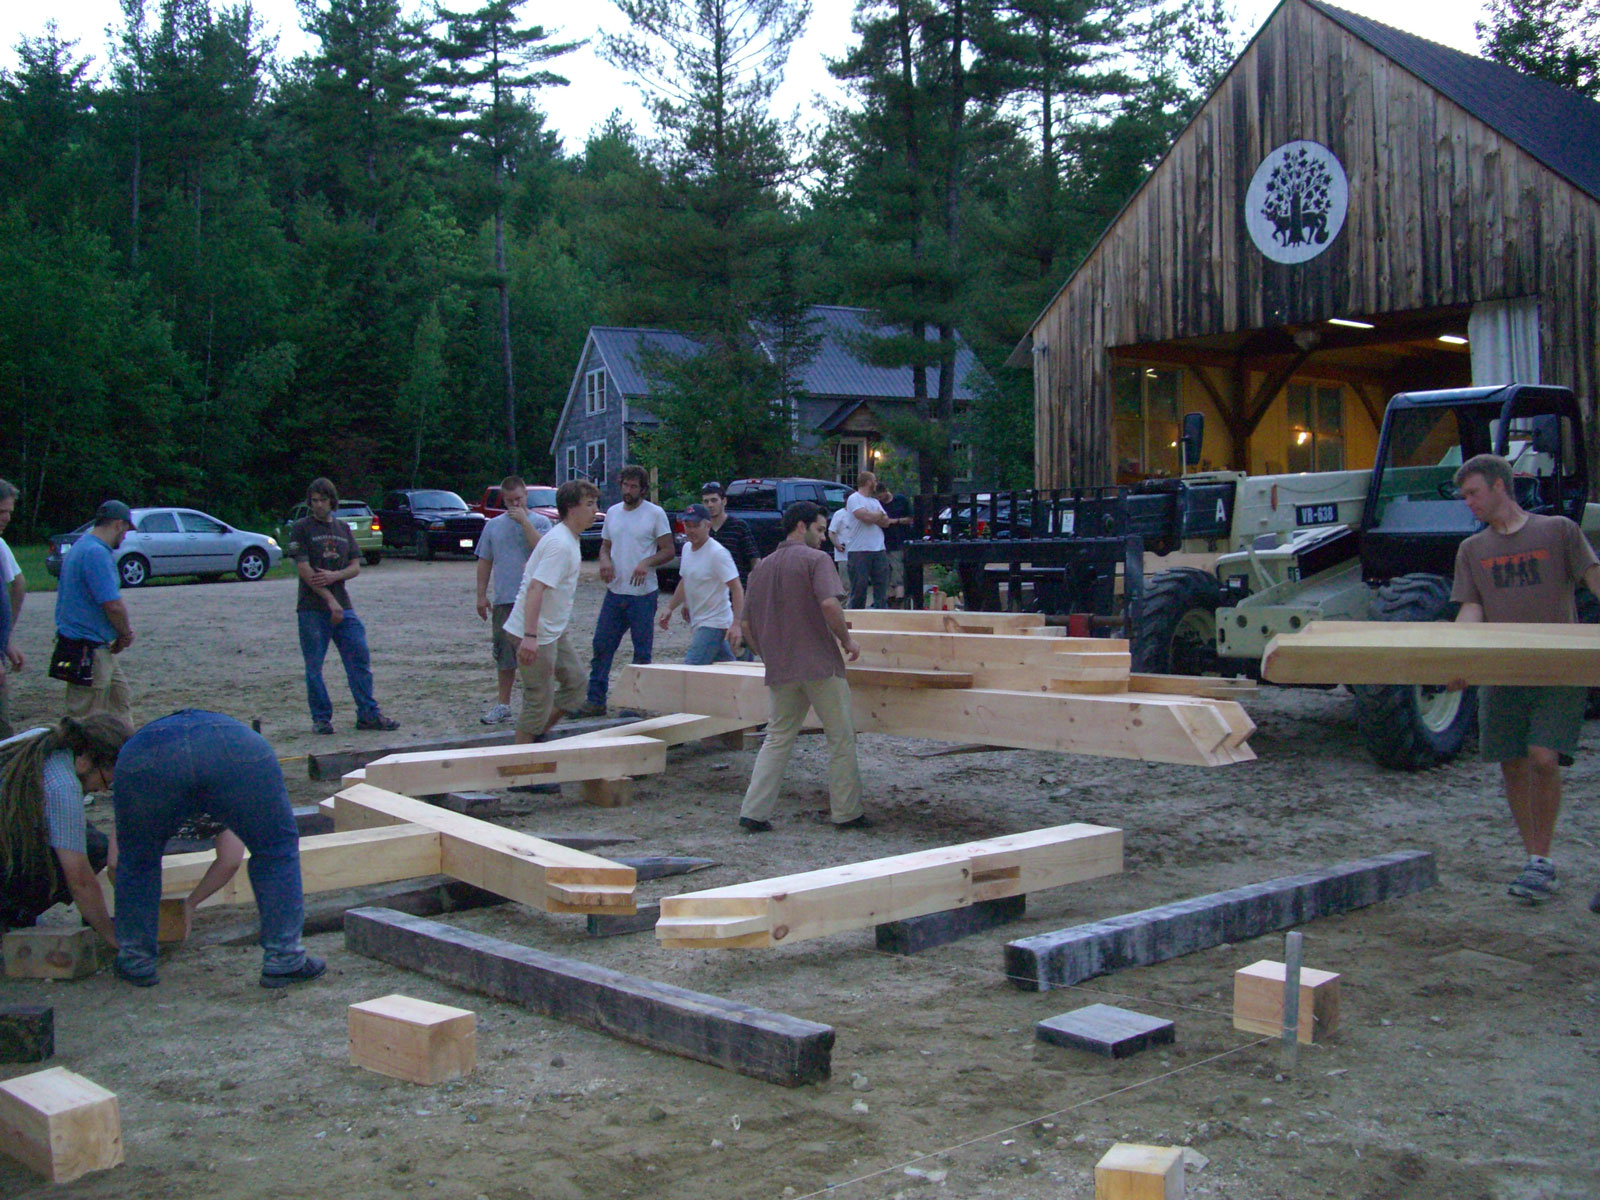
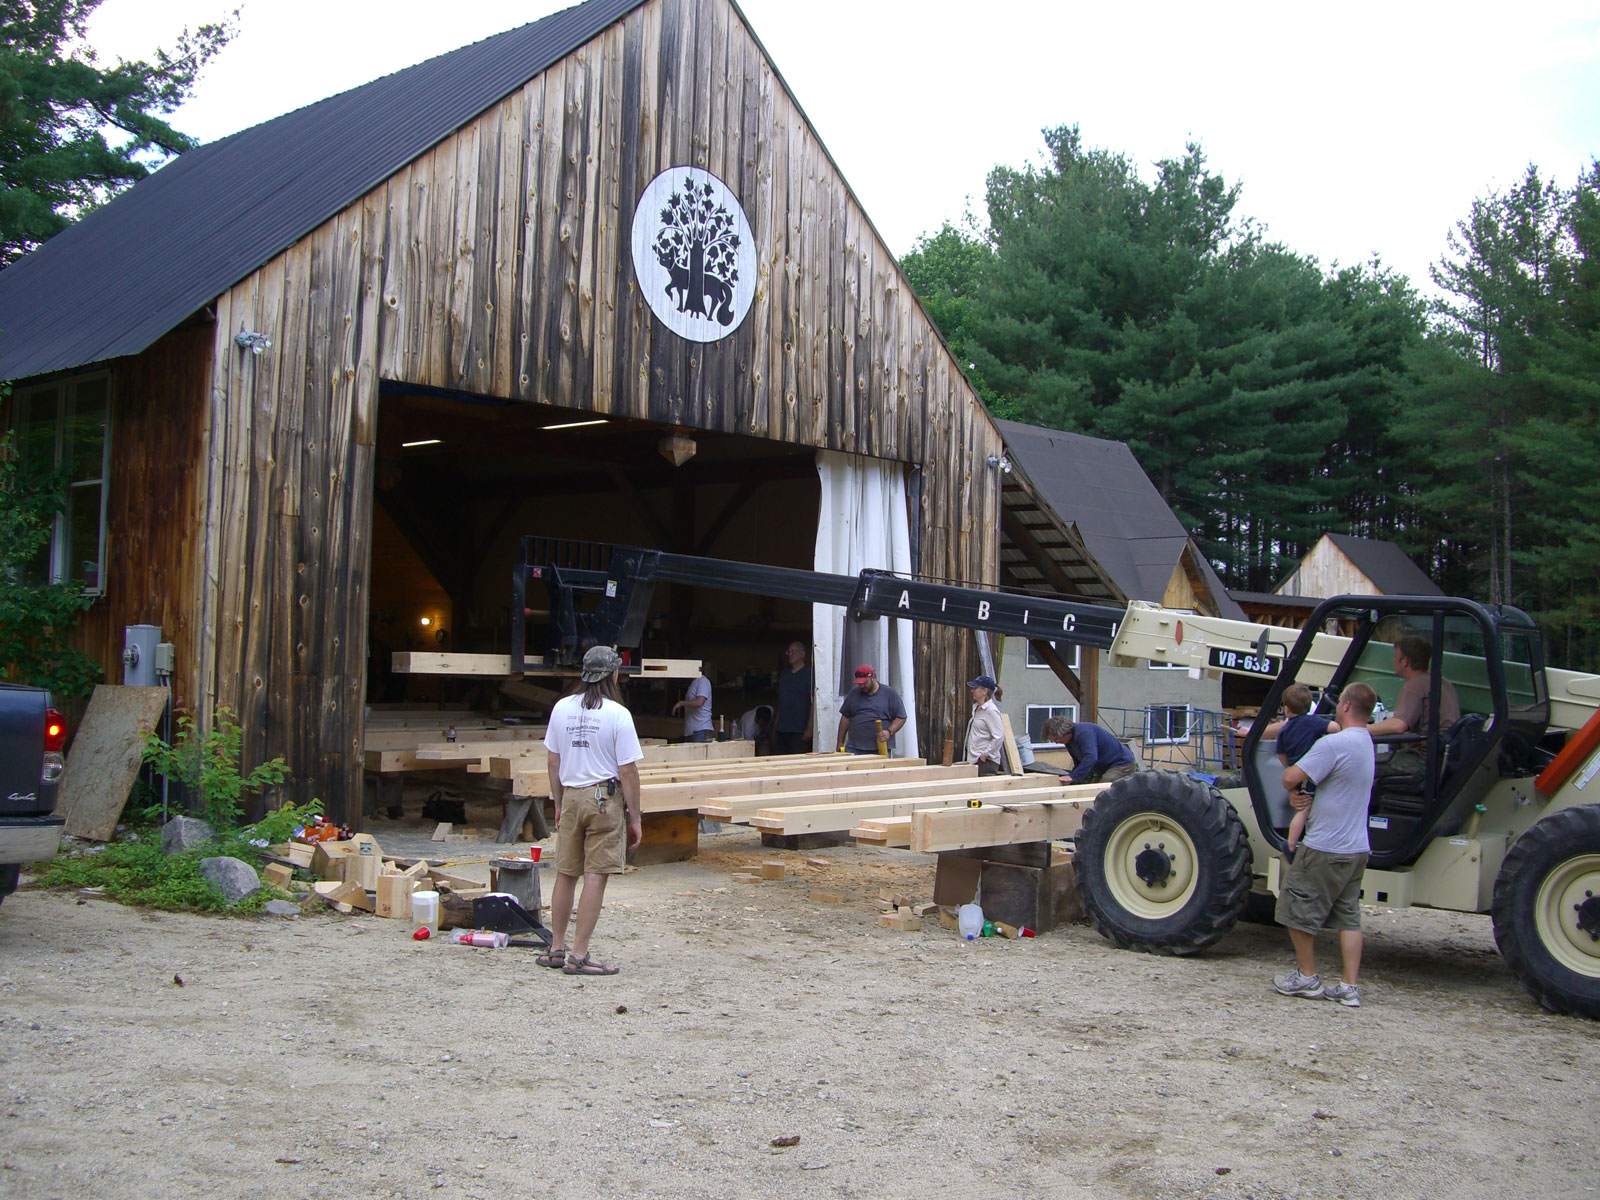 Our group of 20 students spent the Friday and half of Saturday cutting the timbers for the frame. On Saturday afternoon, we began the raising. Luckily, the school has a rough-terrain forklift for all the heavy moving. While I enjoy working with old-fashioned chisels and planes, some things are better left to technology.
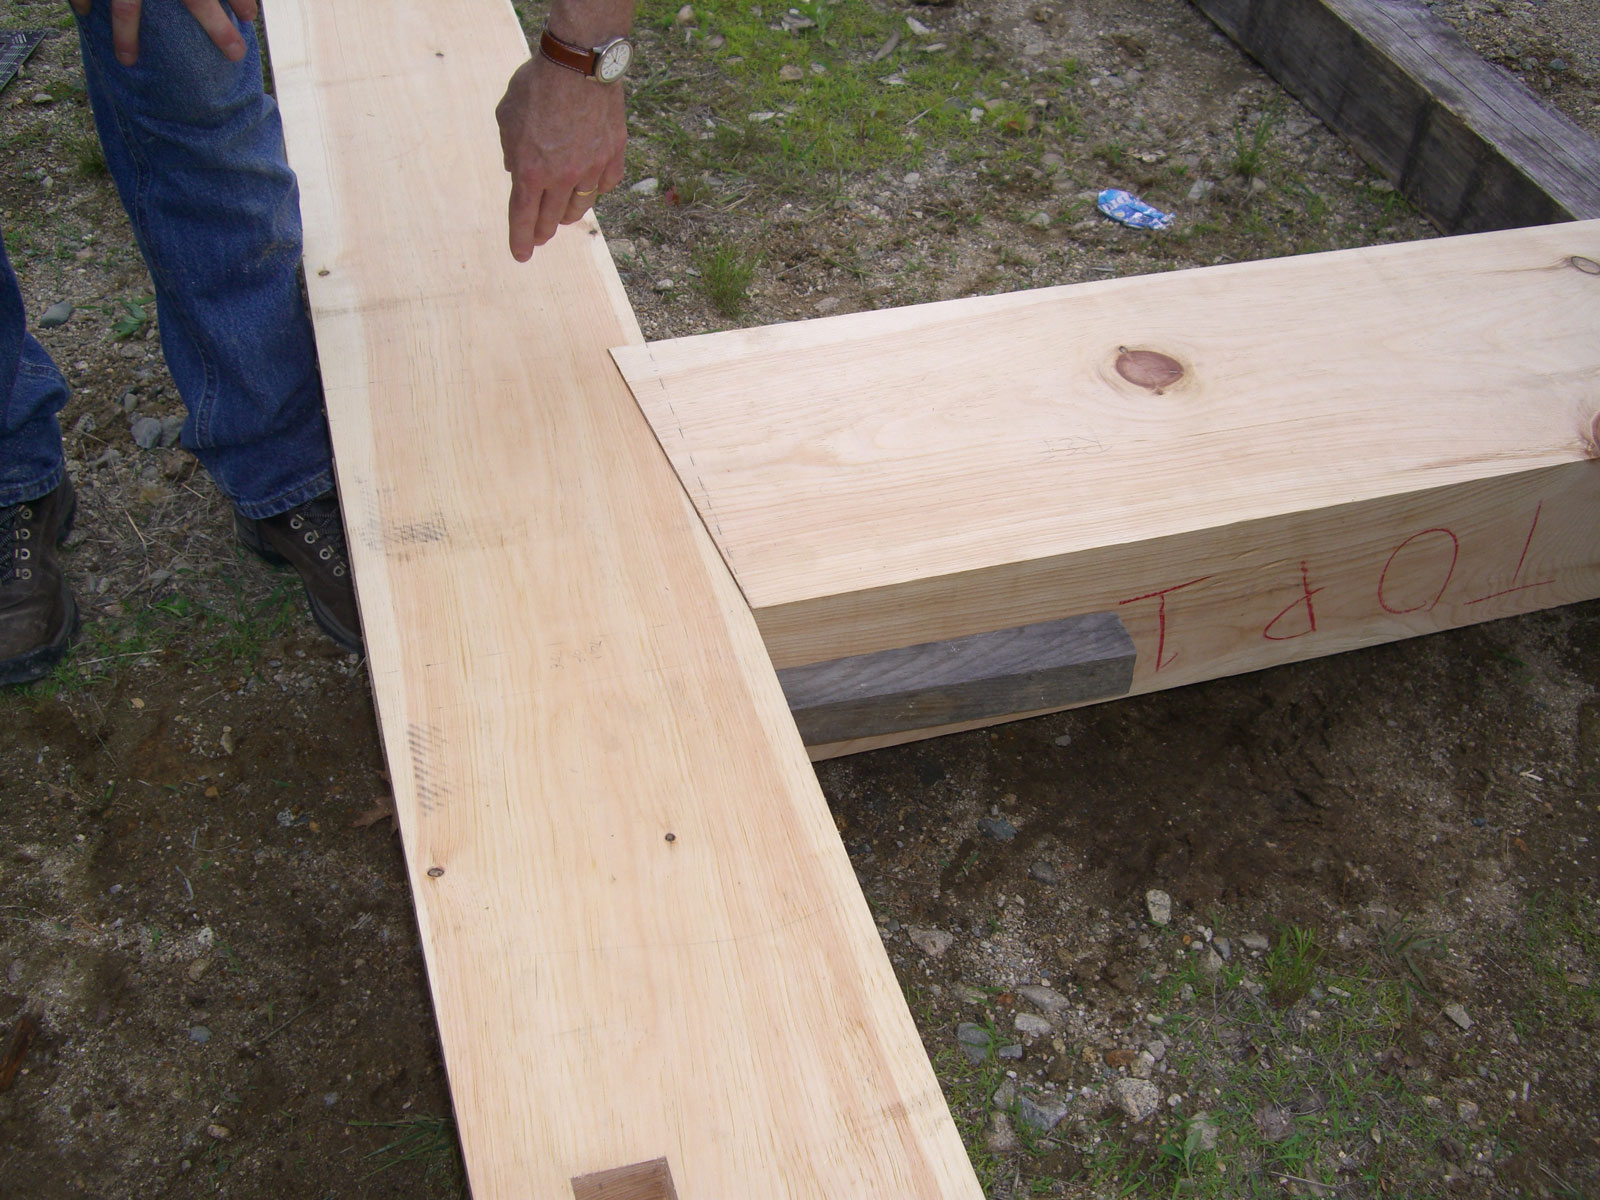
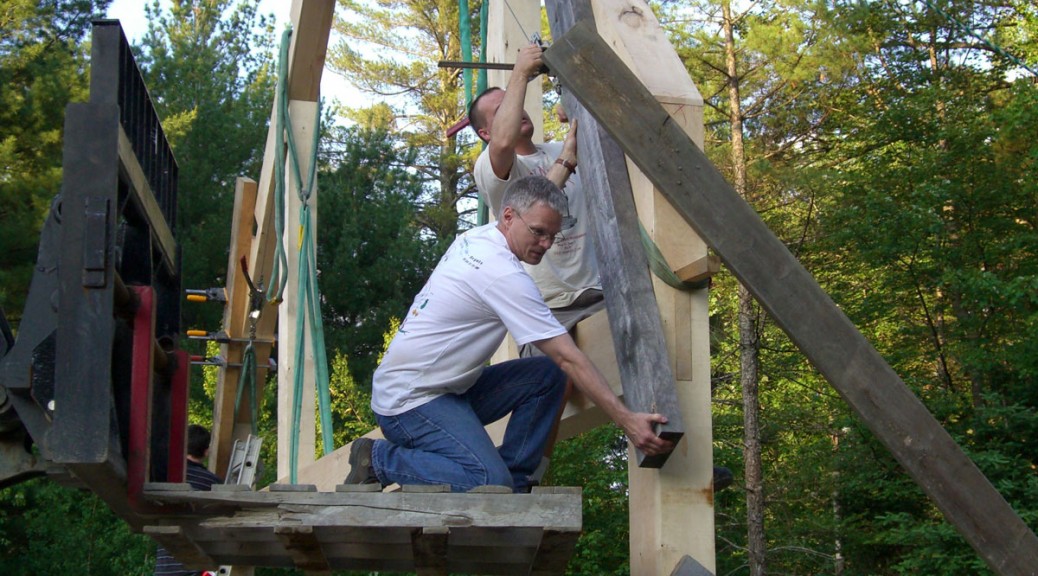
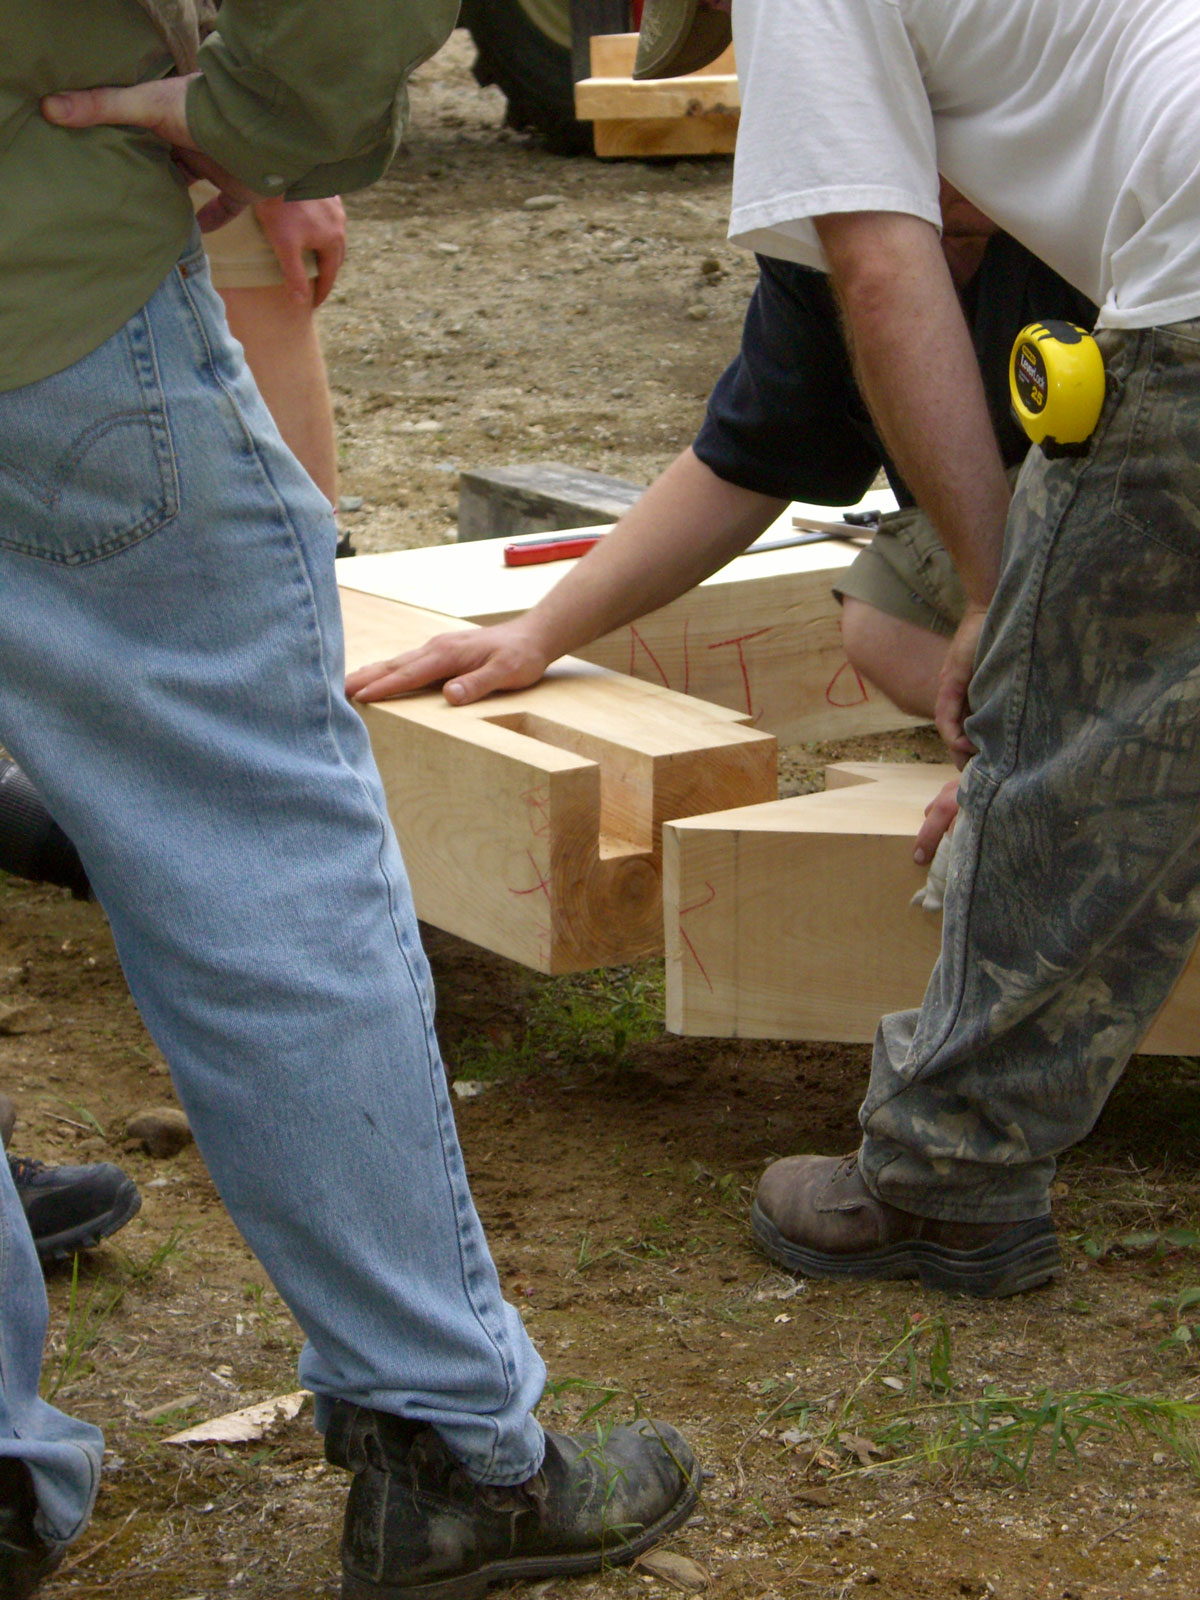
 Here is a Wedged Half-Dovetail Through-Tenon on the tie-beam and post on the first bent being assembled. The tie-beam is the tension member between the two vertical posts in the bent. Its purpose is to keep the posts from spreading outward at the top due to the roof load.
 The haunch on the tie beam into the post supports the shear load from the second floor across the full width of the post instead of just the 2 inch wide tenon.
 In addition, the tenon has half of a dovetail on the bottom edge. This is what makes the joint resist the pulling forces. Once the half dovetail tenon is slipped into the post and is pushed down into position, it is locked into place with an oak wedge.

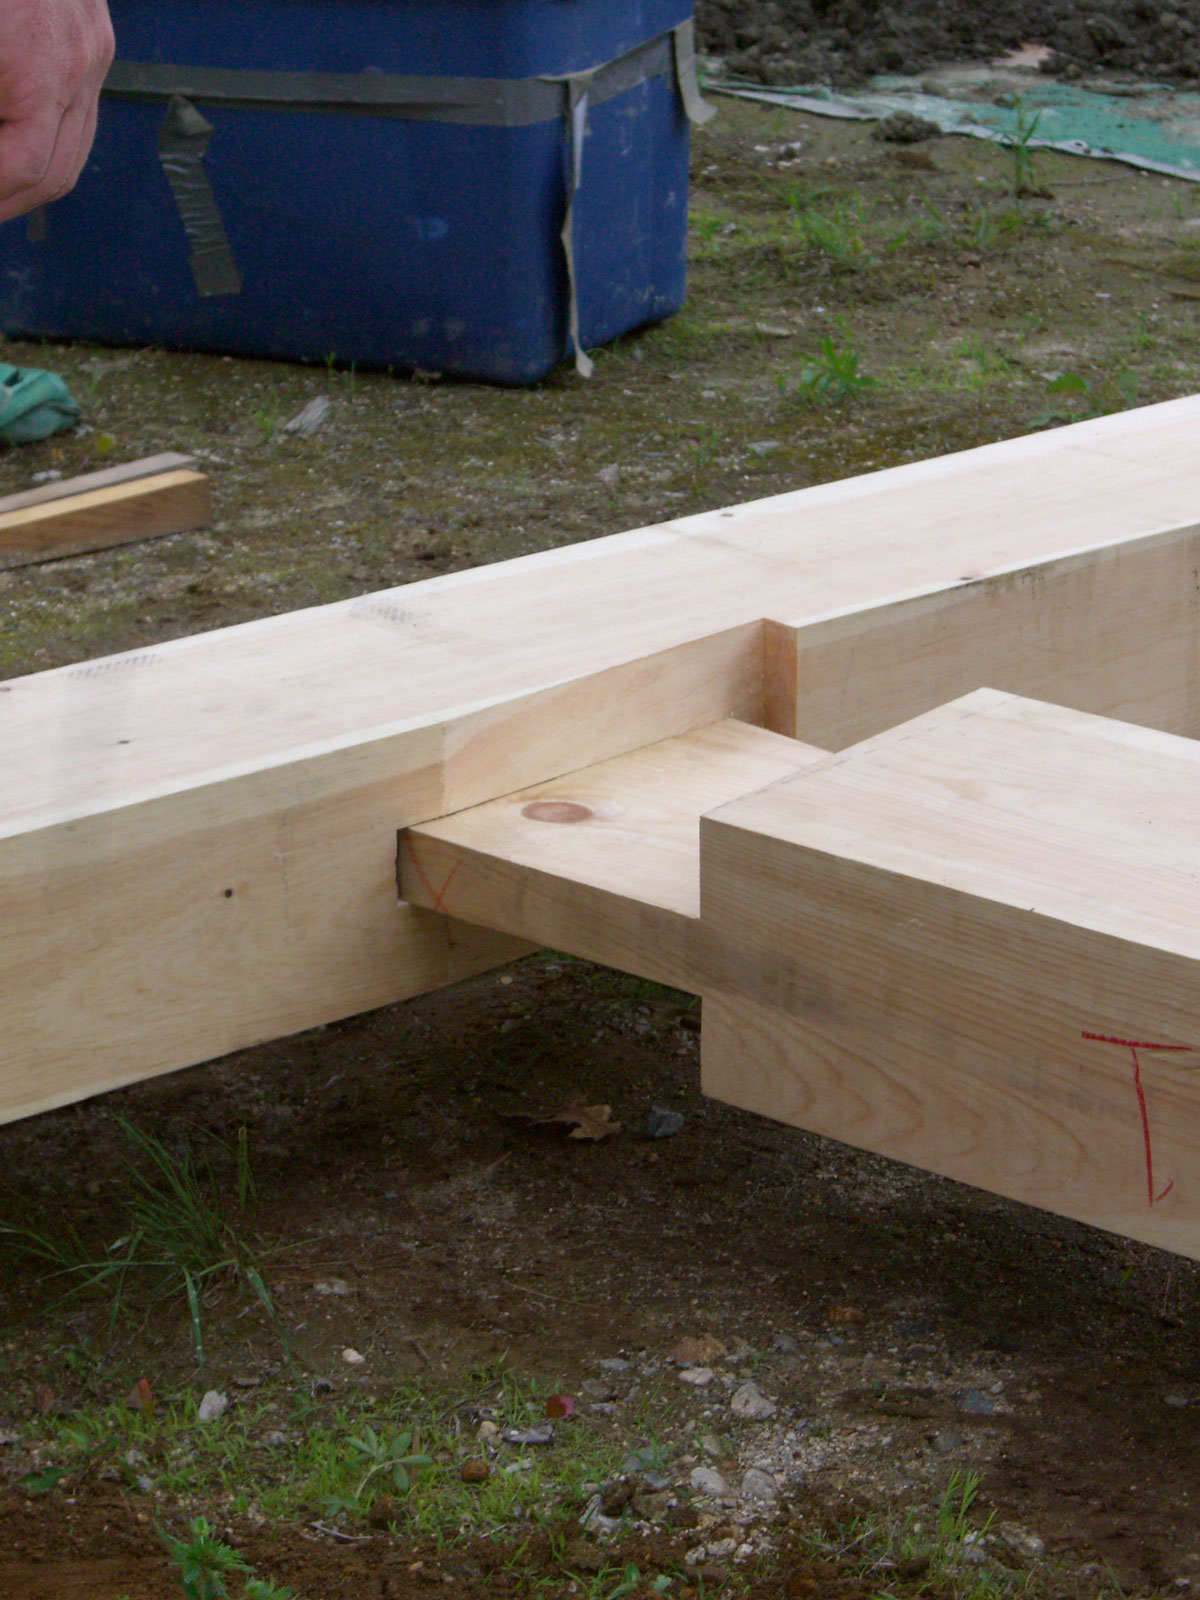
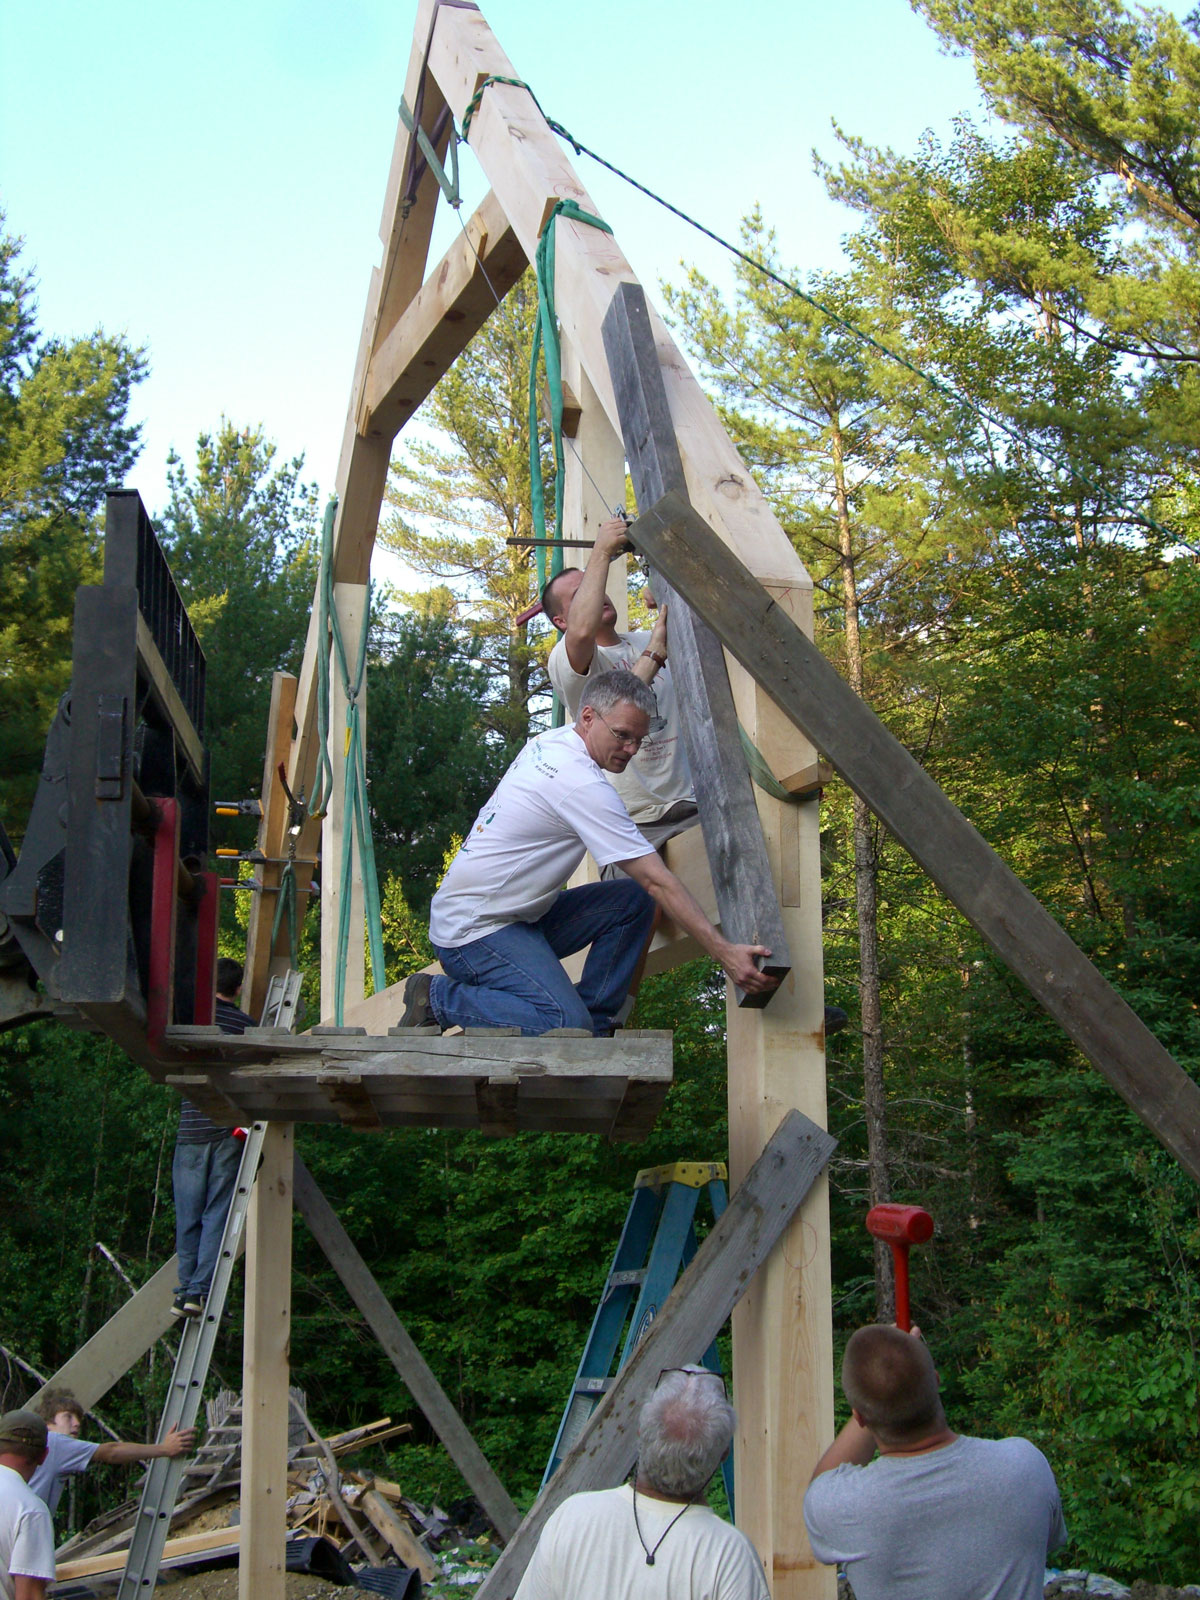
This is an English Tying Joint that unites the vertical post, horizontal wall plate, and inclined rafter into one joint.
 The joinery at the top of the post isn’t too bad, but it gets rather complicated when chiseling out the mating geometry on the bottom of the rafter!
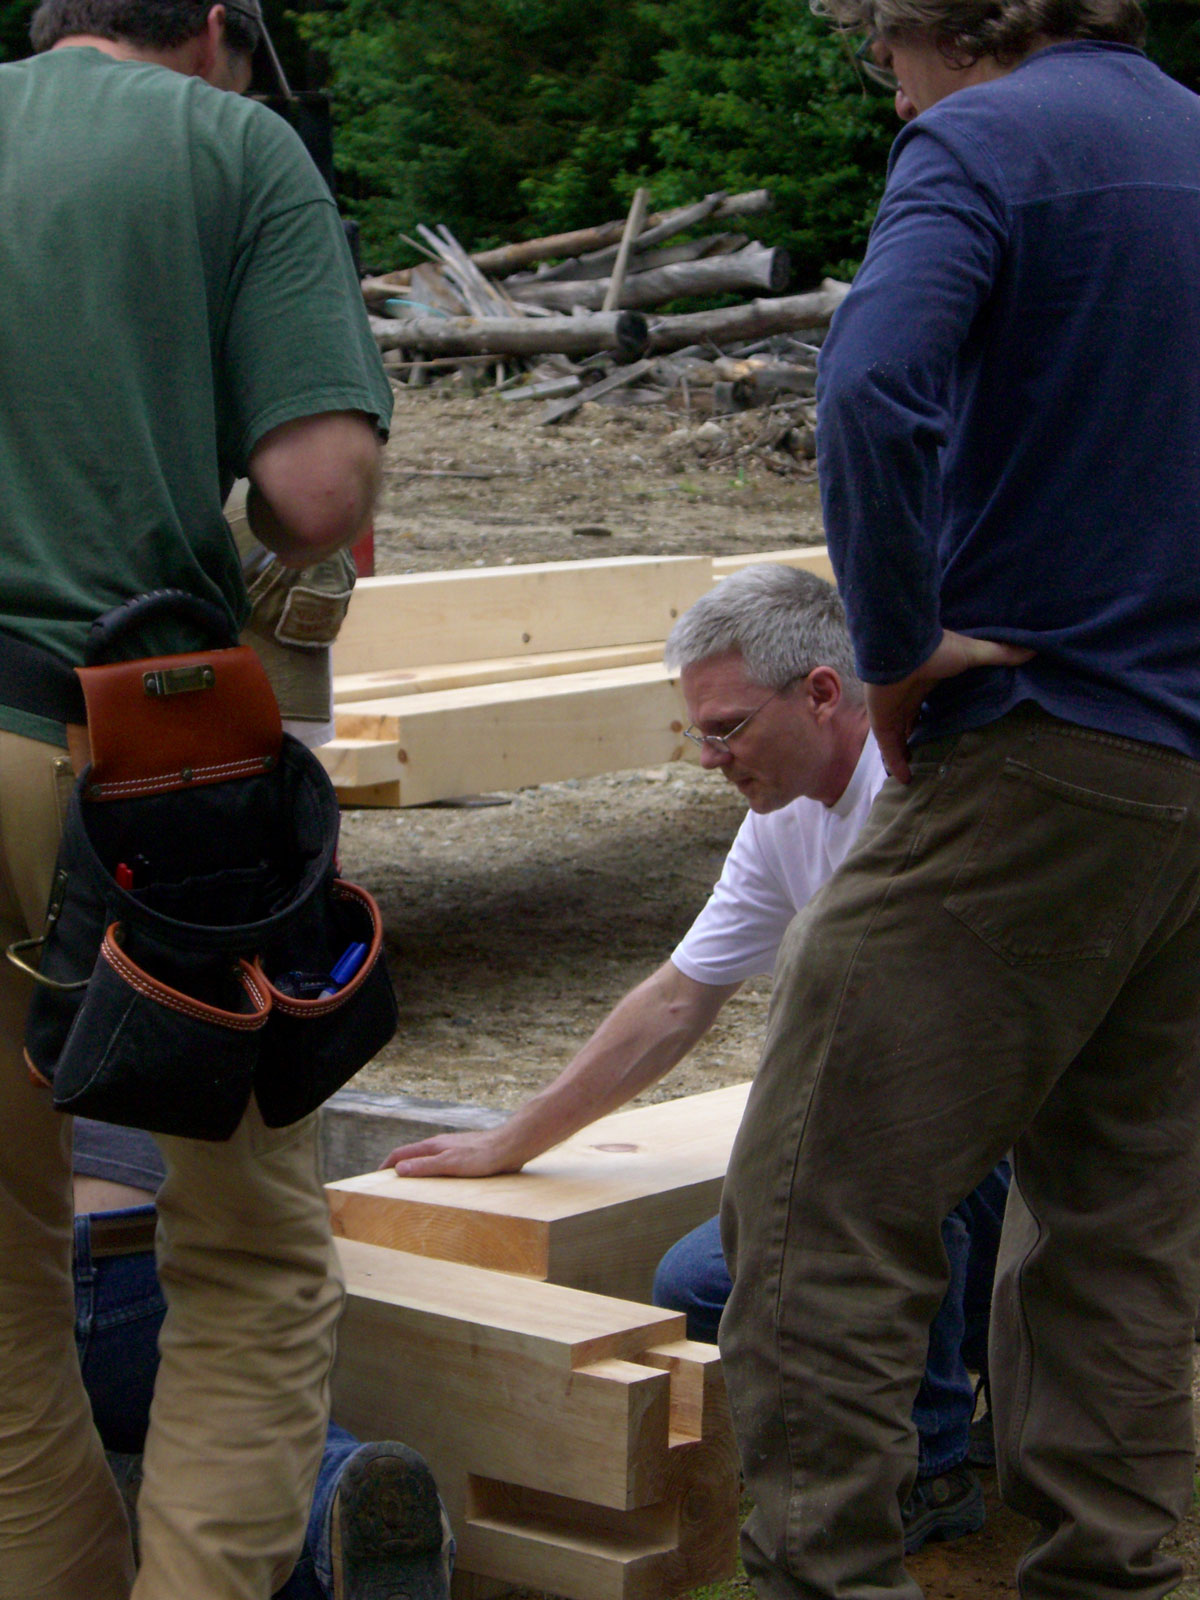
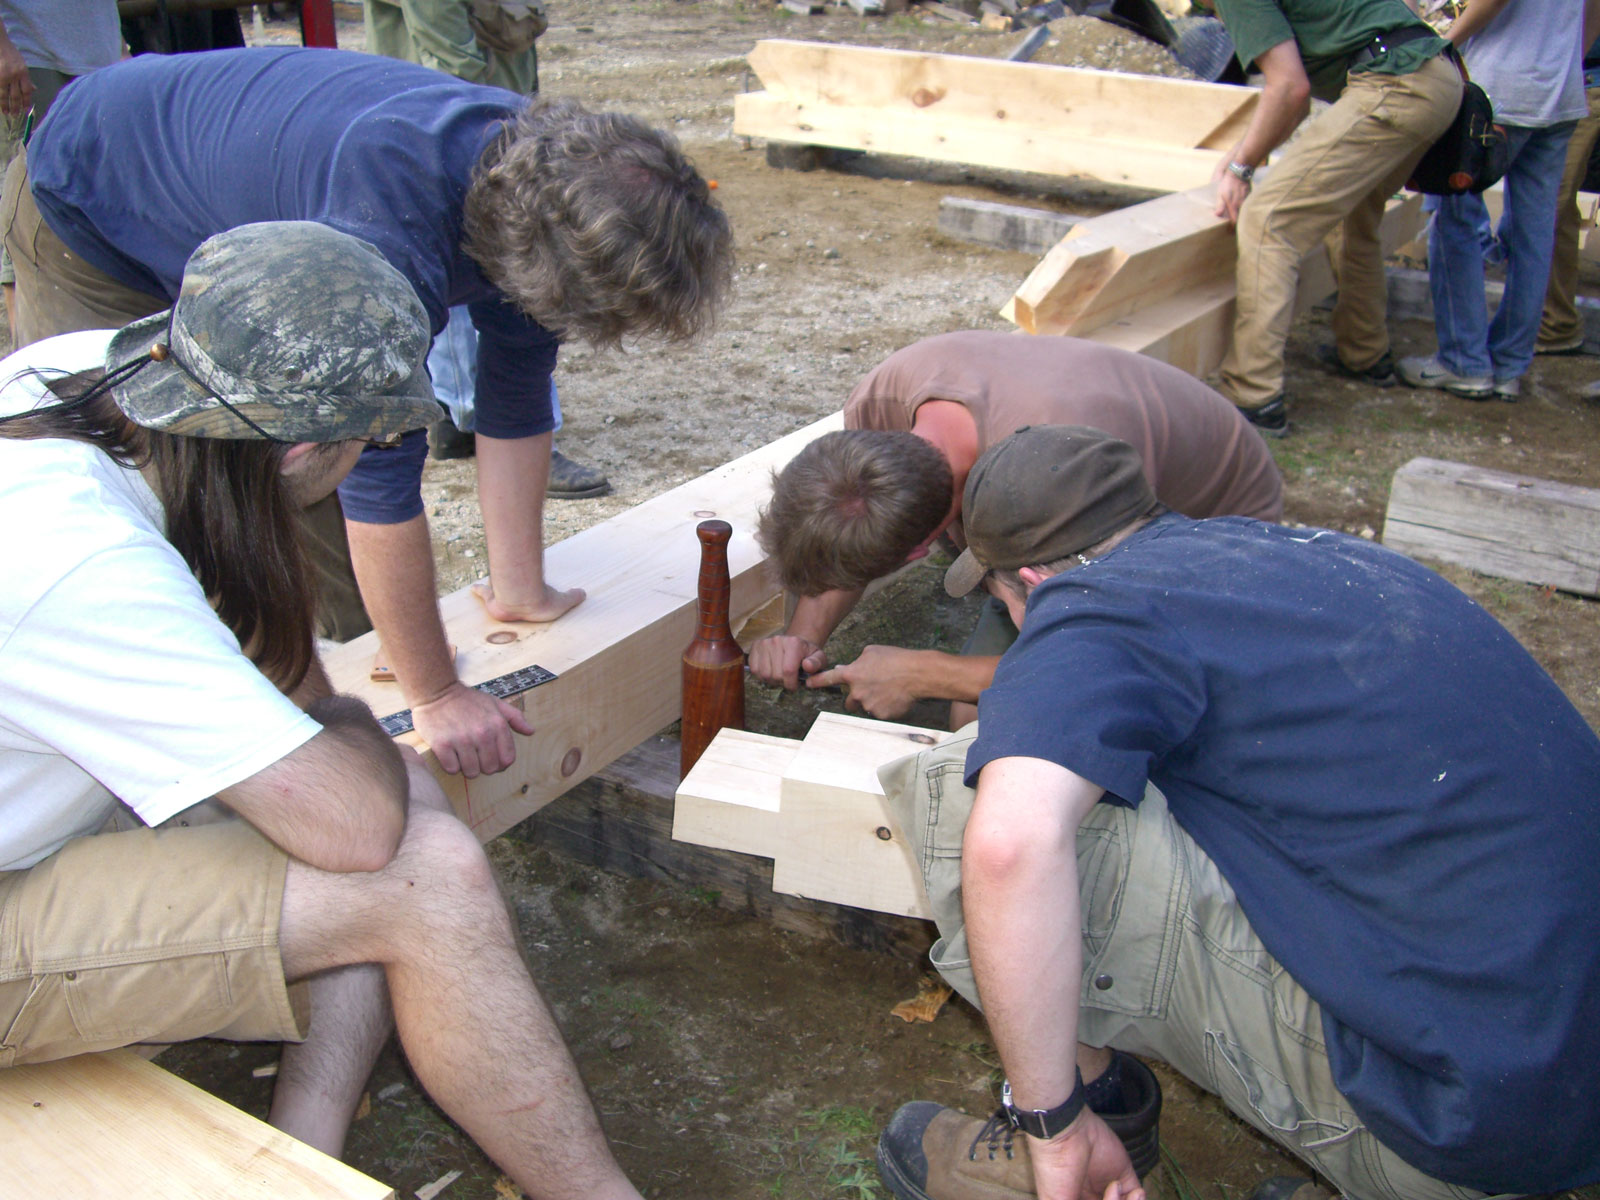
 The collar tie to rafter Angled Tenon joint in this photo needed a little last minute paring to mate cleanly. Up until this point, none of these joints had been previously assembled.
 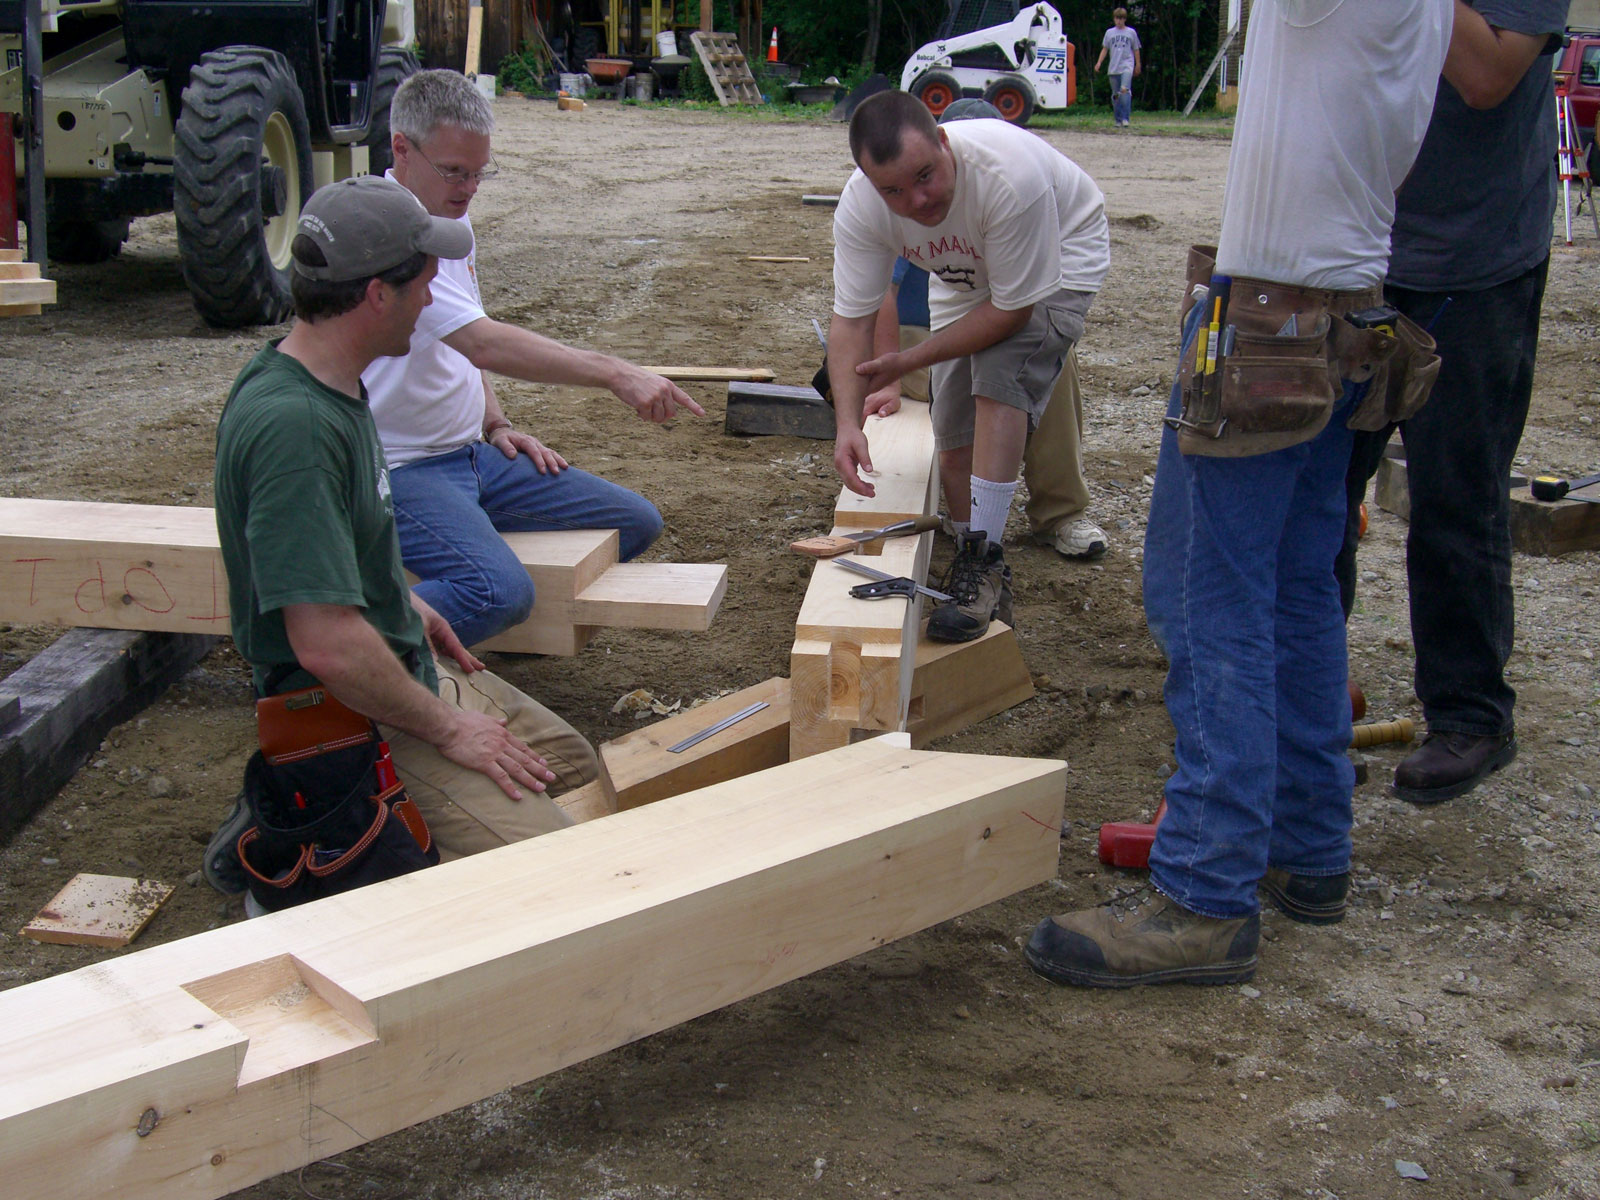 All cutting had been done based off of measurements only. The rafter is upside down in this photo, but you can see the roof purlin Housed Dovetail joints.
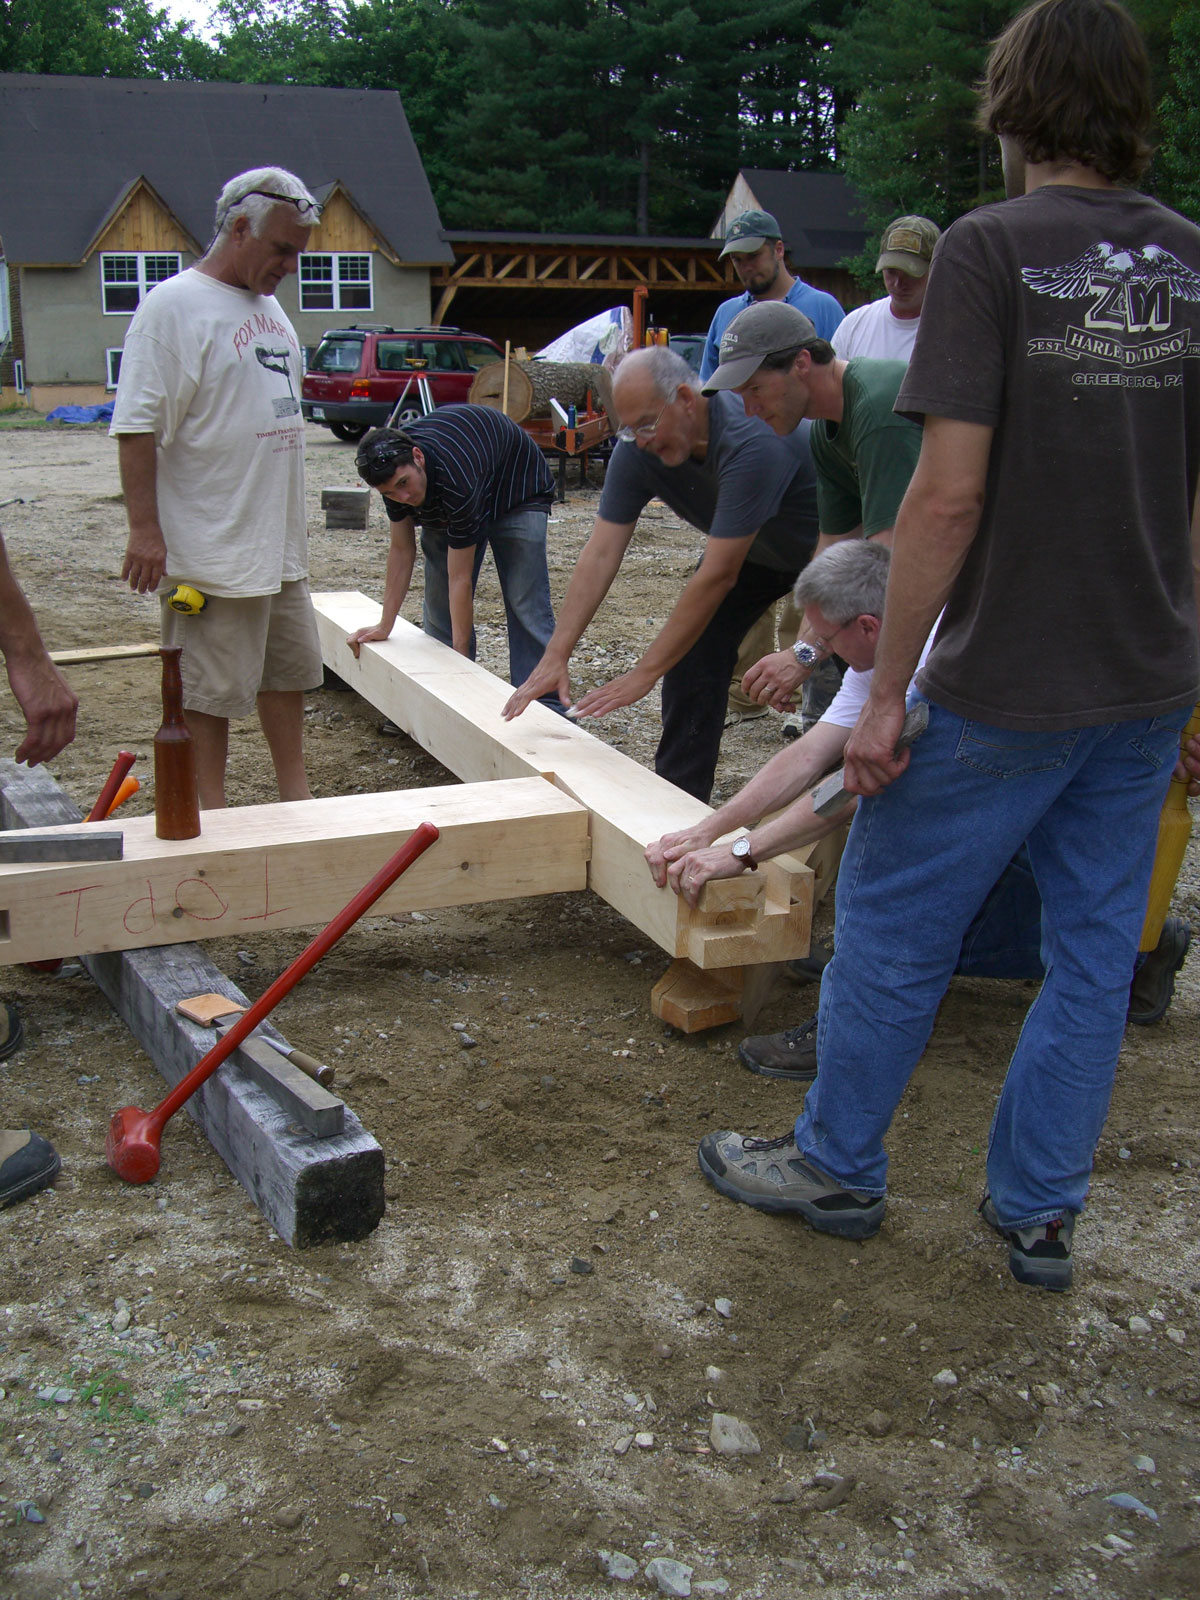
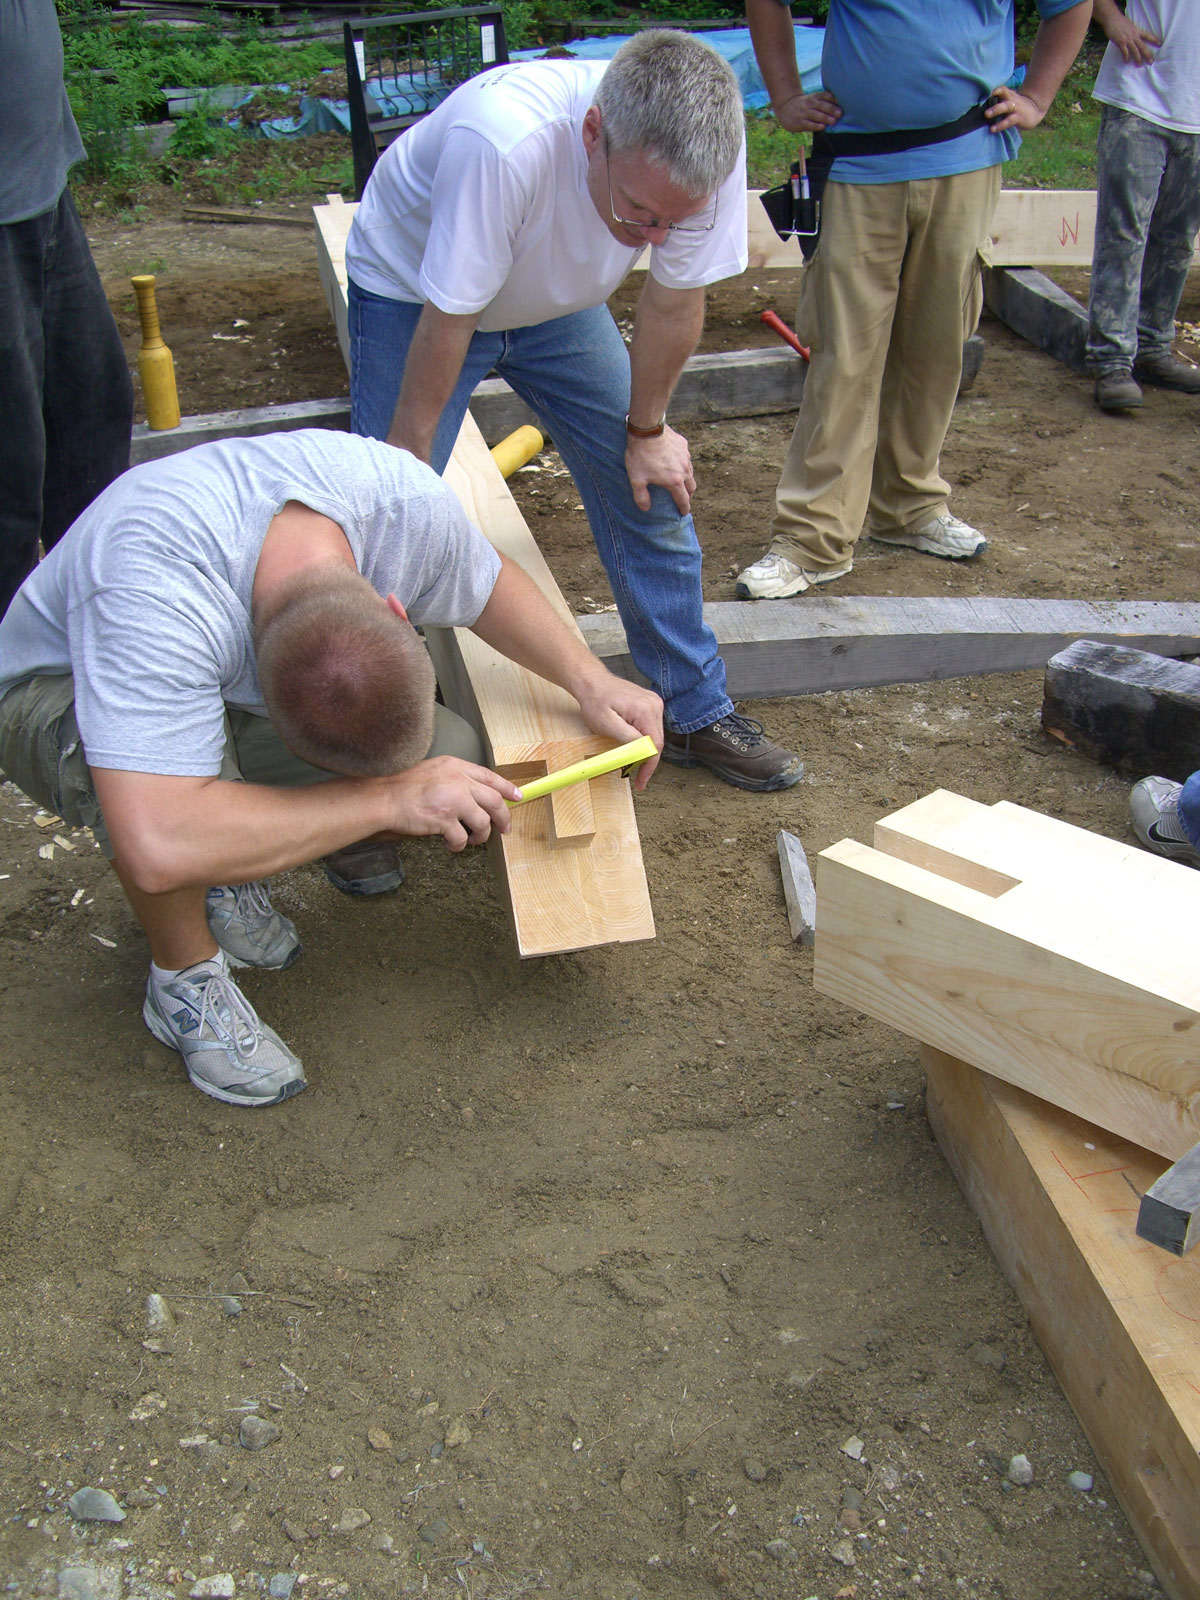
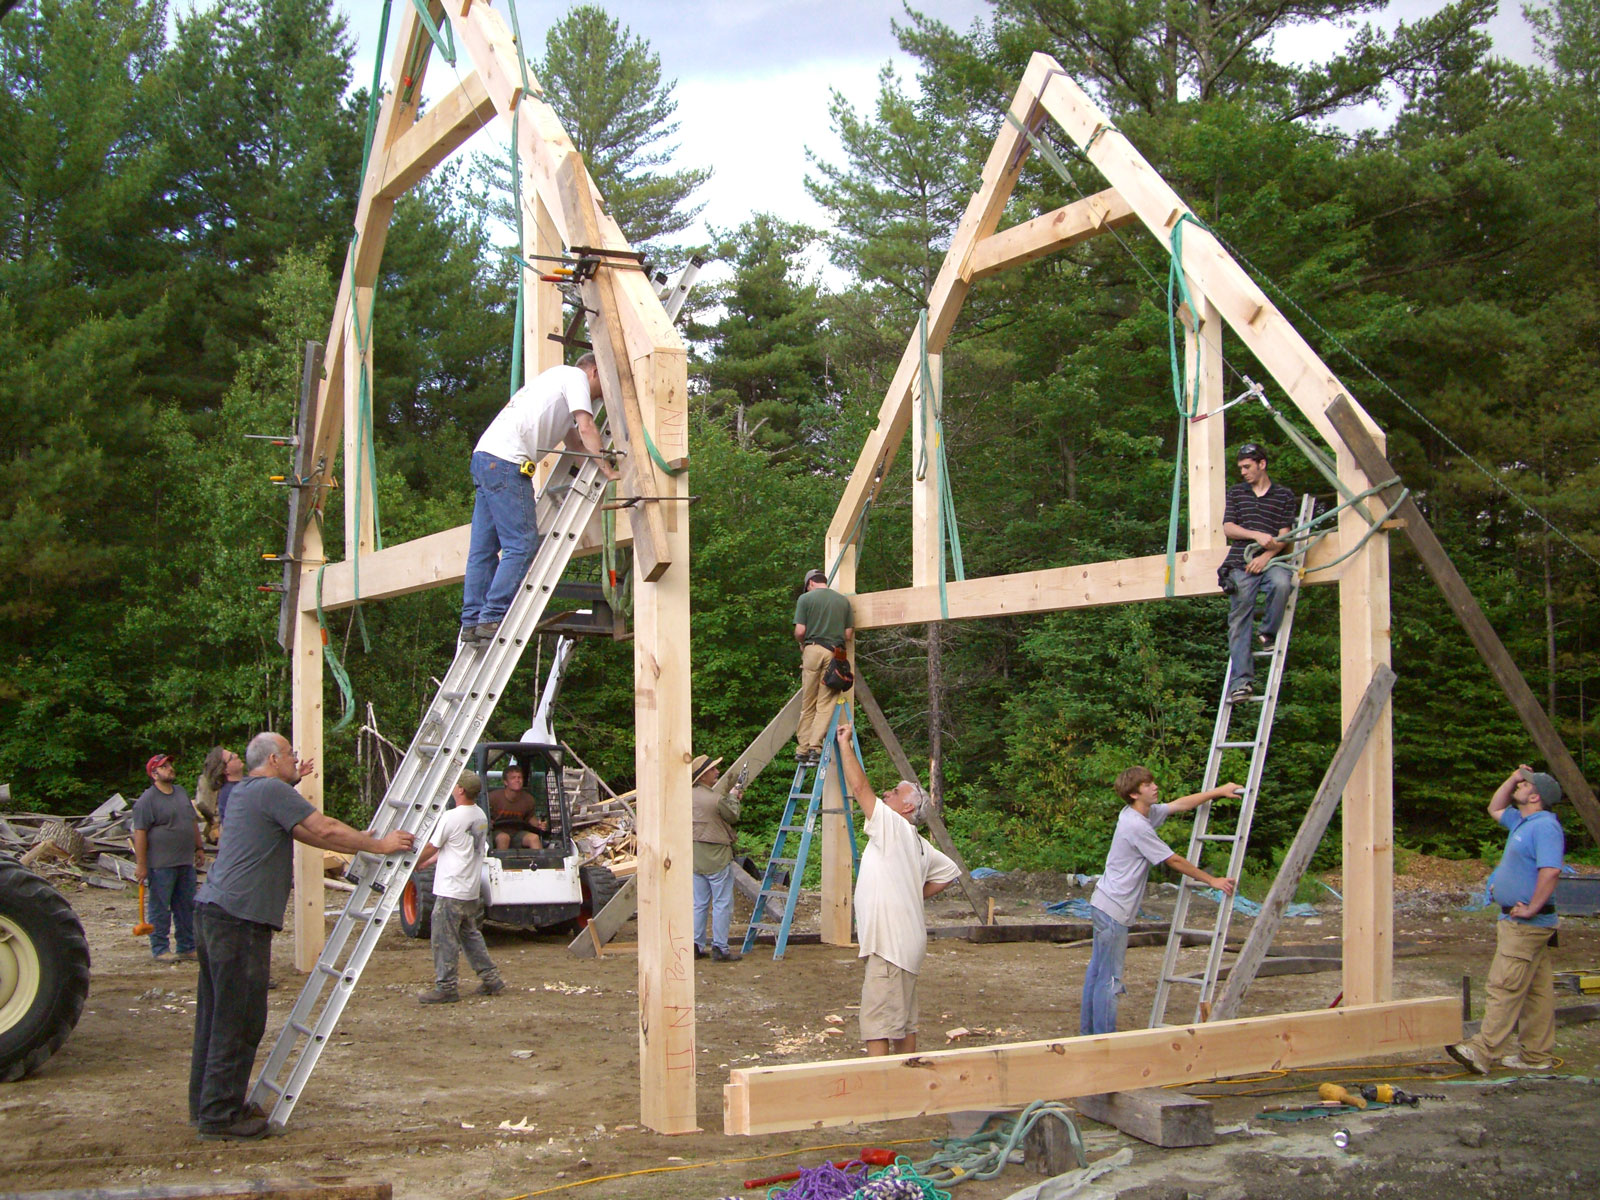
Groups of students making last minute adjustments to various joints in preparation to assembling and raising the first bent.
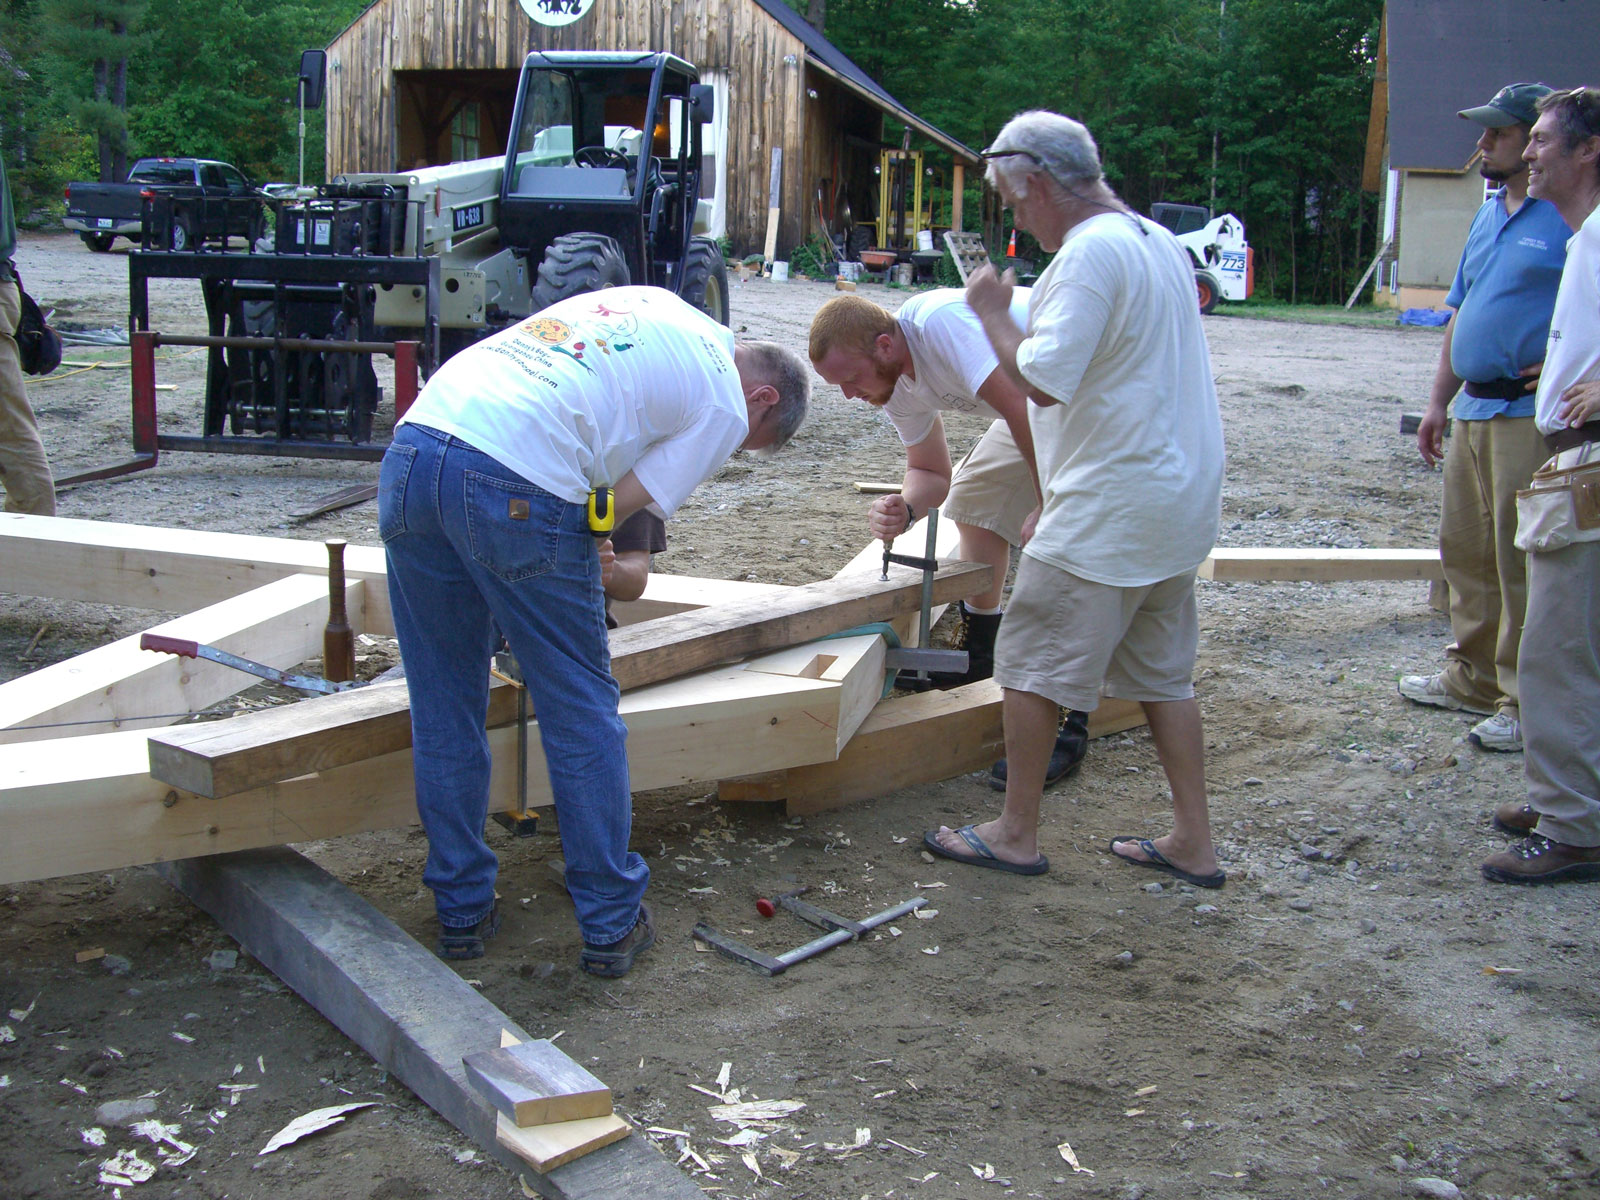 The English Tying Joints handle tension and compression loads very well, but they do not have any strength in bending. To keep the joints together for the raising of the bent, reinforcements are clamped across the joint.
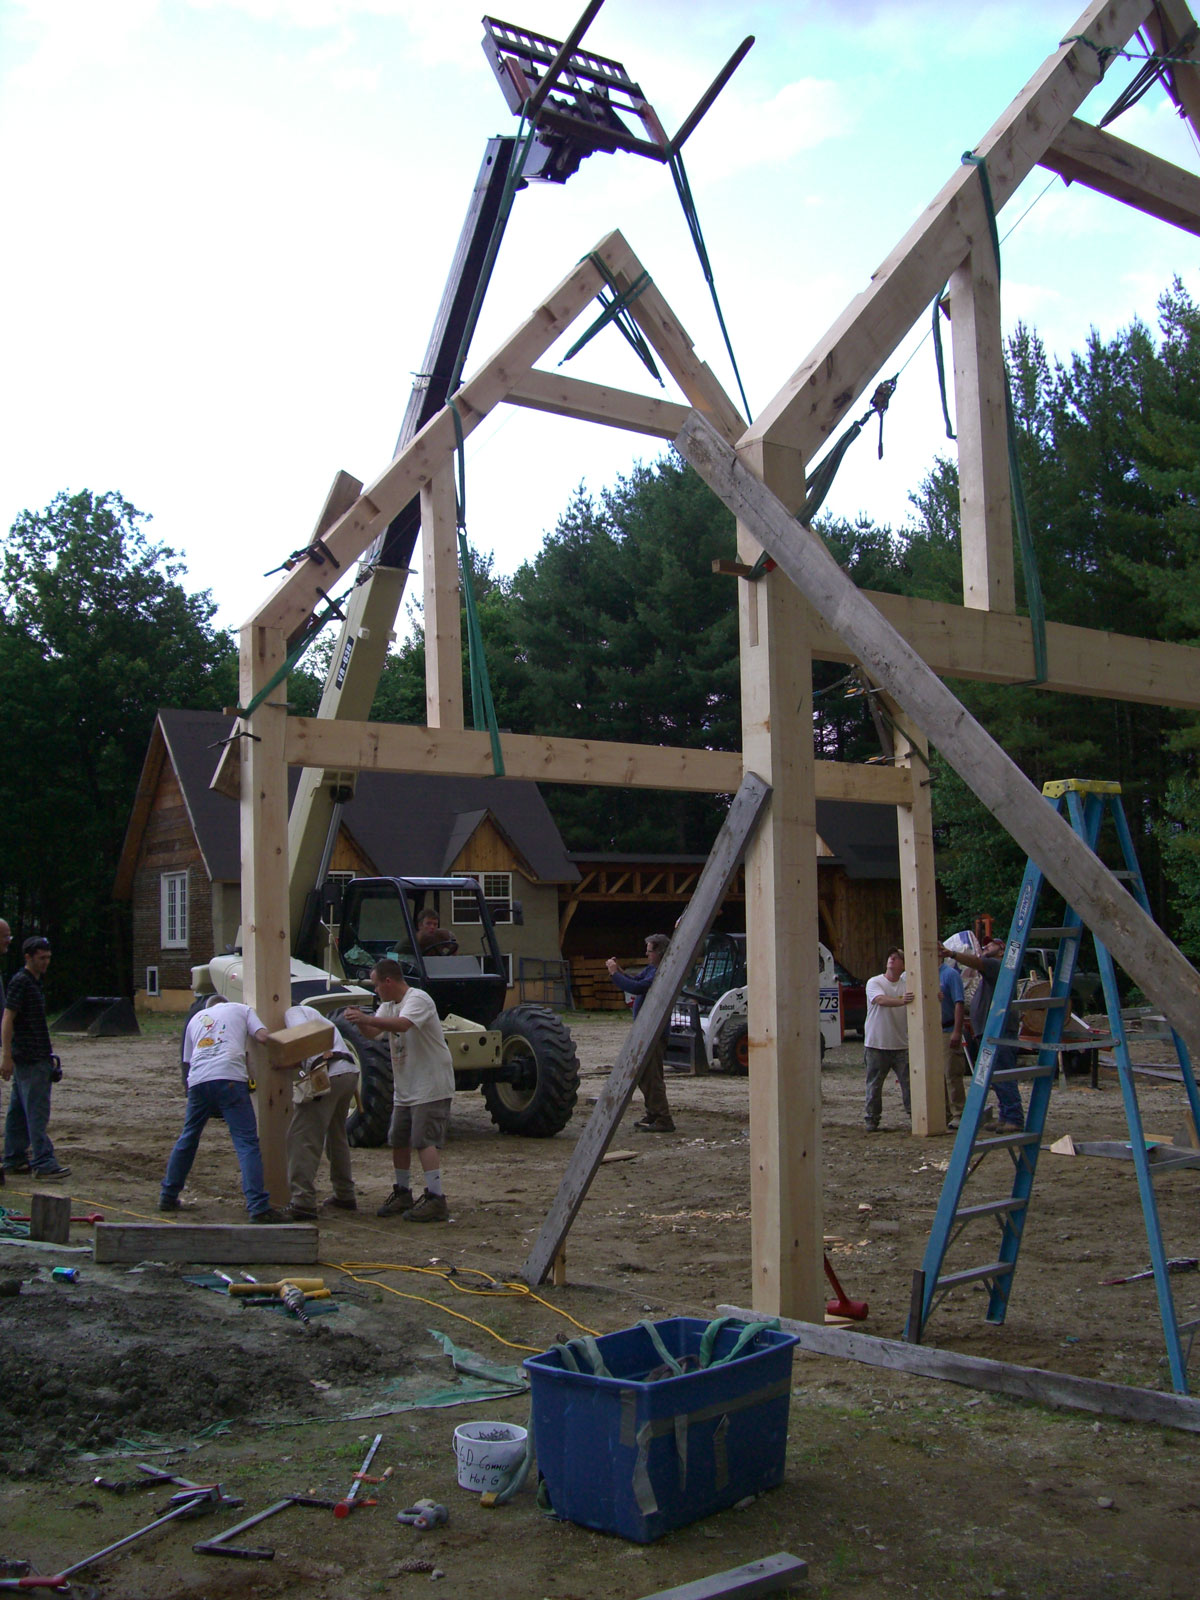
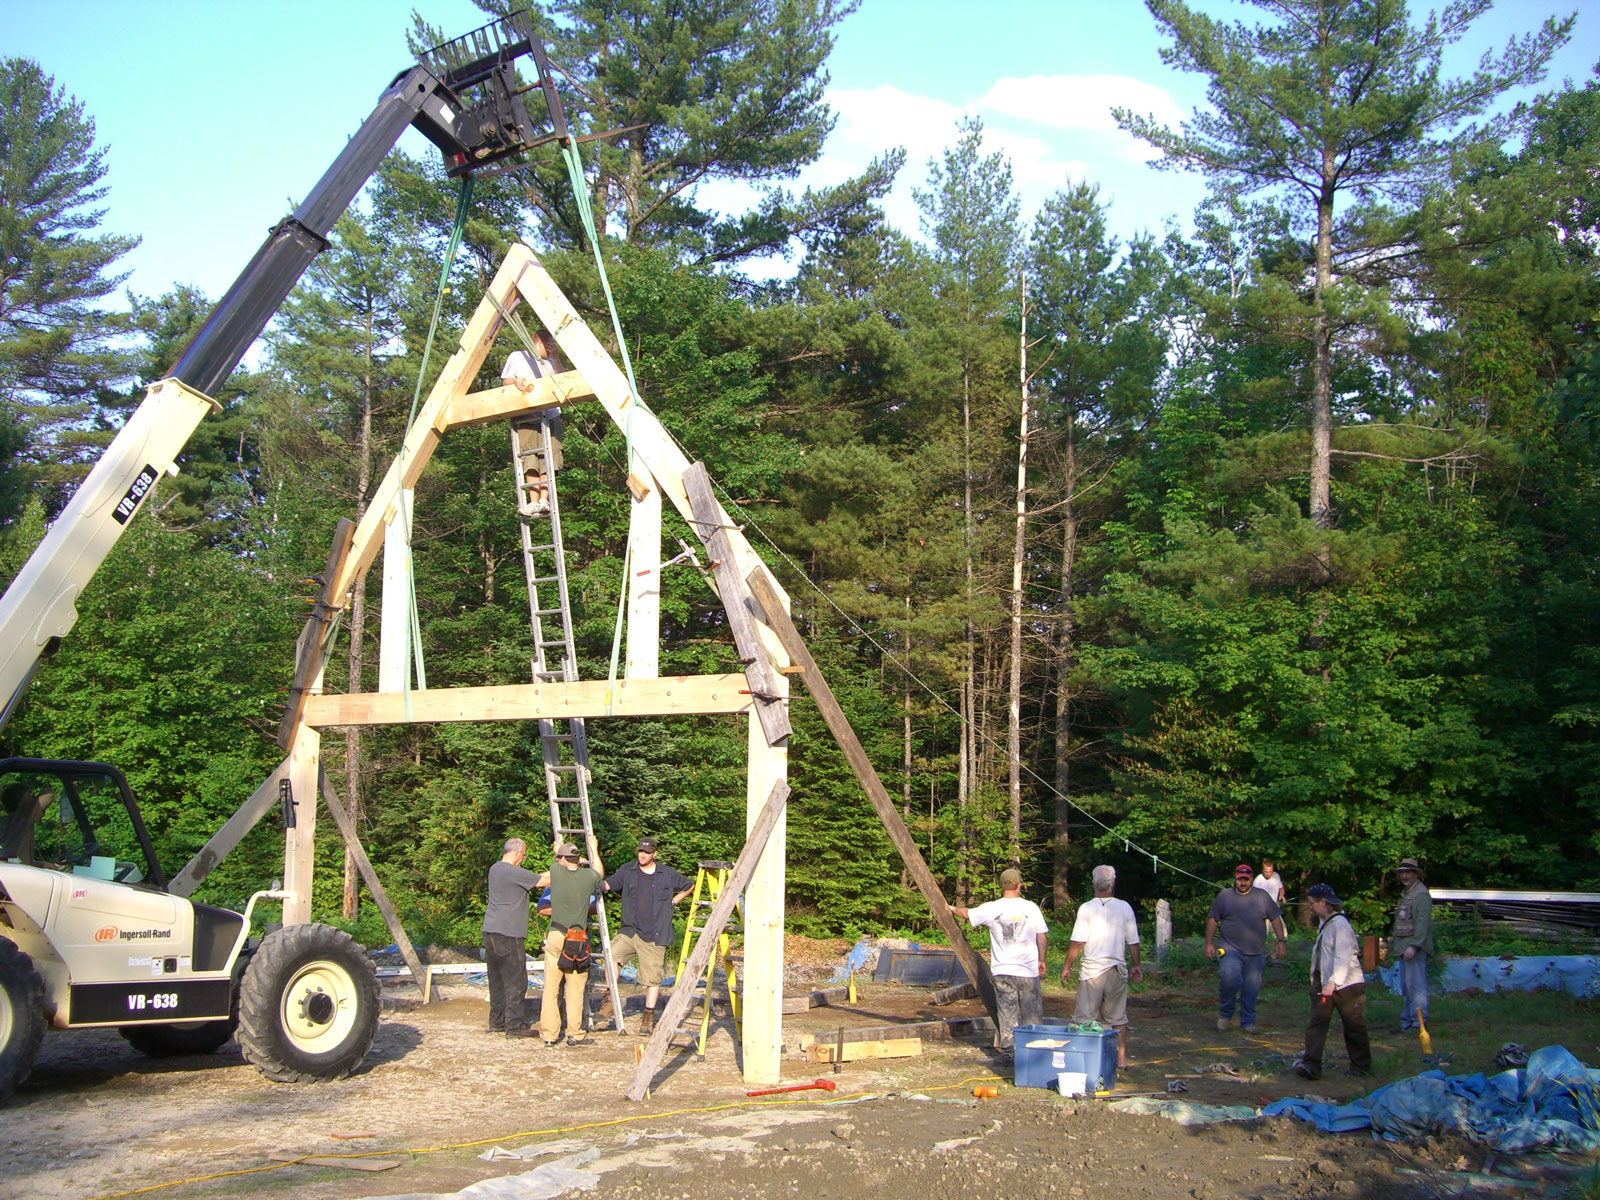 Once the bent has been hoisted (think about doing this by hand!), bracing is installed to hold the bent vertical, and the joint reinforcements are removed.
With the first bent up and out of the way, the parts for the second bent are assembled in a repeat of the previous process.
 Here the second bent has been hoisted and is being braced into place relative to the first bent.
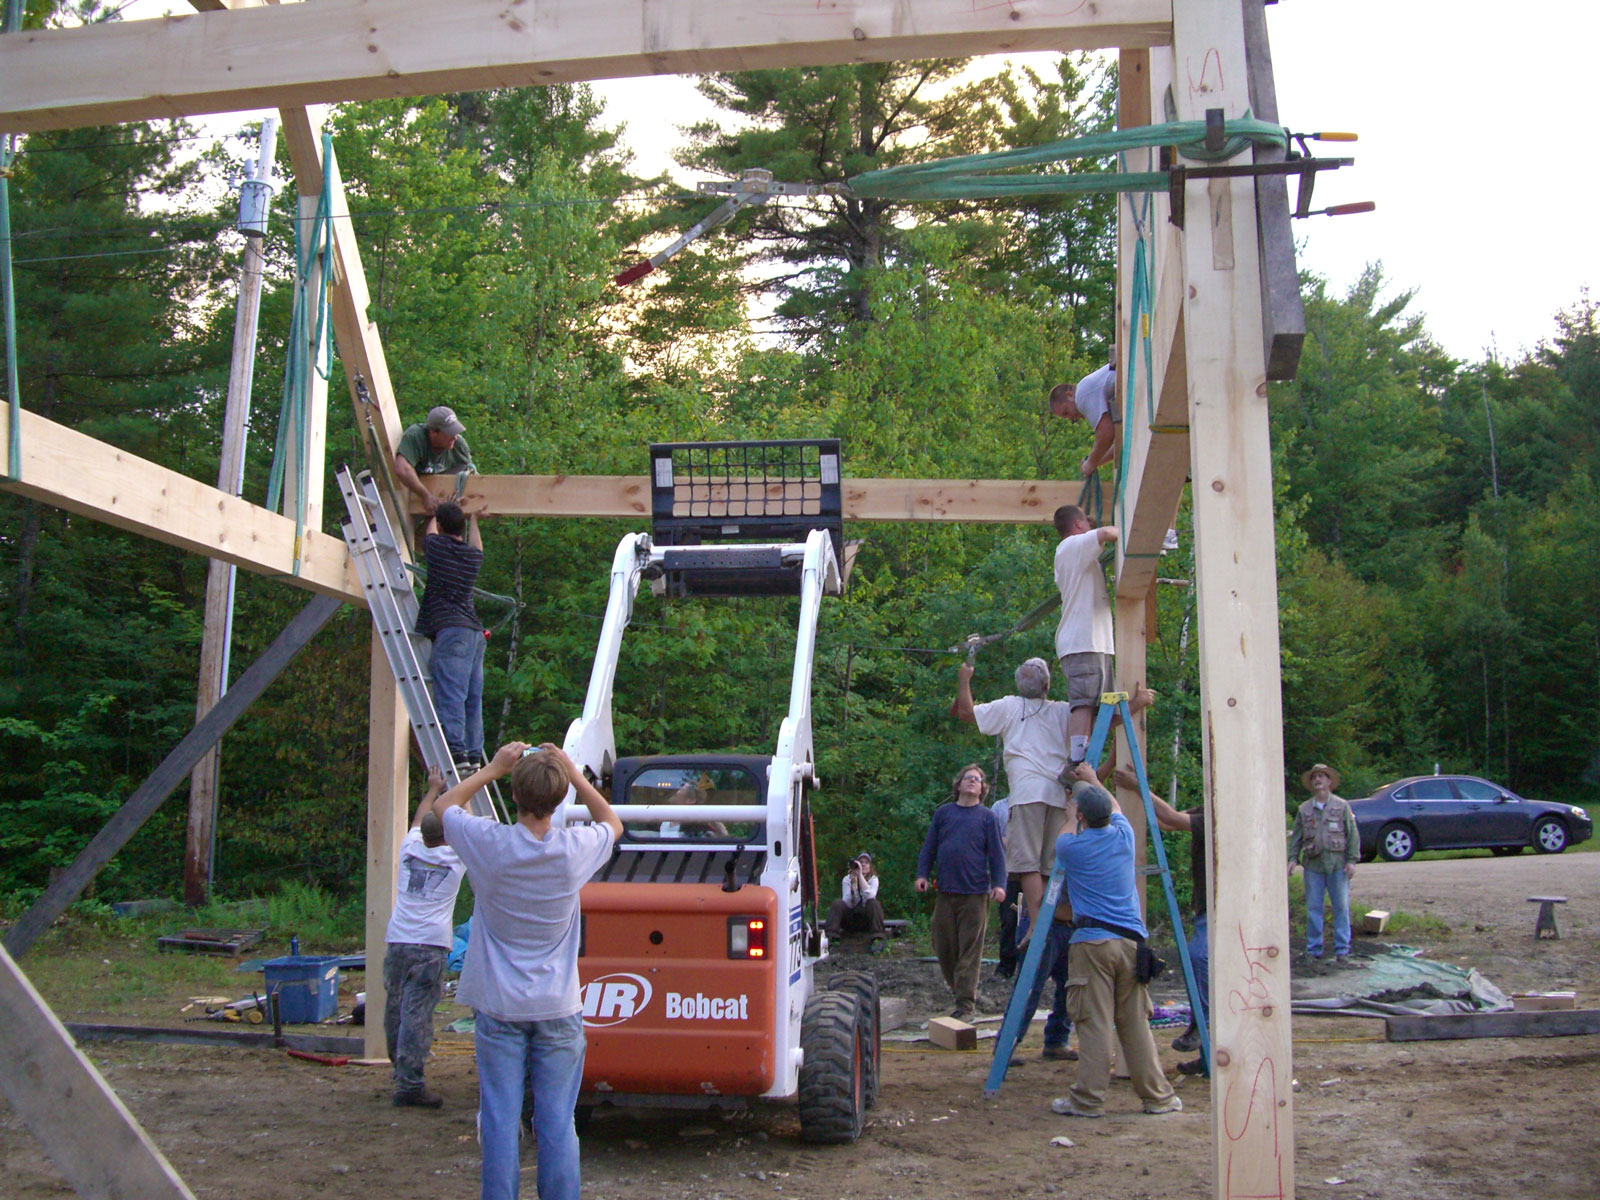
 The top plates are then placed between the two bents, and then the roof purlins are dropped into the dovetails to lock the two bents together.
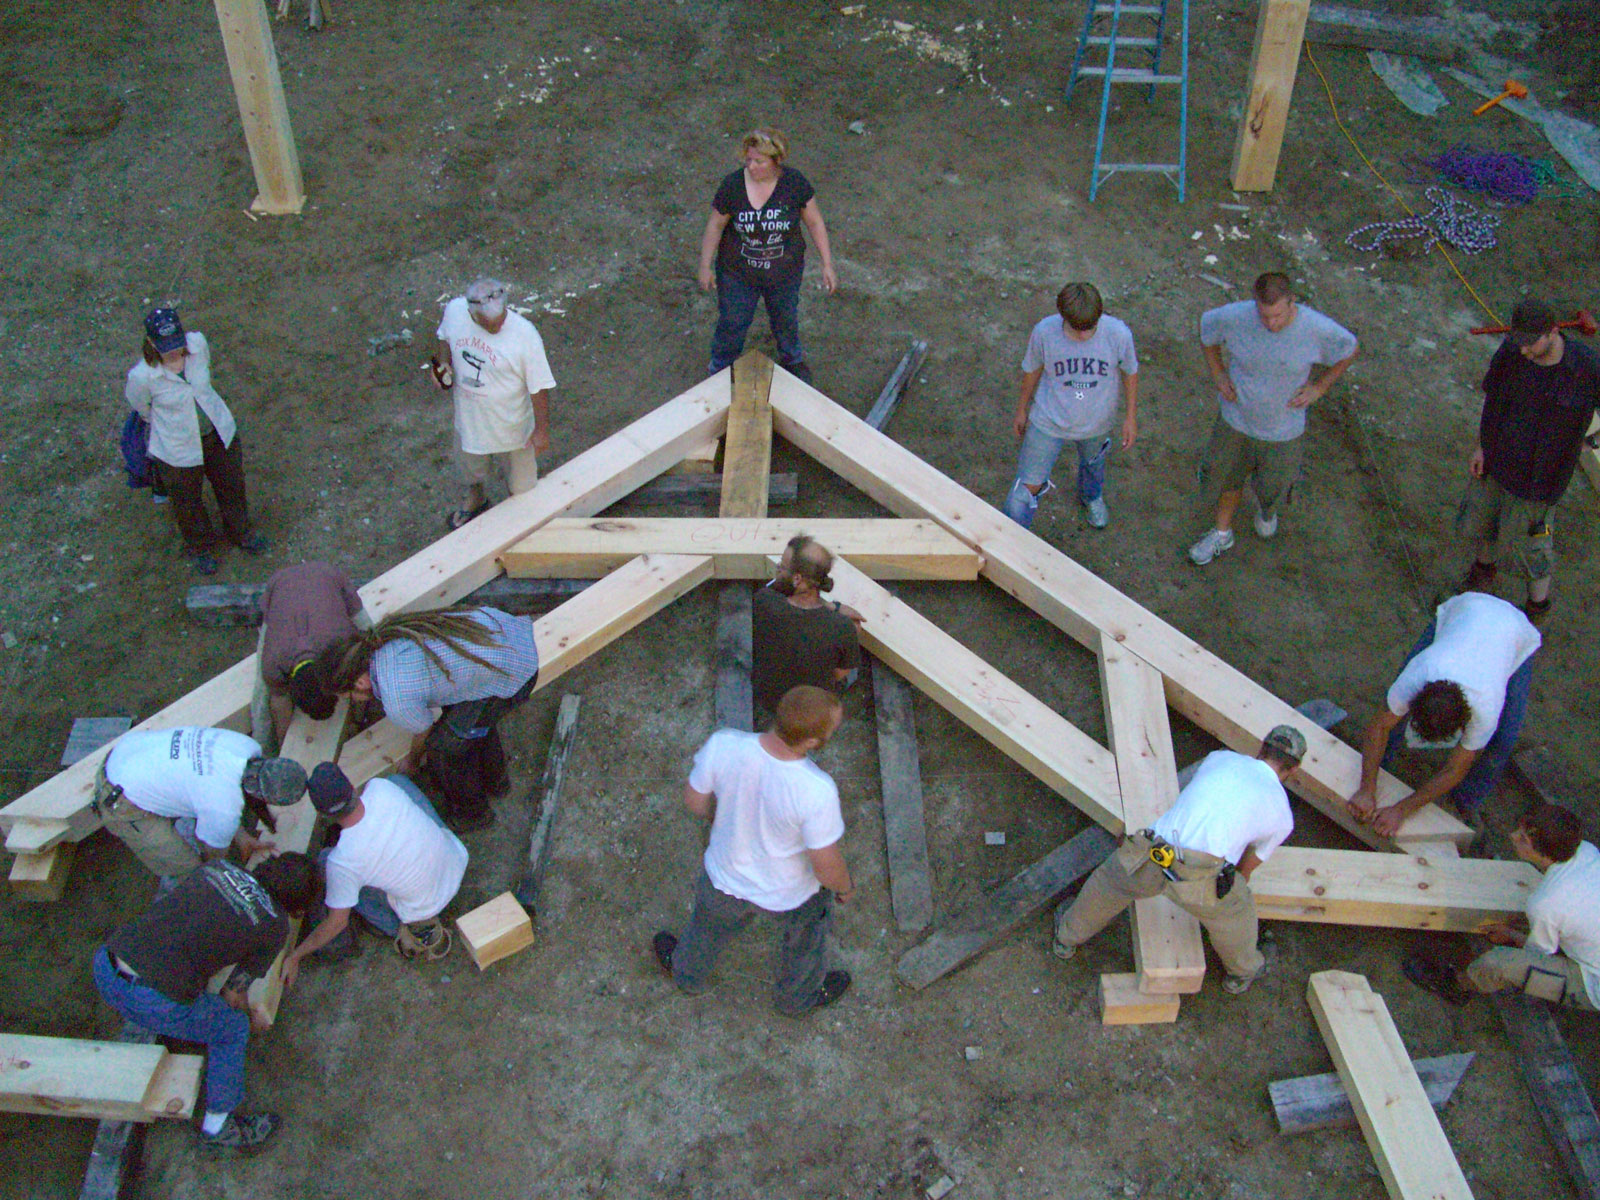
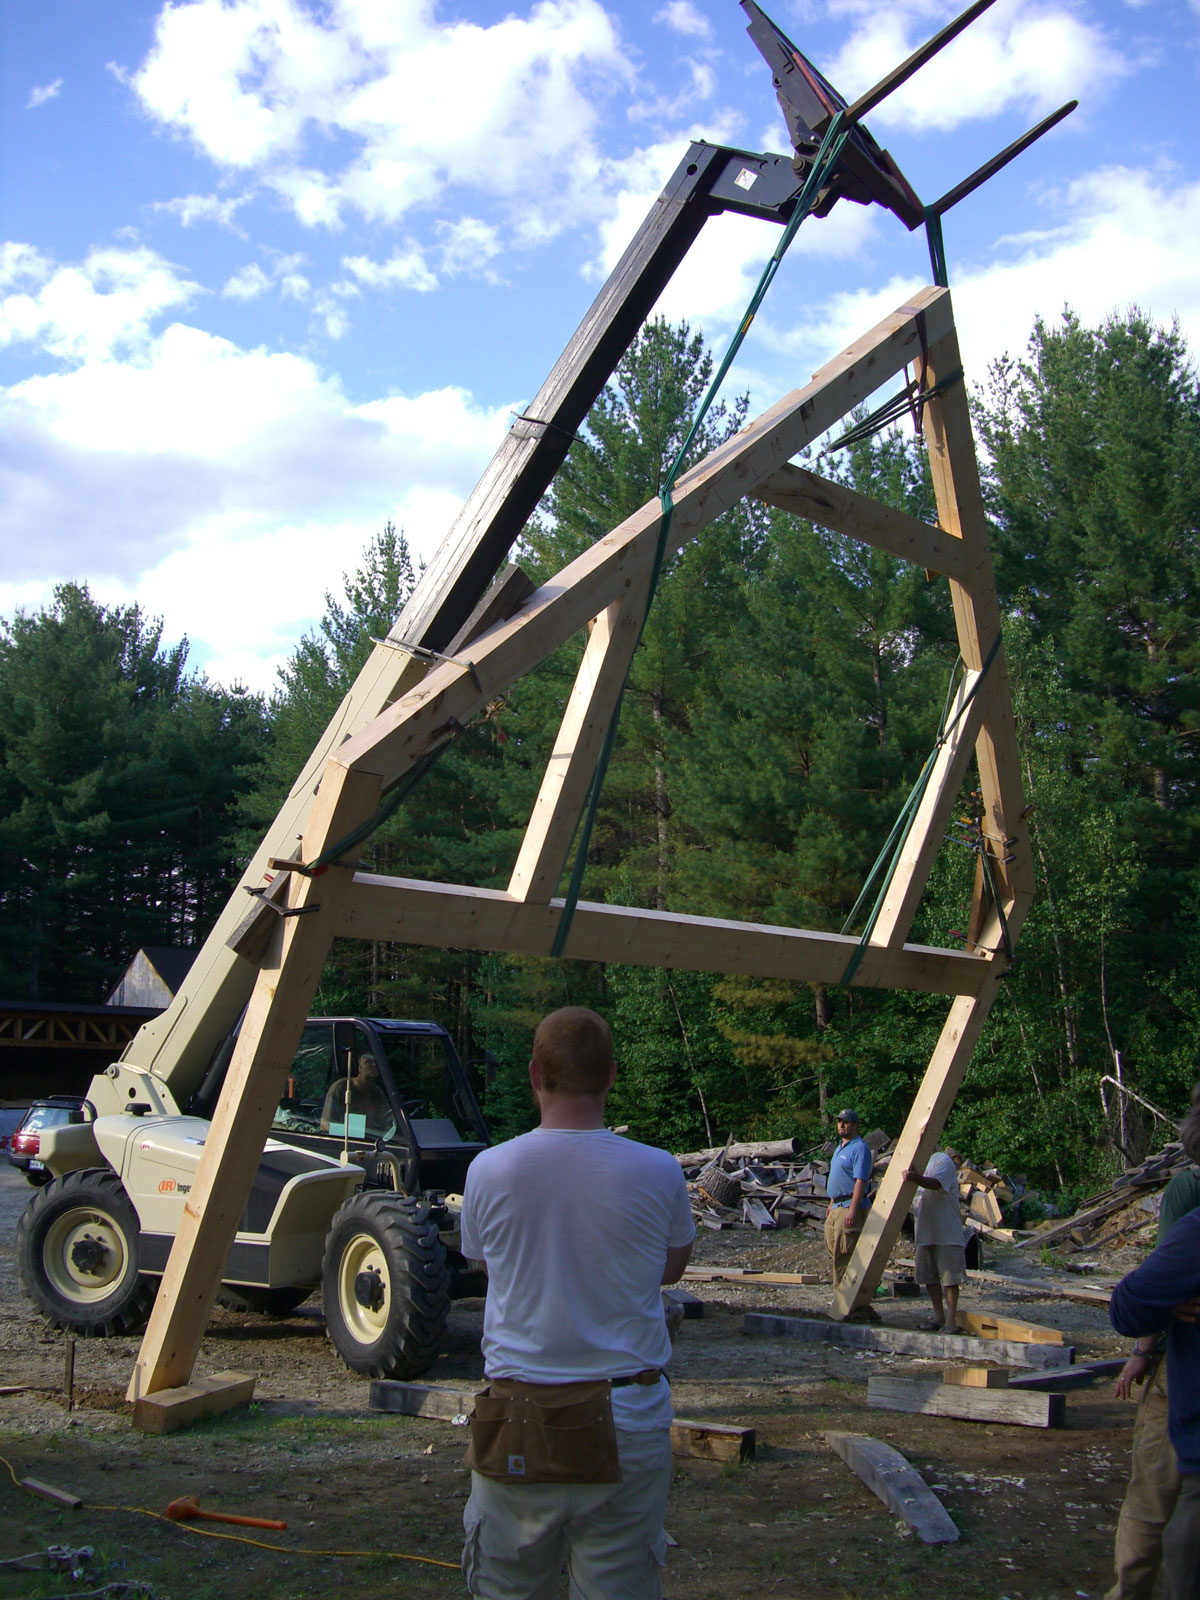
 The third bent, which gives the Hammerbeam Cape its name, is the Hammerbeam Truss. In a regular truss like the first and second trusses, the vertical roof loads cause the rafters to want to “flatten out”, which requires the addition of the tie-beam to prevent the vertical posts from bending outward and the truss collapsing. The various timbers in this truss direct the roof loads into a vertical direction down the vertical posts instead of into the horizontal spreading loads.
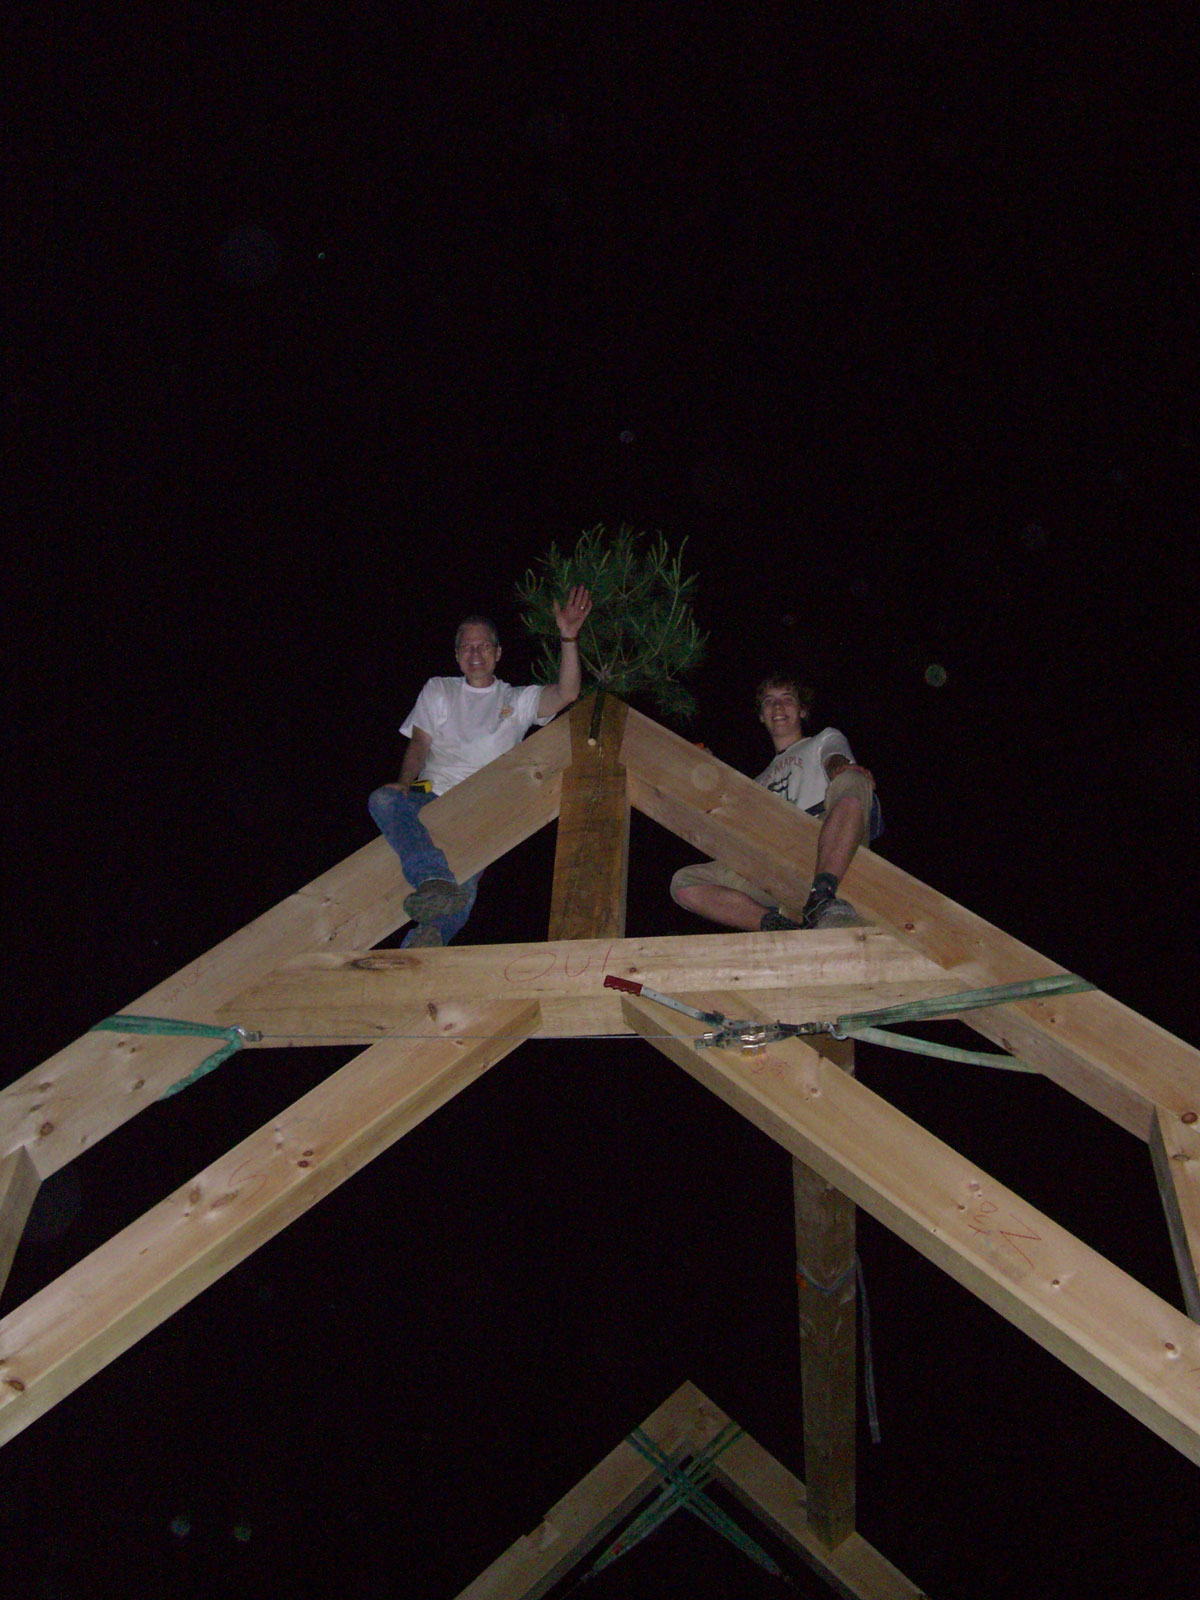
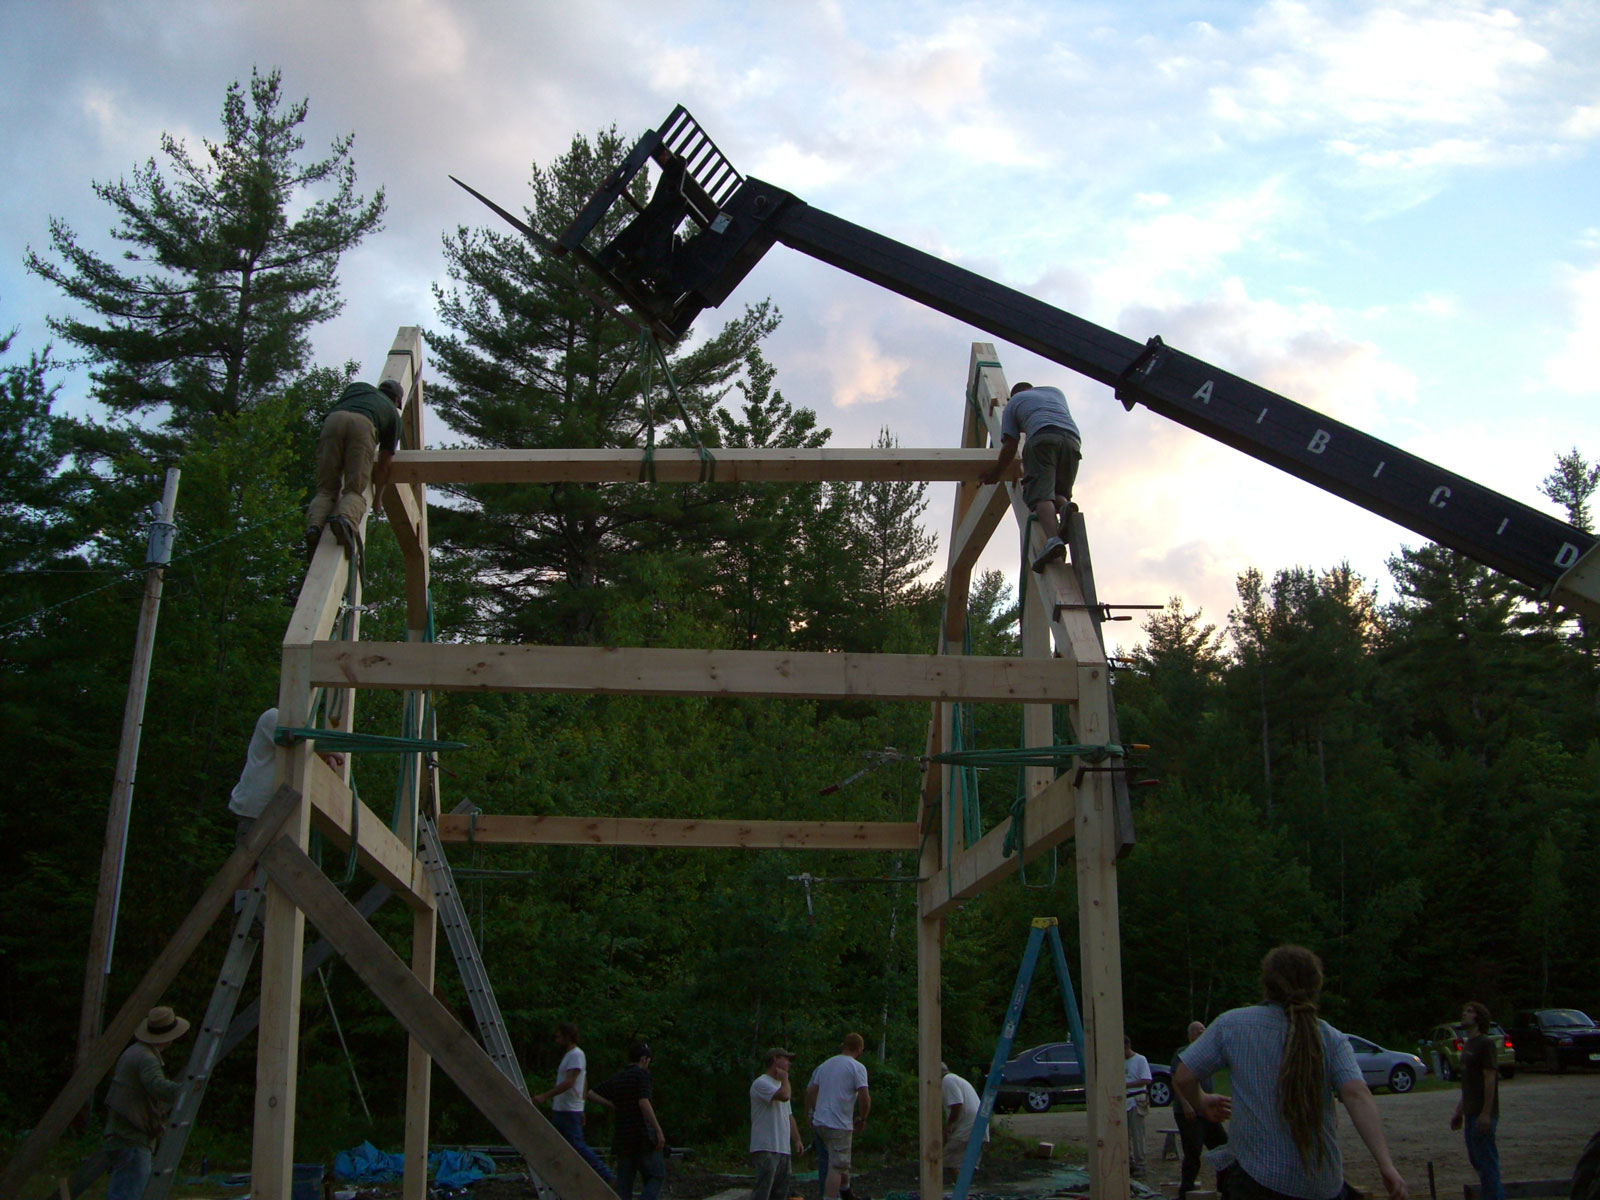
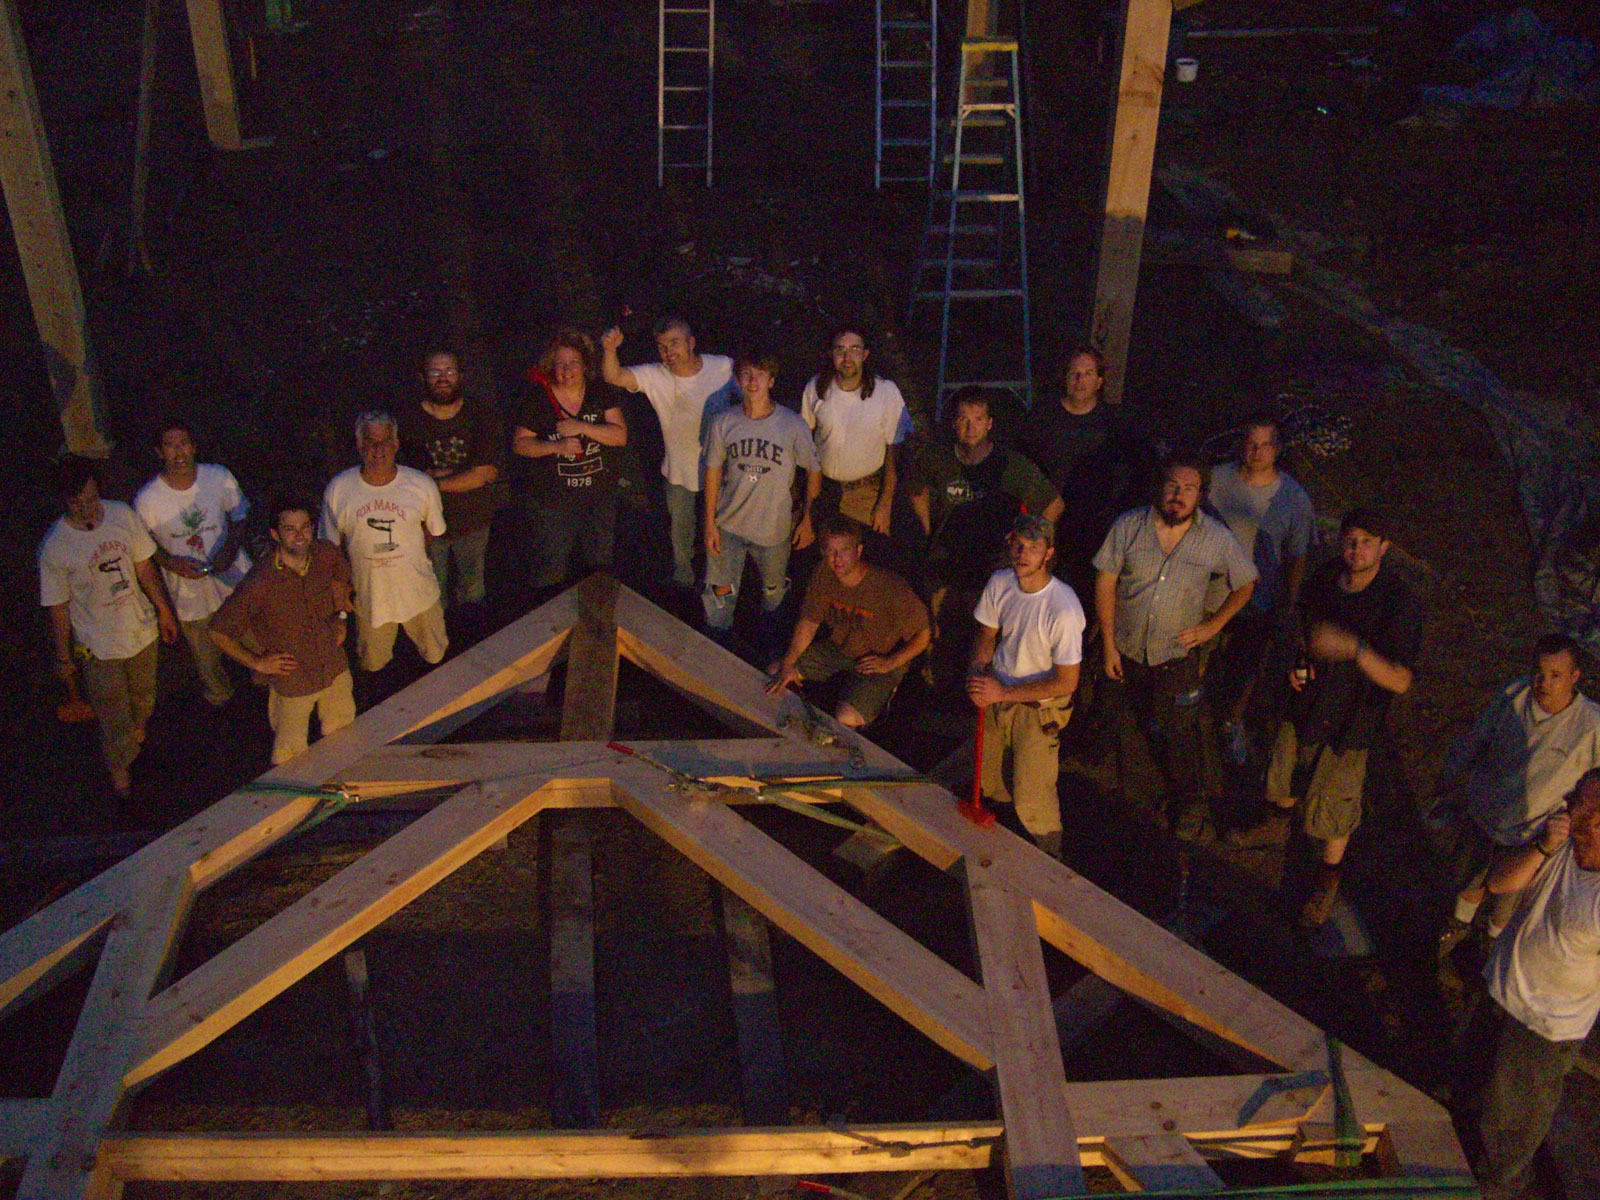 The sun has set, but the party is just getting started. The third bent is now assembled and ready for raising. That’s me waving after topping out the structure.
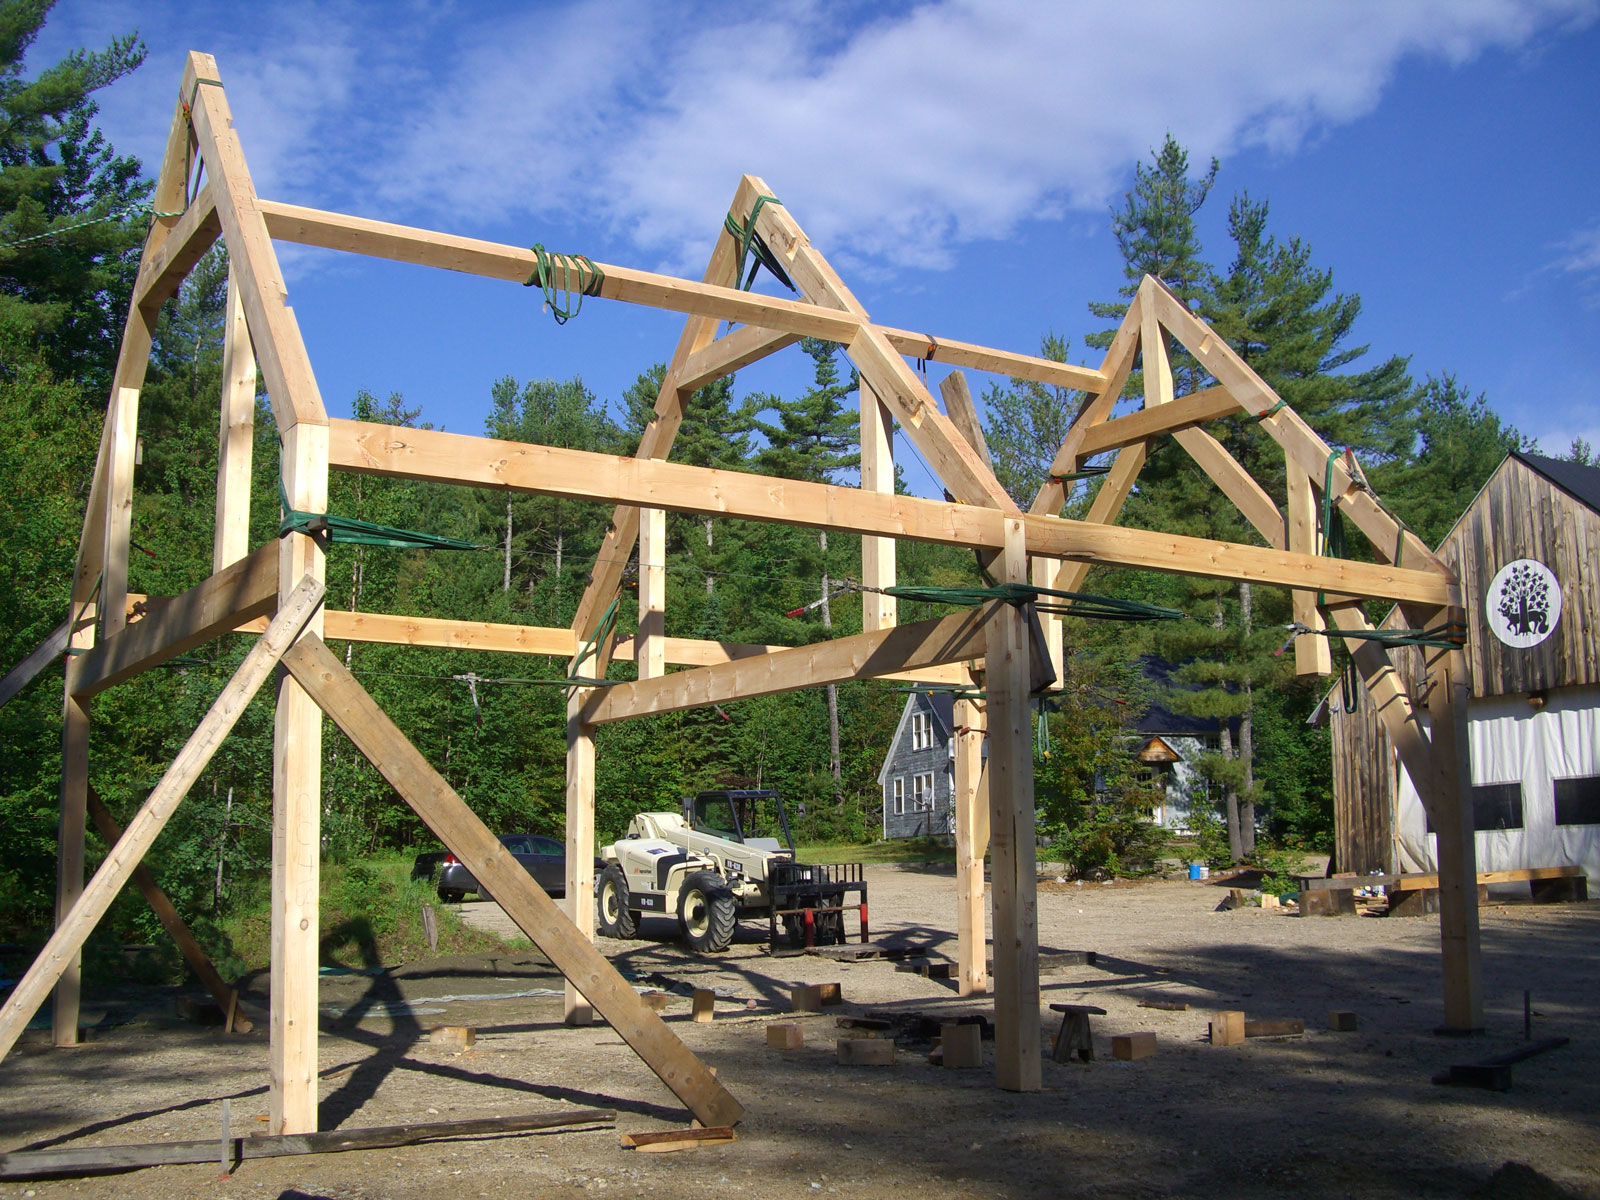
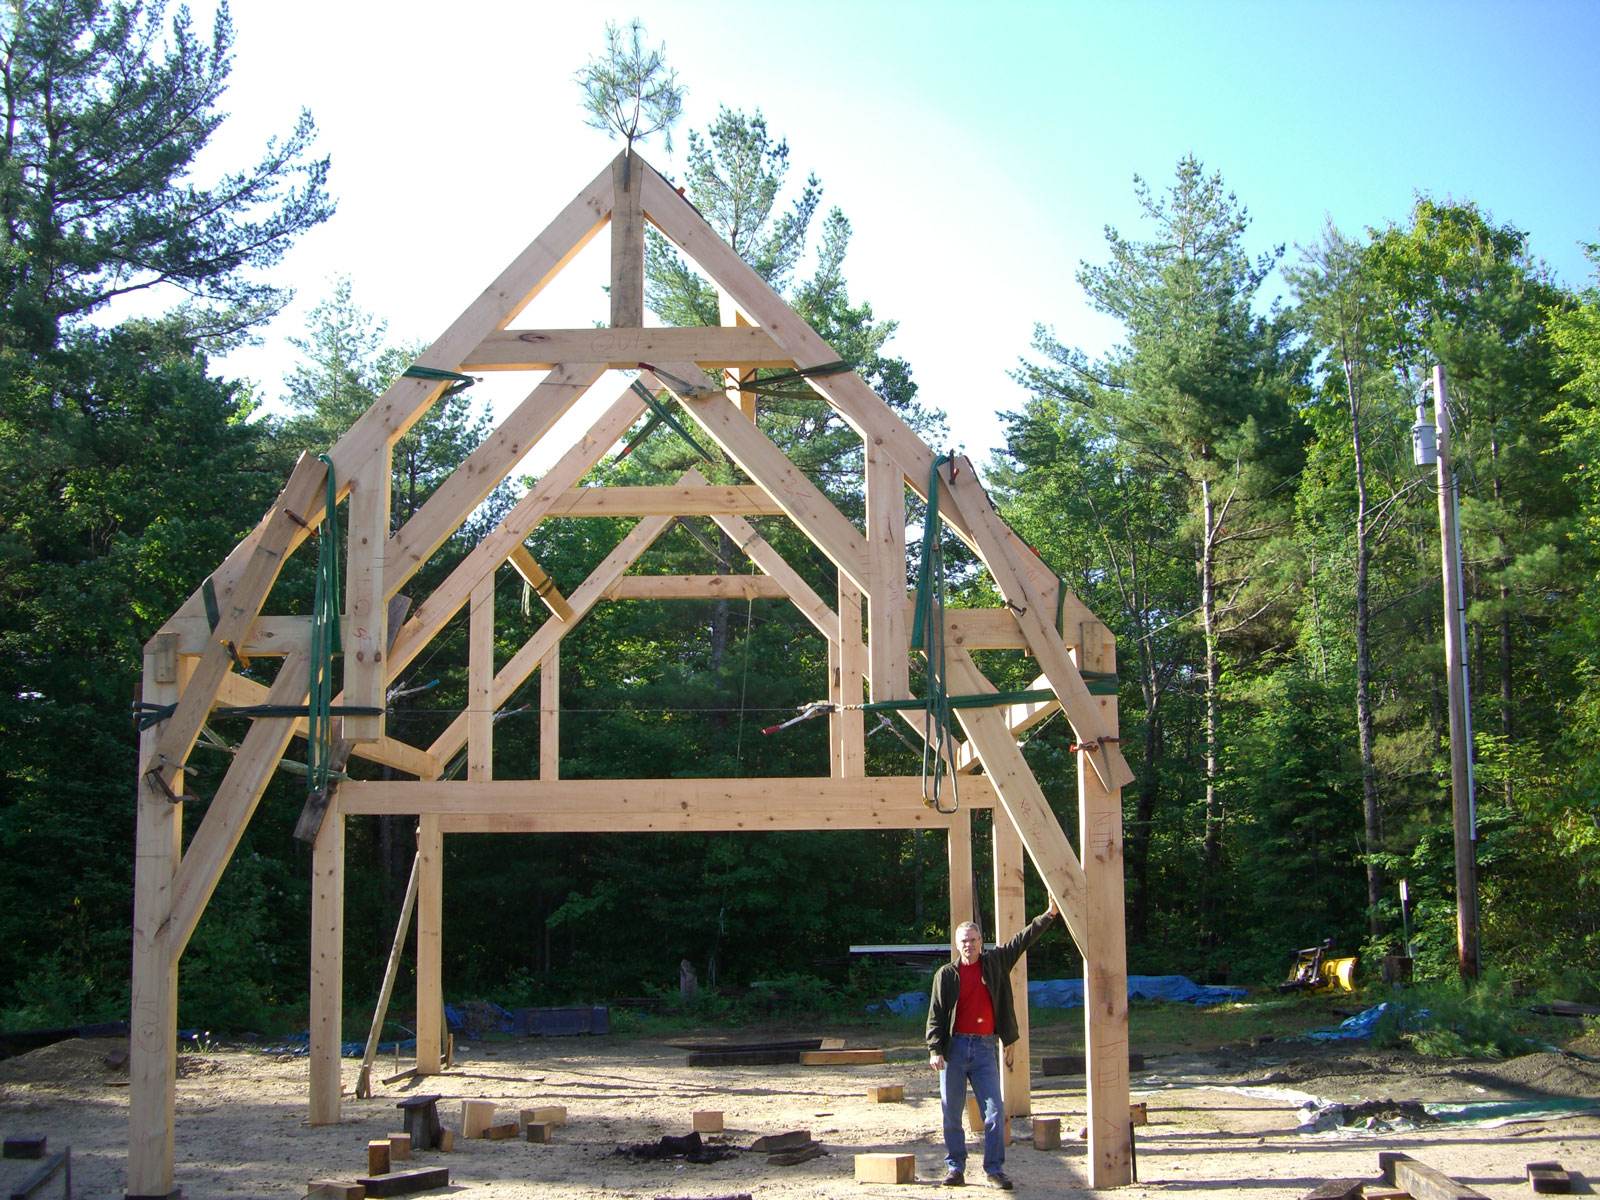 Lisa and I came back the next day to get clear photos in daylight. The party went on till well after midnight, but there wasn’t sufficient light for good photos. Unfortunately, this meant the rest of the team is left out of these shots. A this point, the frame joints are usually pegged and the building would stand on its own. Since this building will be taken apart and reassembled at another site, none of the joints have been pegged and the ropes and straps are temporarily holding things together.