
- Bike Light Battery Pack Adapter
- Bike Light Housing
- Bike Light Electronics Package
Design and build of a 540 lumen Luxeon Star Endor Rebel bike light powered by a Makita 18V Li-ion battery (note: I made this while an expat living in China and so was very limited in the materials, parts, and tools available.)
 This project is a combination electronic/mechanical design. In fact, there’s a lot more time spent on the mechanical design and machining than in the simple Atmel AVR µController. I’ll be presenting this project in three major parts: The battery pack adapter; the light housing; and the AVR control circuit. In the project sources, I provide the full AutoCad 2008 3D models, and some simple 2D working drawings (not complete prints, just enough information for me to machine the parts).
I’ve seen quite a few LED bike headlights presented on the Web (i.e. HOW TO – Make the ultimate 18v Bike Light!, Google for more), but I always thought they could be made much smaller and more professionally.
First, was a quick web search for high output LED modules. The one that really stood out in front was the 540 lumen Luxeon Star Endor Rebel. Really nice additional benefits were the pre-engineered, extremely small, buck power bricks available, as well as lenses to focus all the light energy from the LED module. I placed an order for some LEDs, a couple of BuckPuck drivers, and some lenses.
The BuckPuck drivers are really neat. In addition to the given constant current output, they provide output short and open protection, regulated 5V to run a µController, are dimmable, and have an input which shuts of the LED output without having to disconnect power to the module. All this at 95% efficiency and no additional heatsinking required!
With the business-end taken care of, it was now time to think about how to feed it. I really did not want to manufacture my own battery pack and come up with a homebrew charging system when there are many rechargeable tool battery packs and chargers easily found, and inexpensively bought, on eBay. A quick trip to the home center to look at rechargeable power tools, and I selected the Makita LXT 18V battery system because of the availability of a smaller 1.5AH battery, the lightness of Li-i0n compared to Ni-Cad, no memory effect, and the battery/tool attachment method. The battery attachment method was critical because I needed to “reverse engineer” the tool base to make a battery holder for the bike.
The Battery Holder

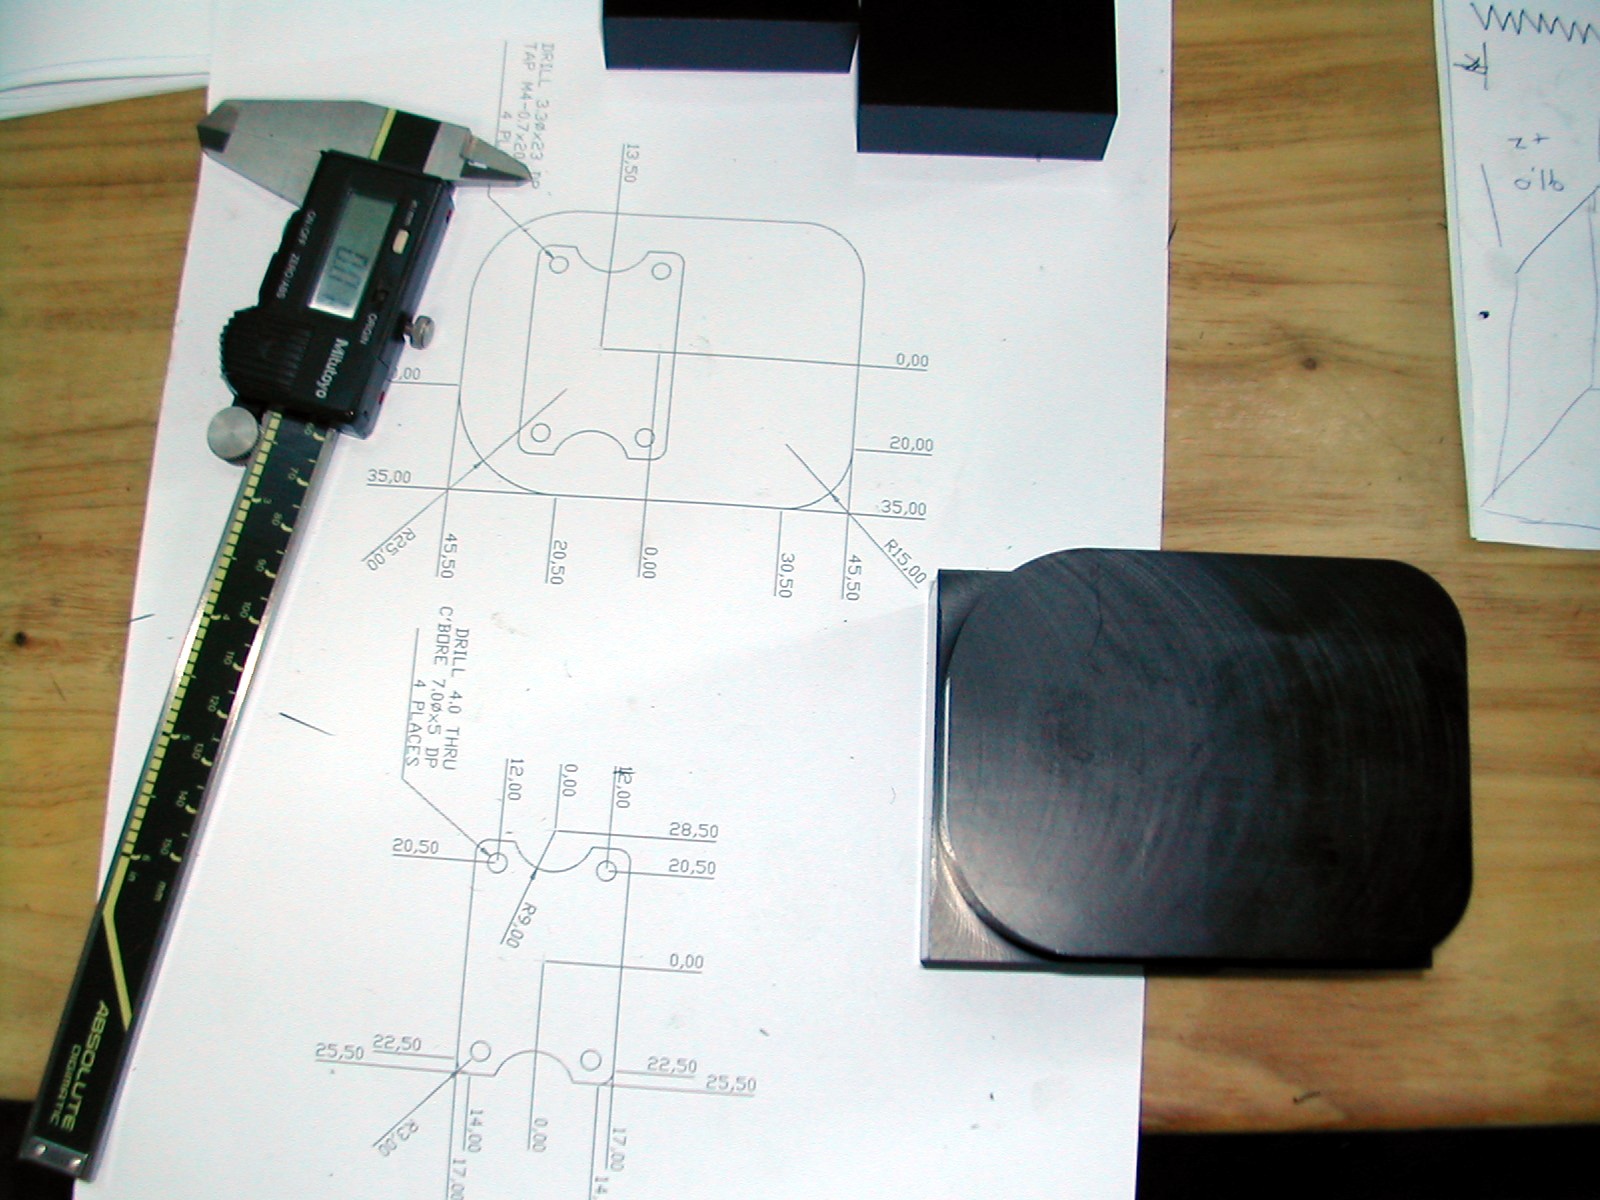
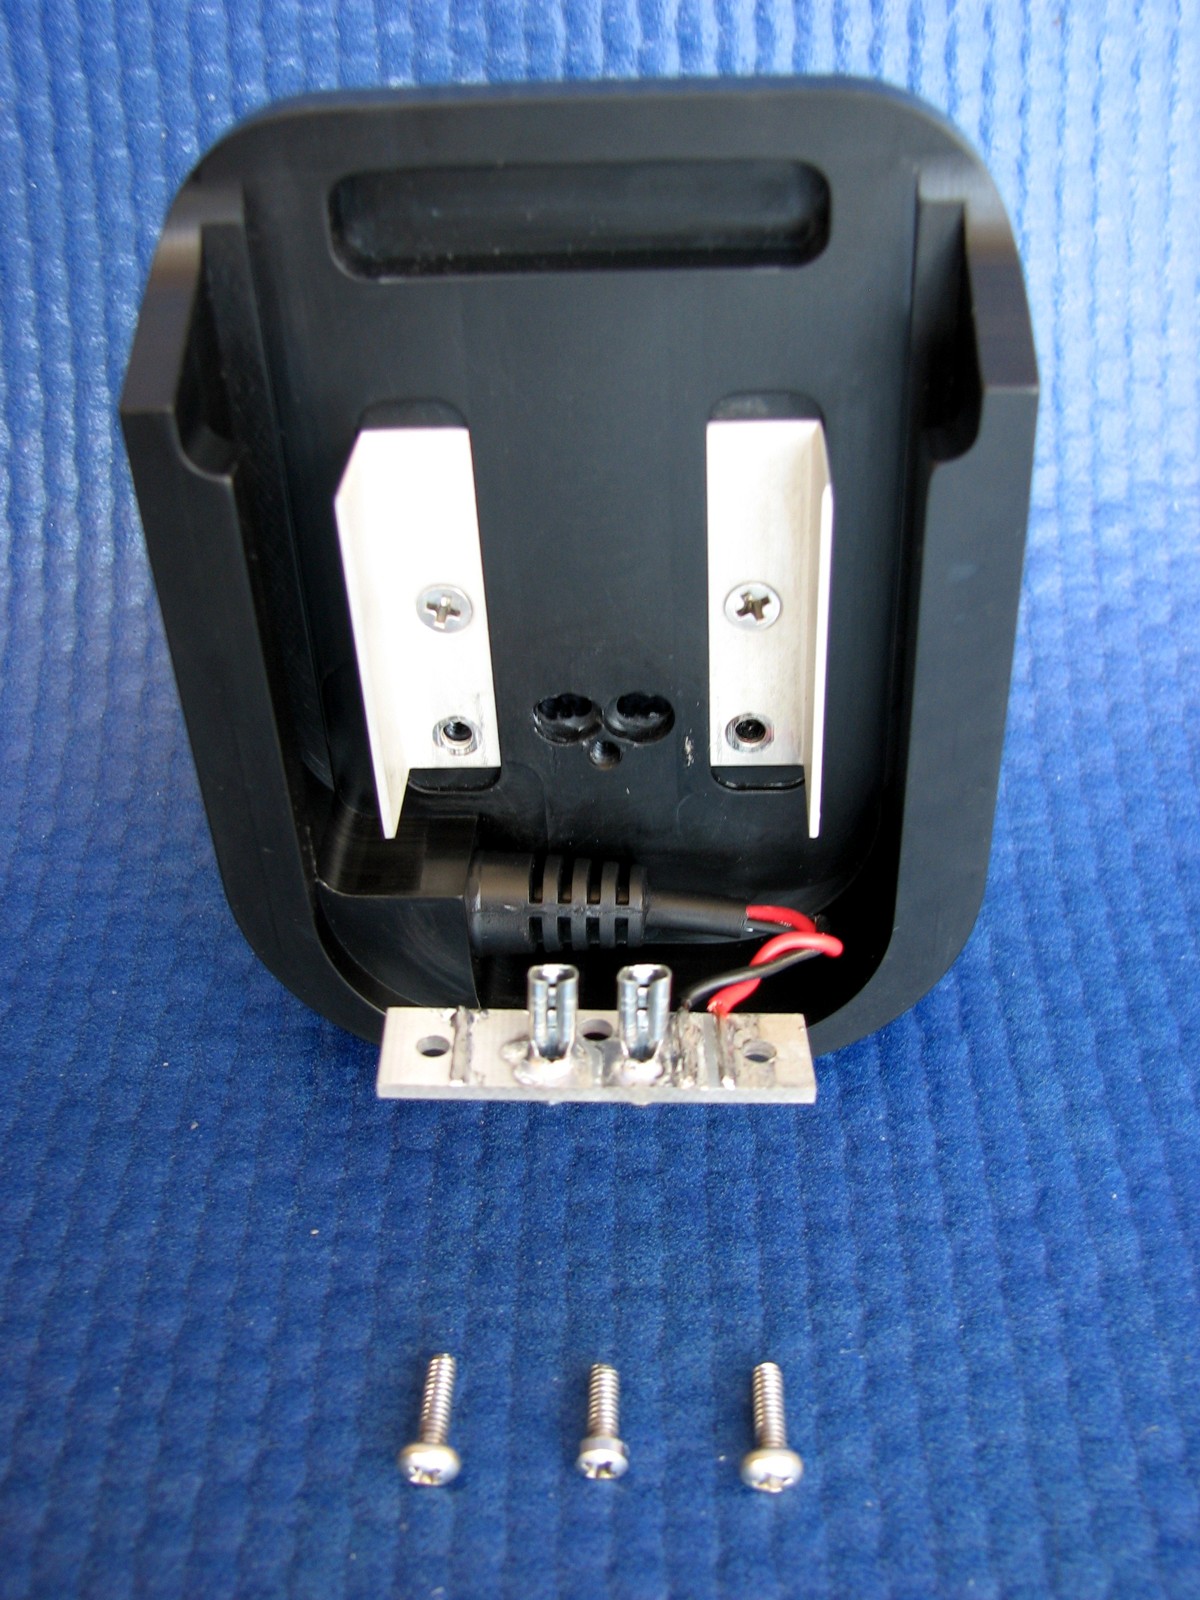
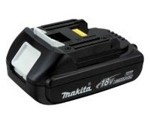 I scored a two pack of brand new Makita BL1815 batteries and a DC18RA charger off of eBay for a steal. The first step once I had the batteries in hand was to take dimensions from them and create an AutoCad 3D model of the corresponding female receptacle. Power connection to the light is via a 2.5mm coaxial power plug like that commonly found on wall-wart power supplies. I bought a short power extension cable molded ends and cut the ends off to use on the bike light. The female straight connector pressed into a hole in the battery housing, and the right angle male end attached to the light module.
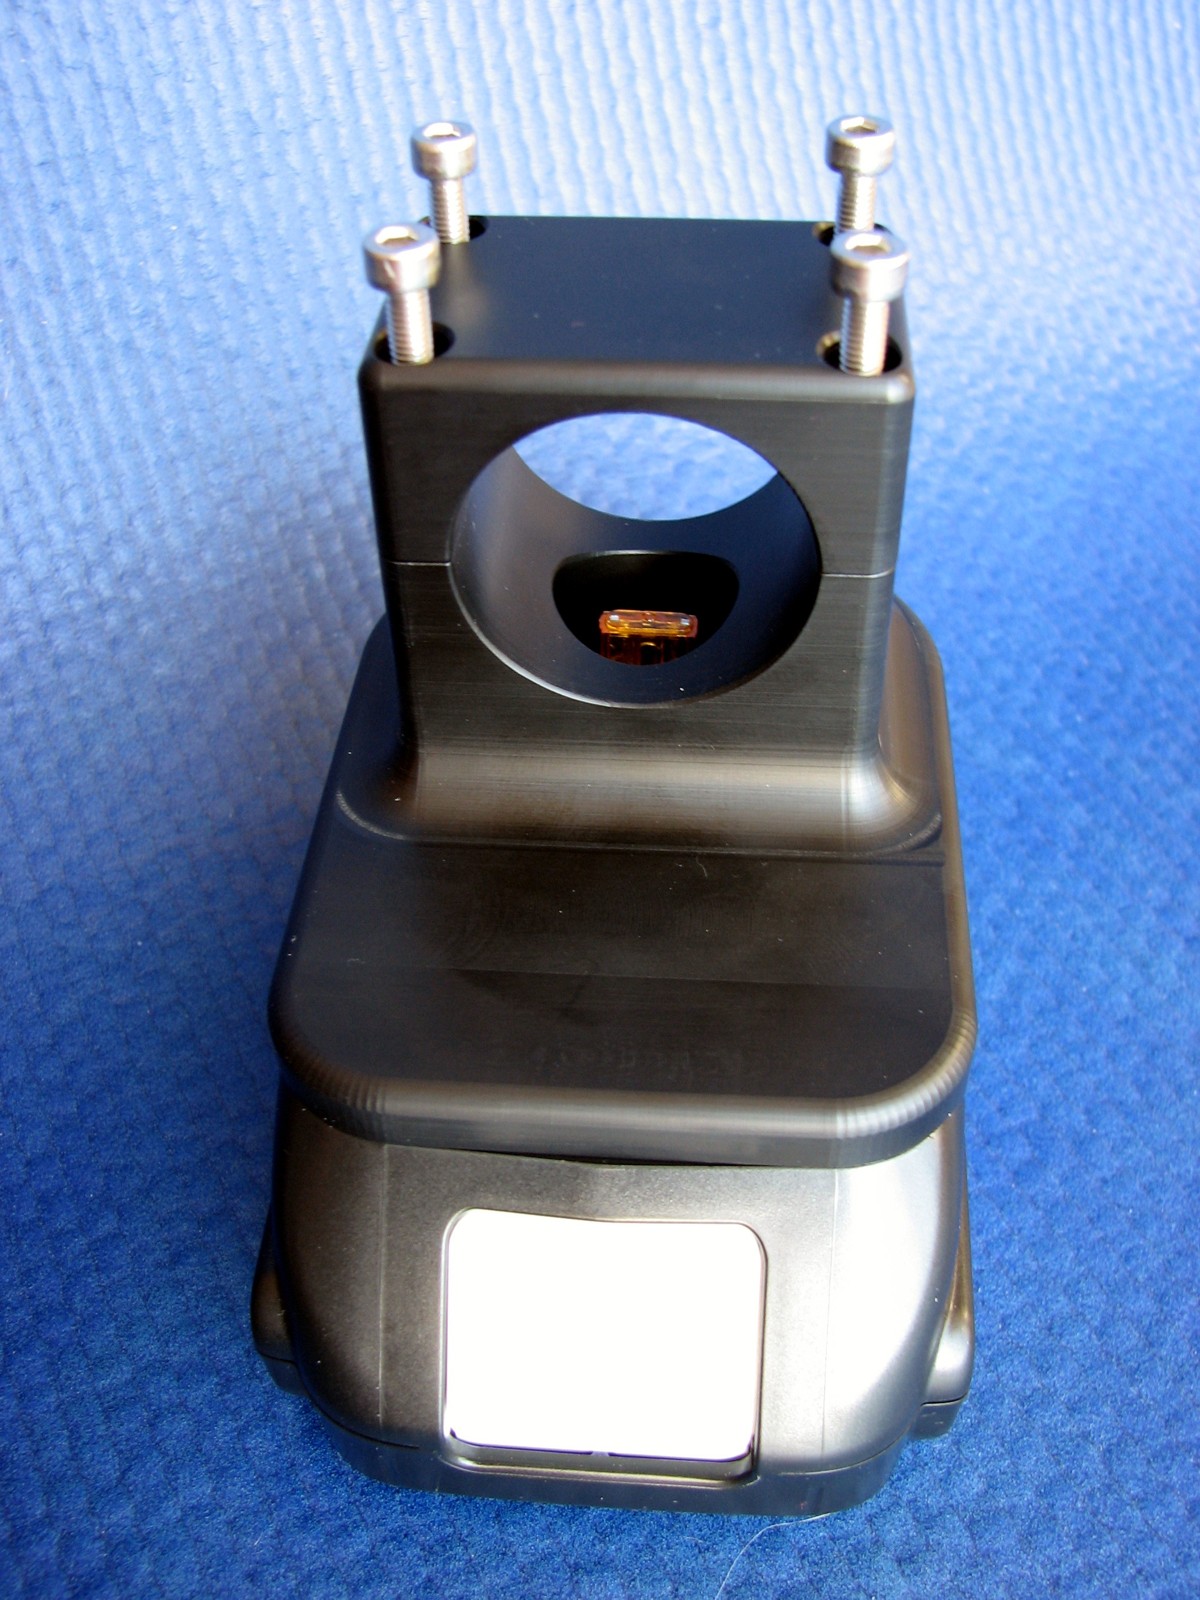
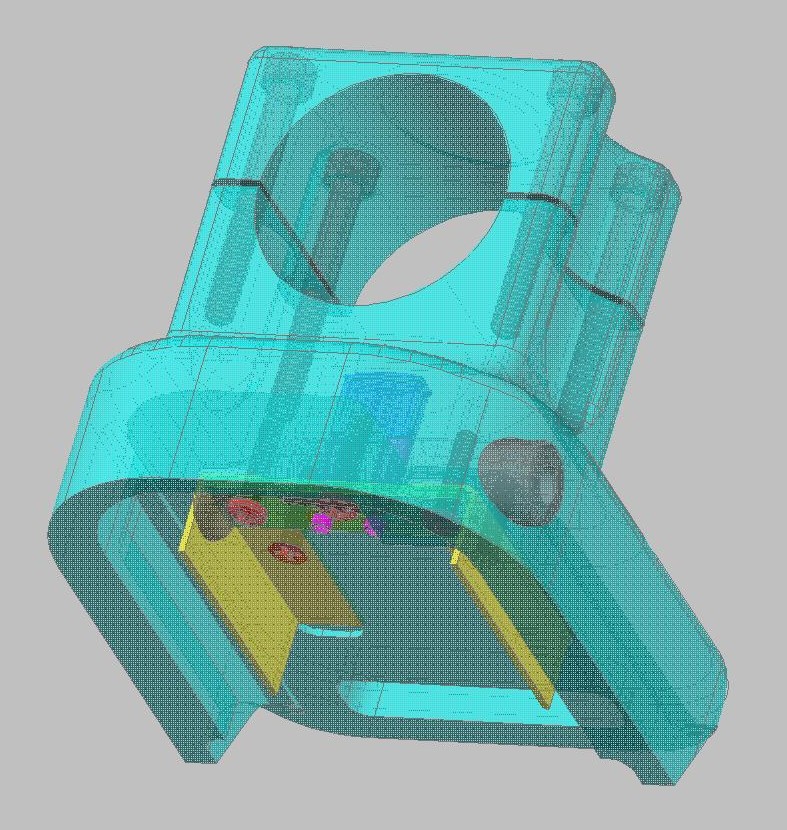 The adapter housing was machined from black Acetal Homopolymer (Delrin™). The battery contacts were machined from copper bar-stock, tin plated, and attached with 4-40 screws. Along the back of the battery terminals is a small PC board with two 0.110″ female spade terminals to act as a receptacle for a 2A ATM Mini fuse.
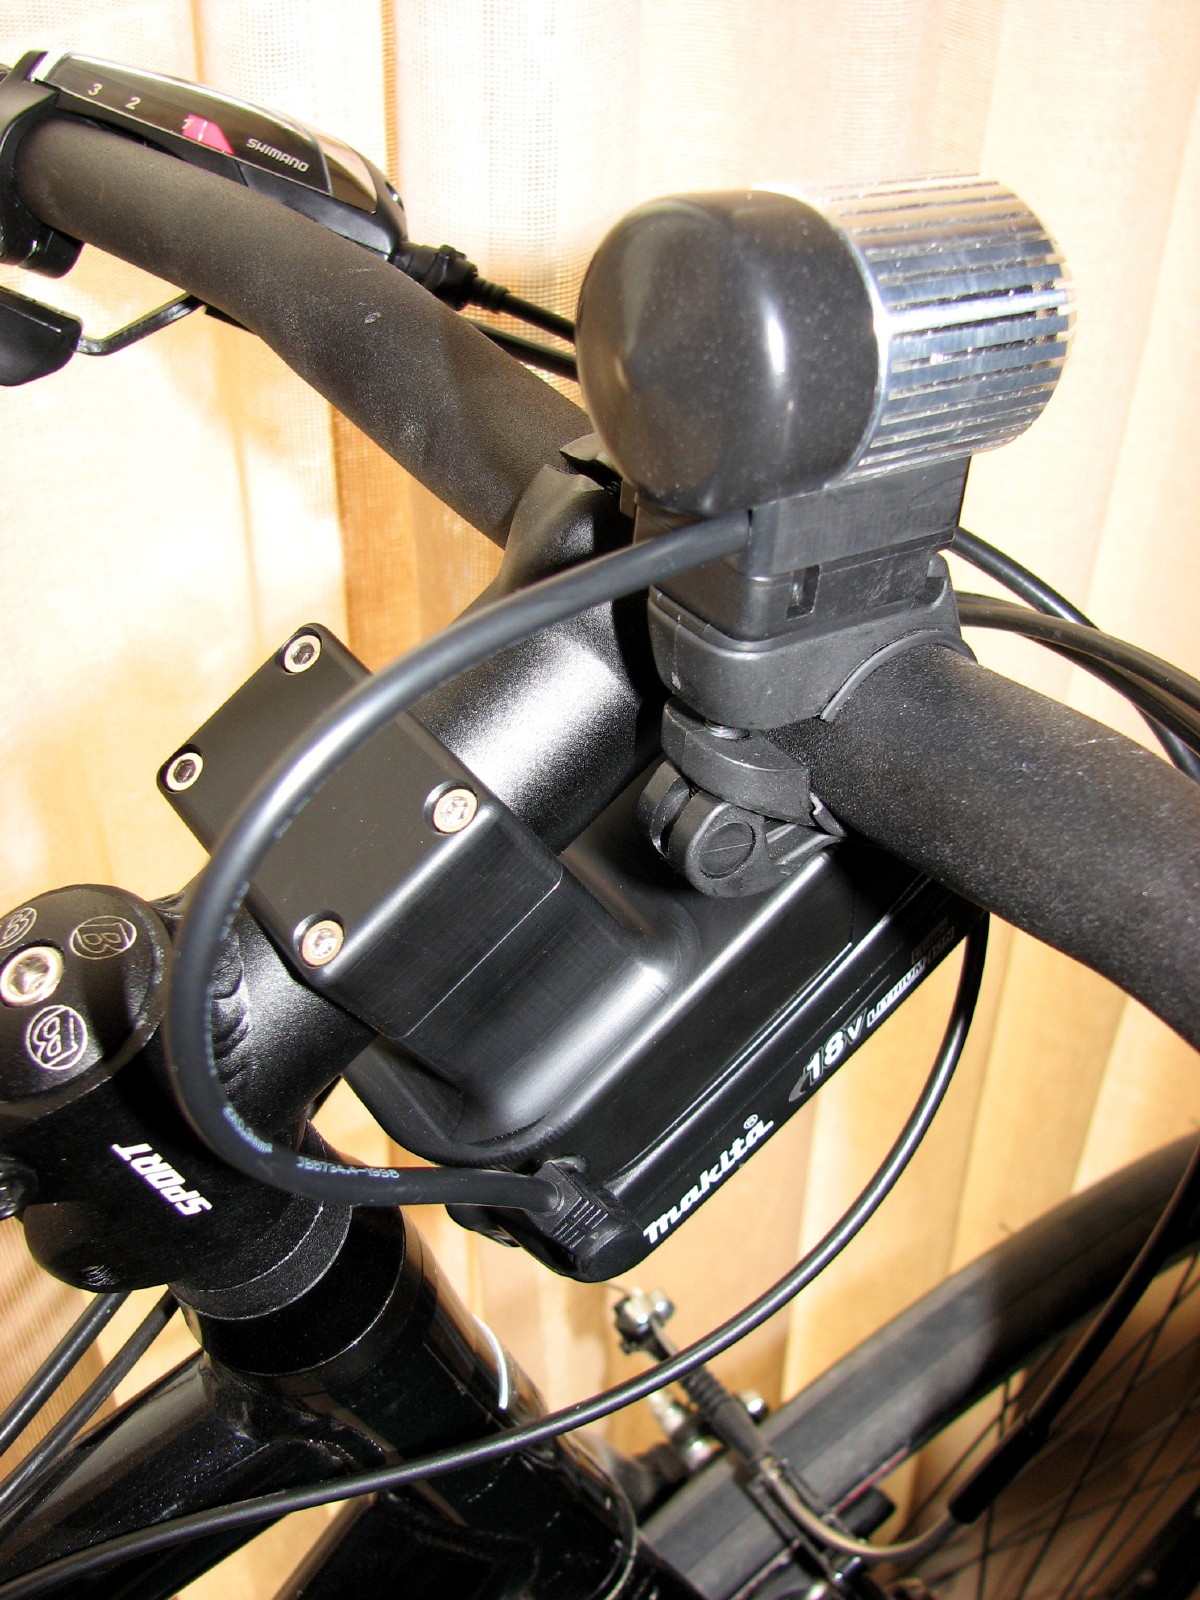
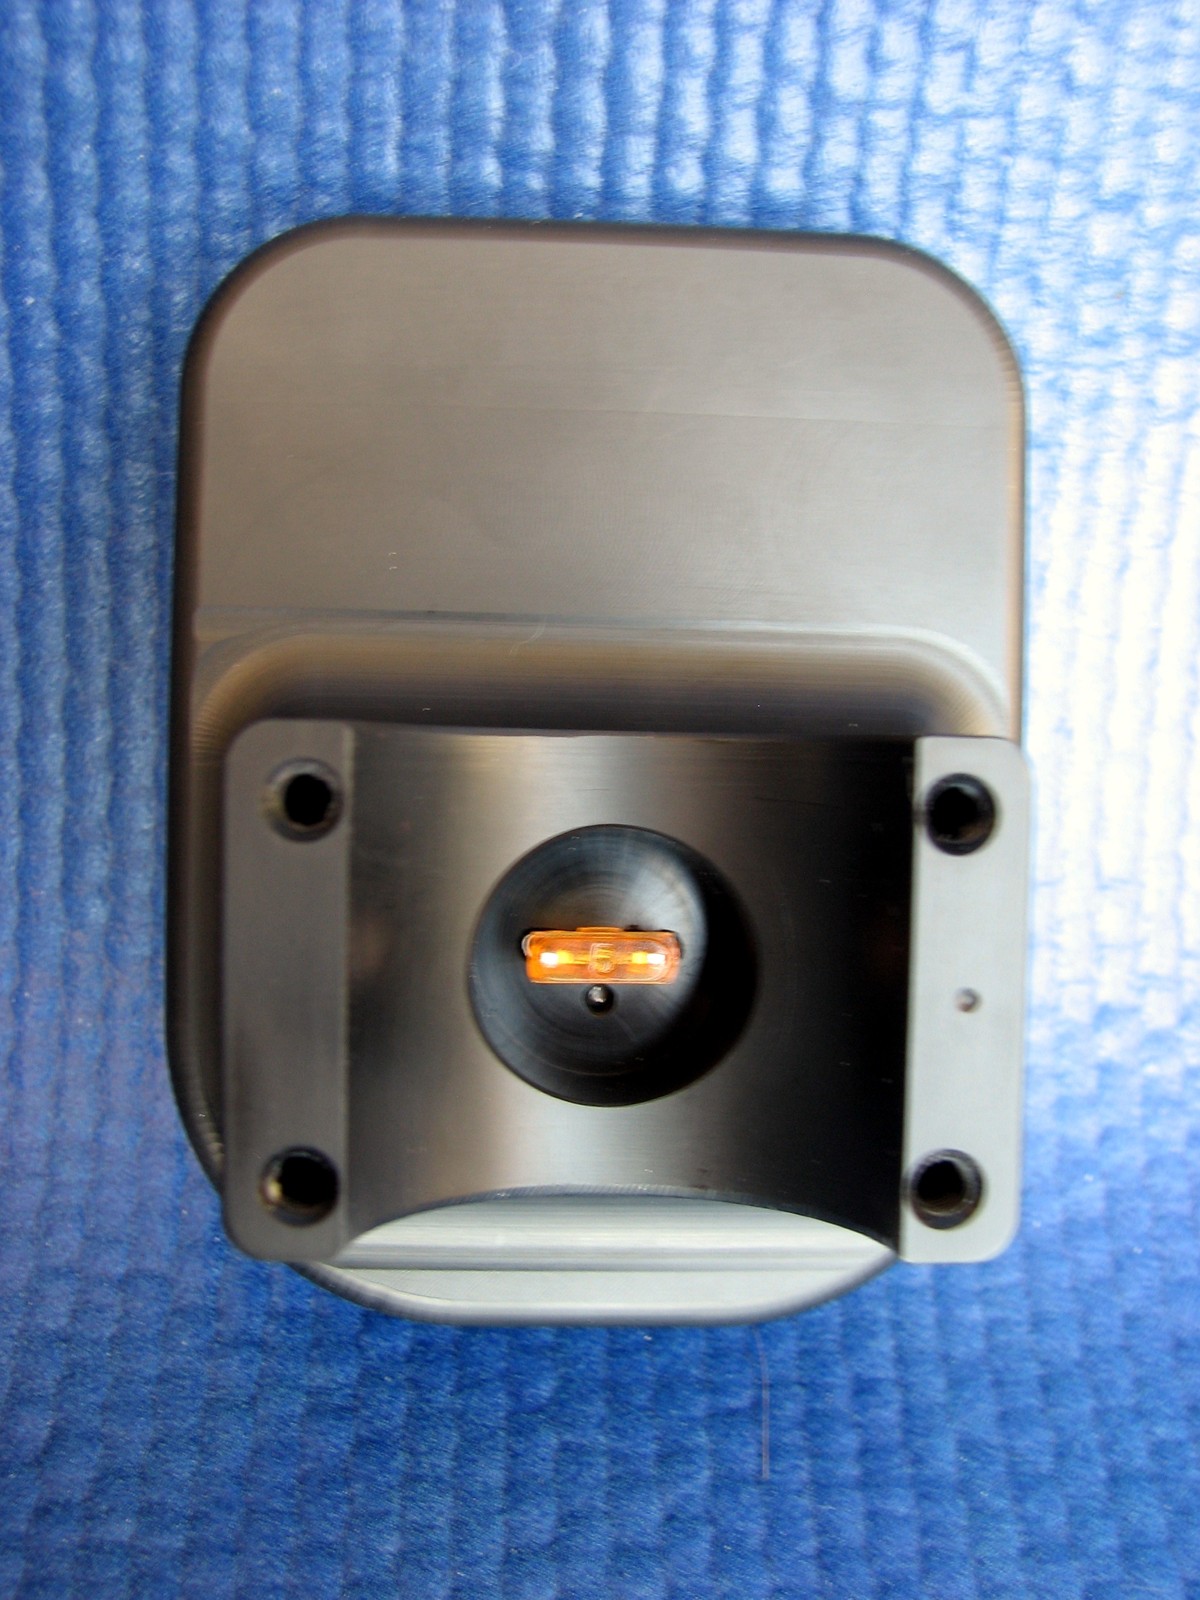
The battery adapter mounts on the threadless handlebar stem of my bike with a cap attached by four stainless 4mm SHCS, and the Makita battery just slides in and locks in place the same as on the power tools. You can either use the smaller BL1815 1.5Ah battery as I have, or you can use the larger BL1830 3.0Ah battery. The 1.5Ah battery should provide about 3 hours of lifetime on the High setting, 6 hours on Medium, and 46 Hours on low.
You probably already noticed that there’s a mixture of metric and imperial fasteners on this project. I’m an American Expat living in China, so this is made with what I had on-hand and what was available in the street markets around here.
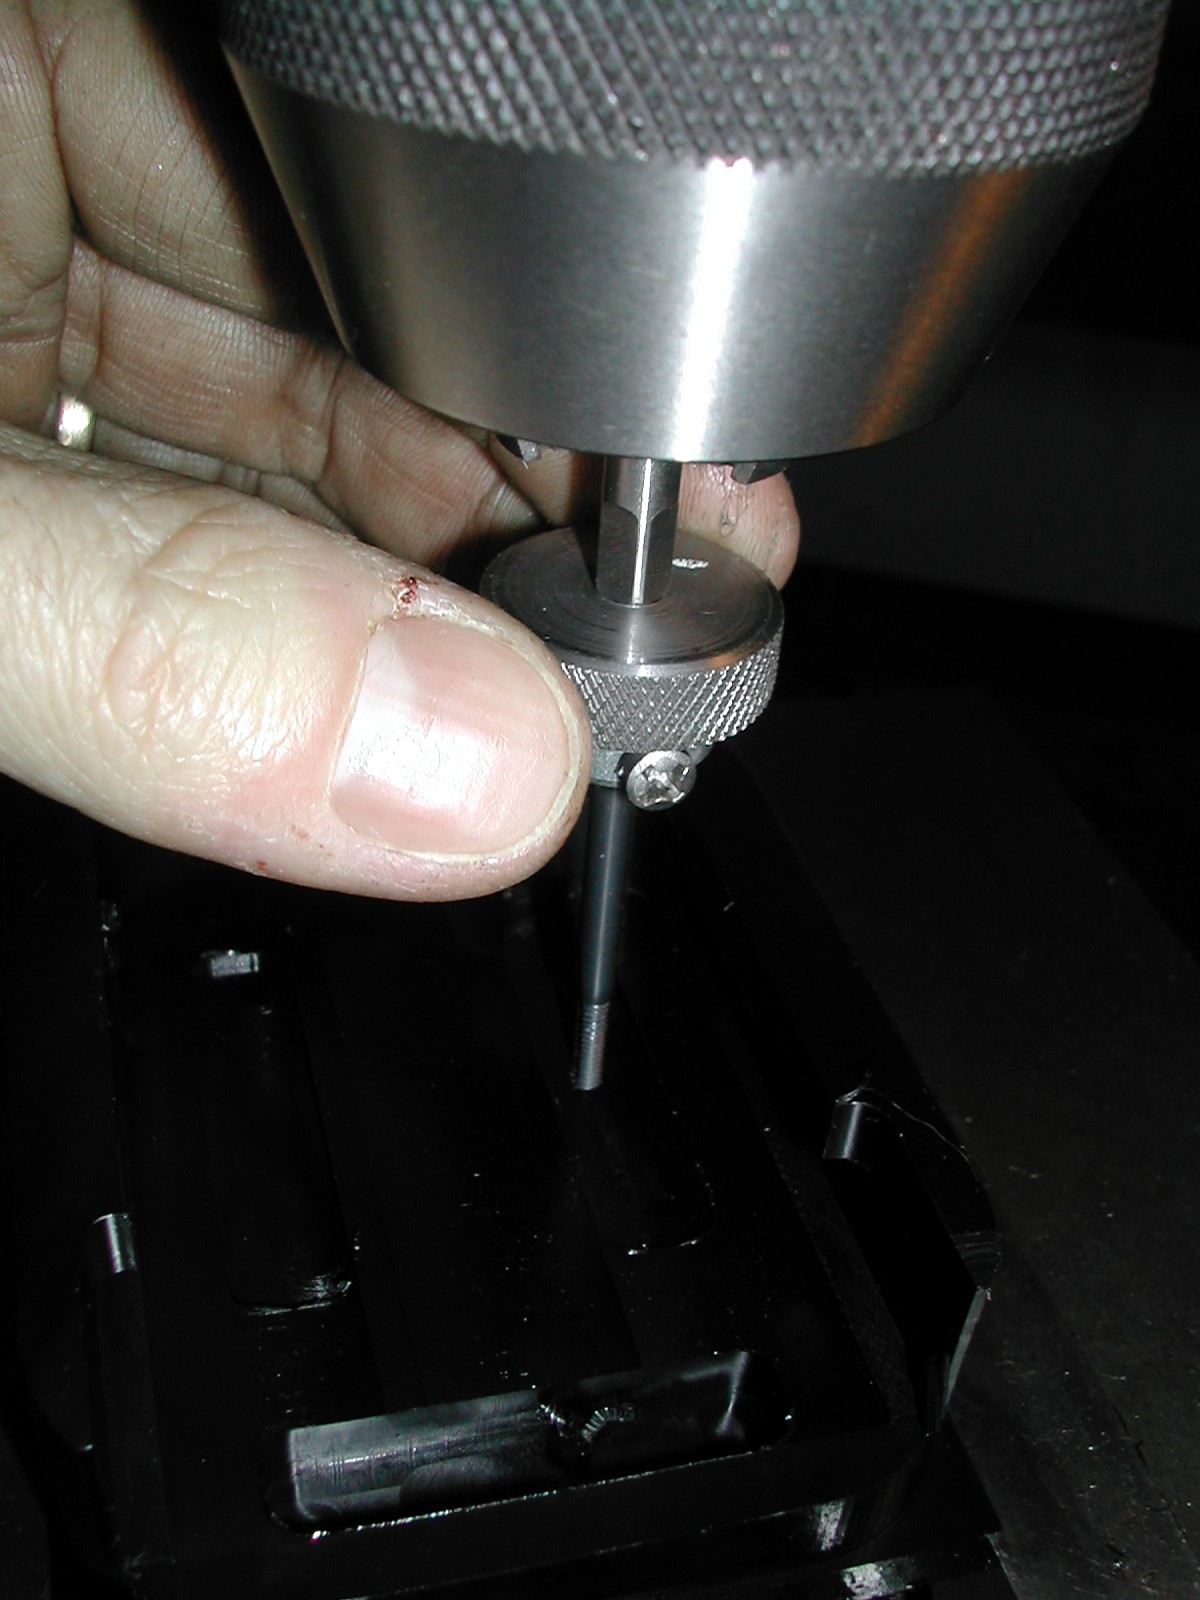
The only machine tools used were a manual Bridgeport milling machine, and a manual engine lathe. I wish I had CNC equipment available – it sure would have made life easier. 5 minutes of CNC cutting turns into 8 hours worth of work when you have to generate chord segments in Excel and crank machine handles to 30 individual coordinate locations to approximate one single arc!
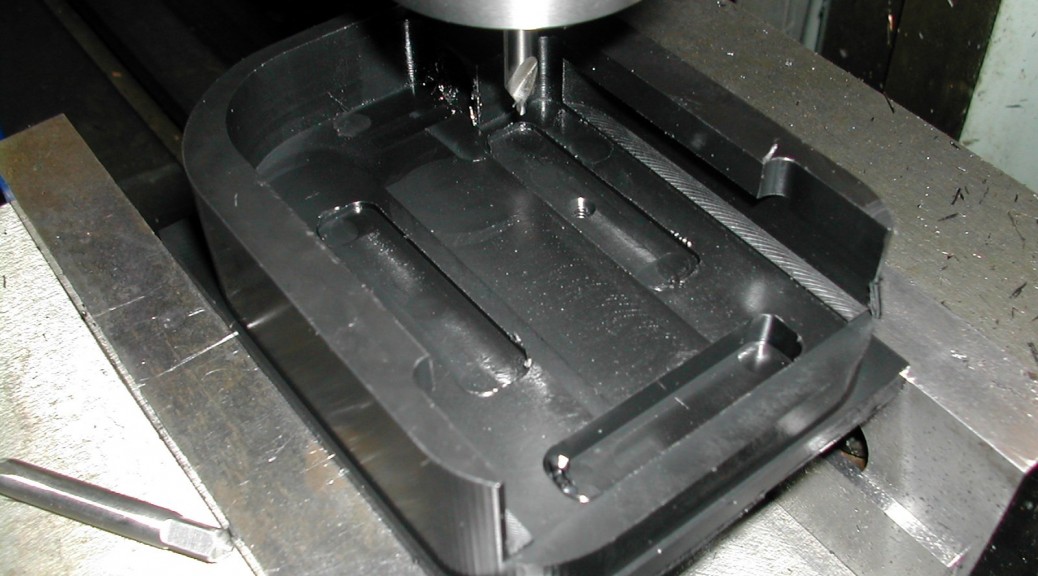
Here’s a little photo montage of the battery housing construction:
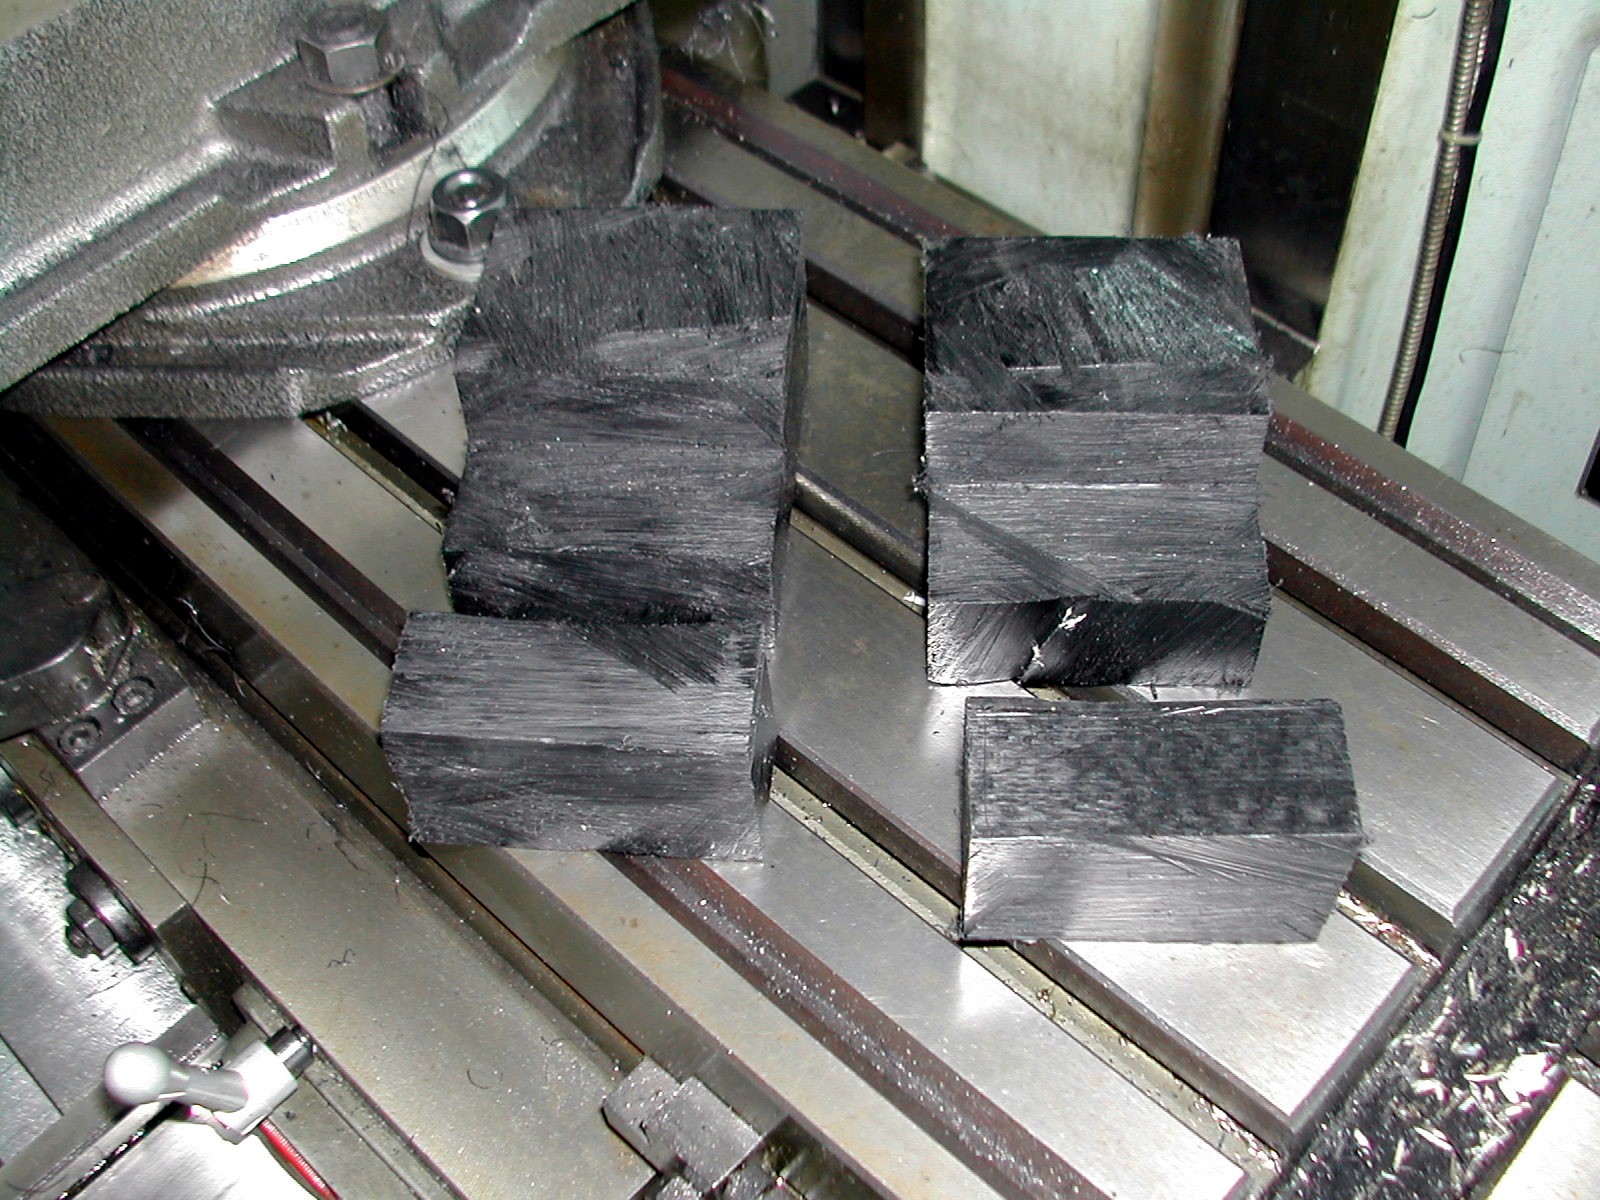
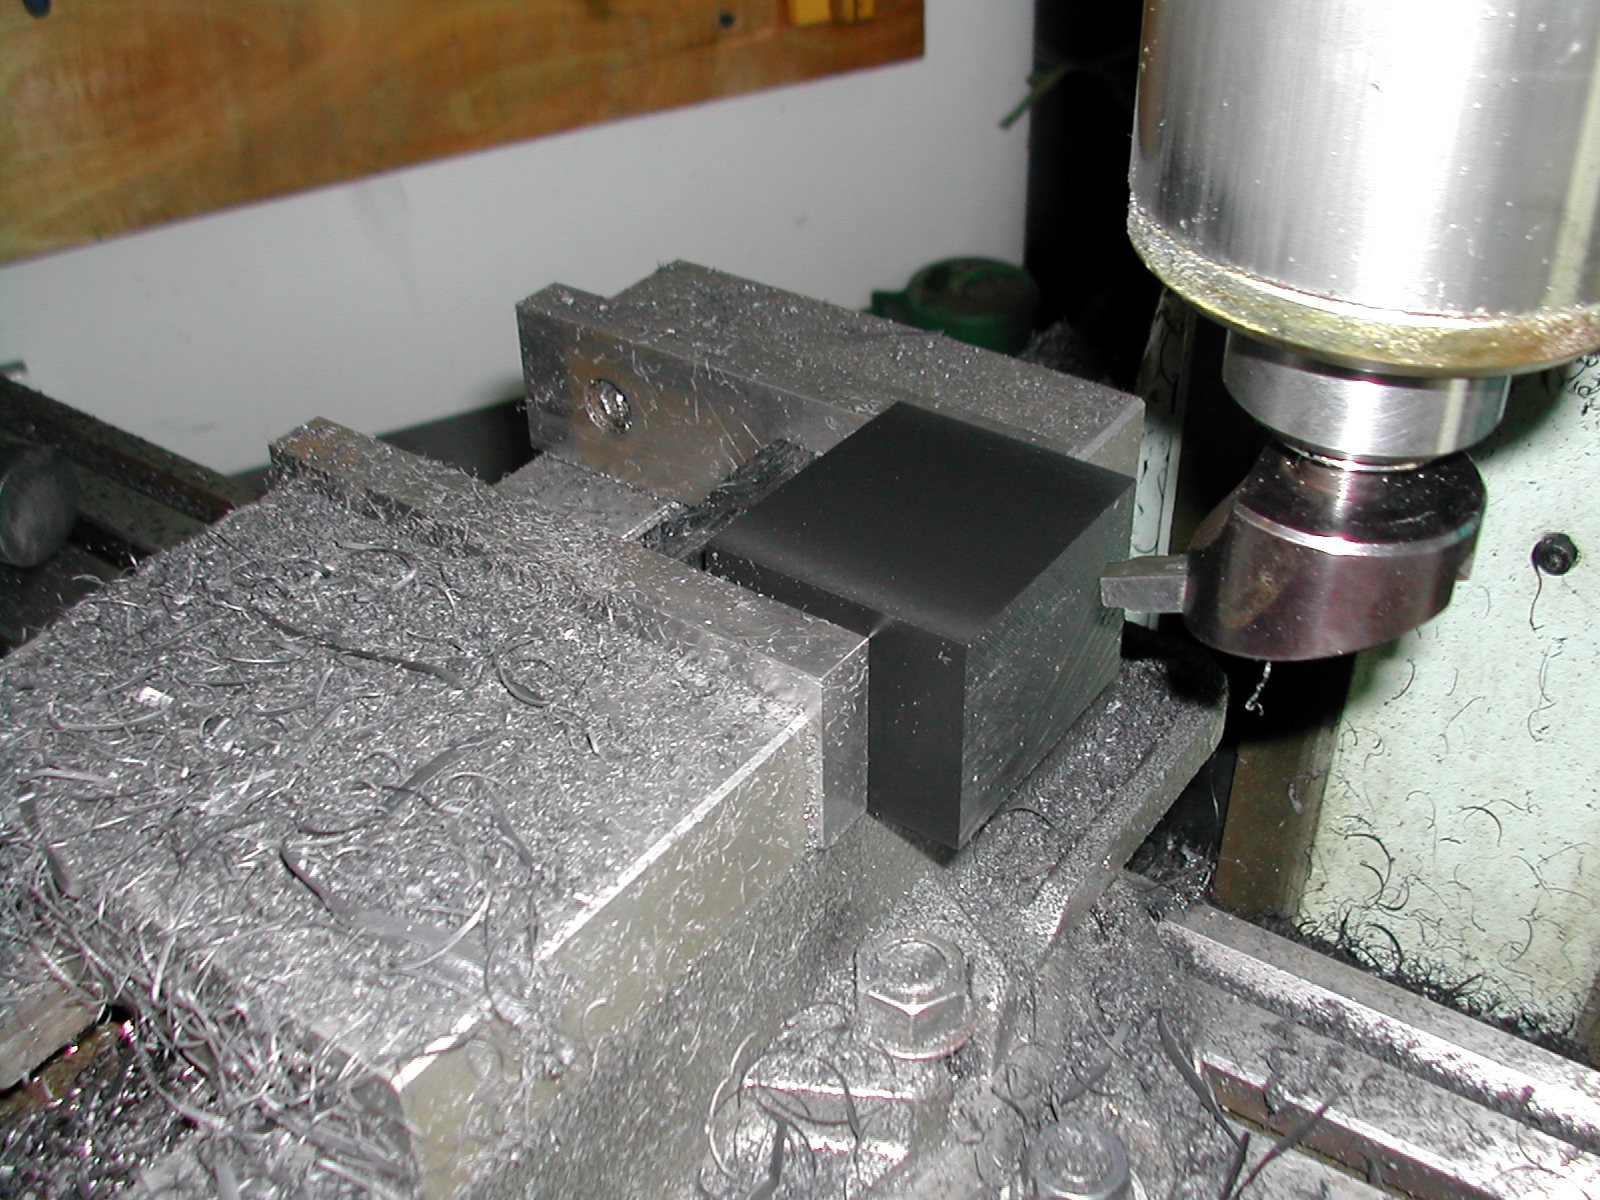
I start by squaring up the stock, then milling the profile for the bottom.


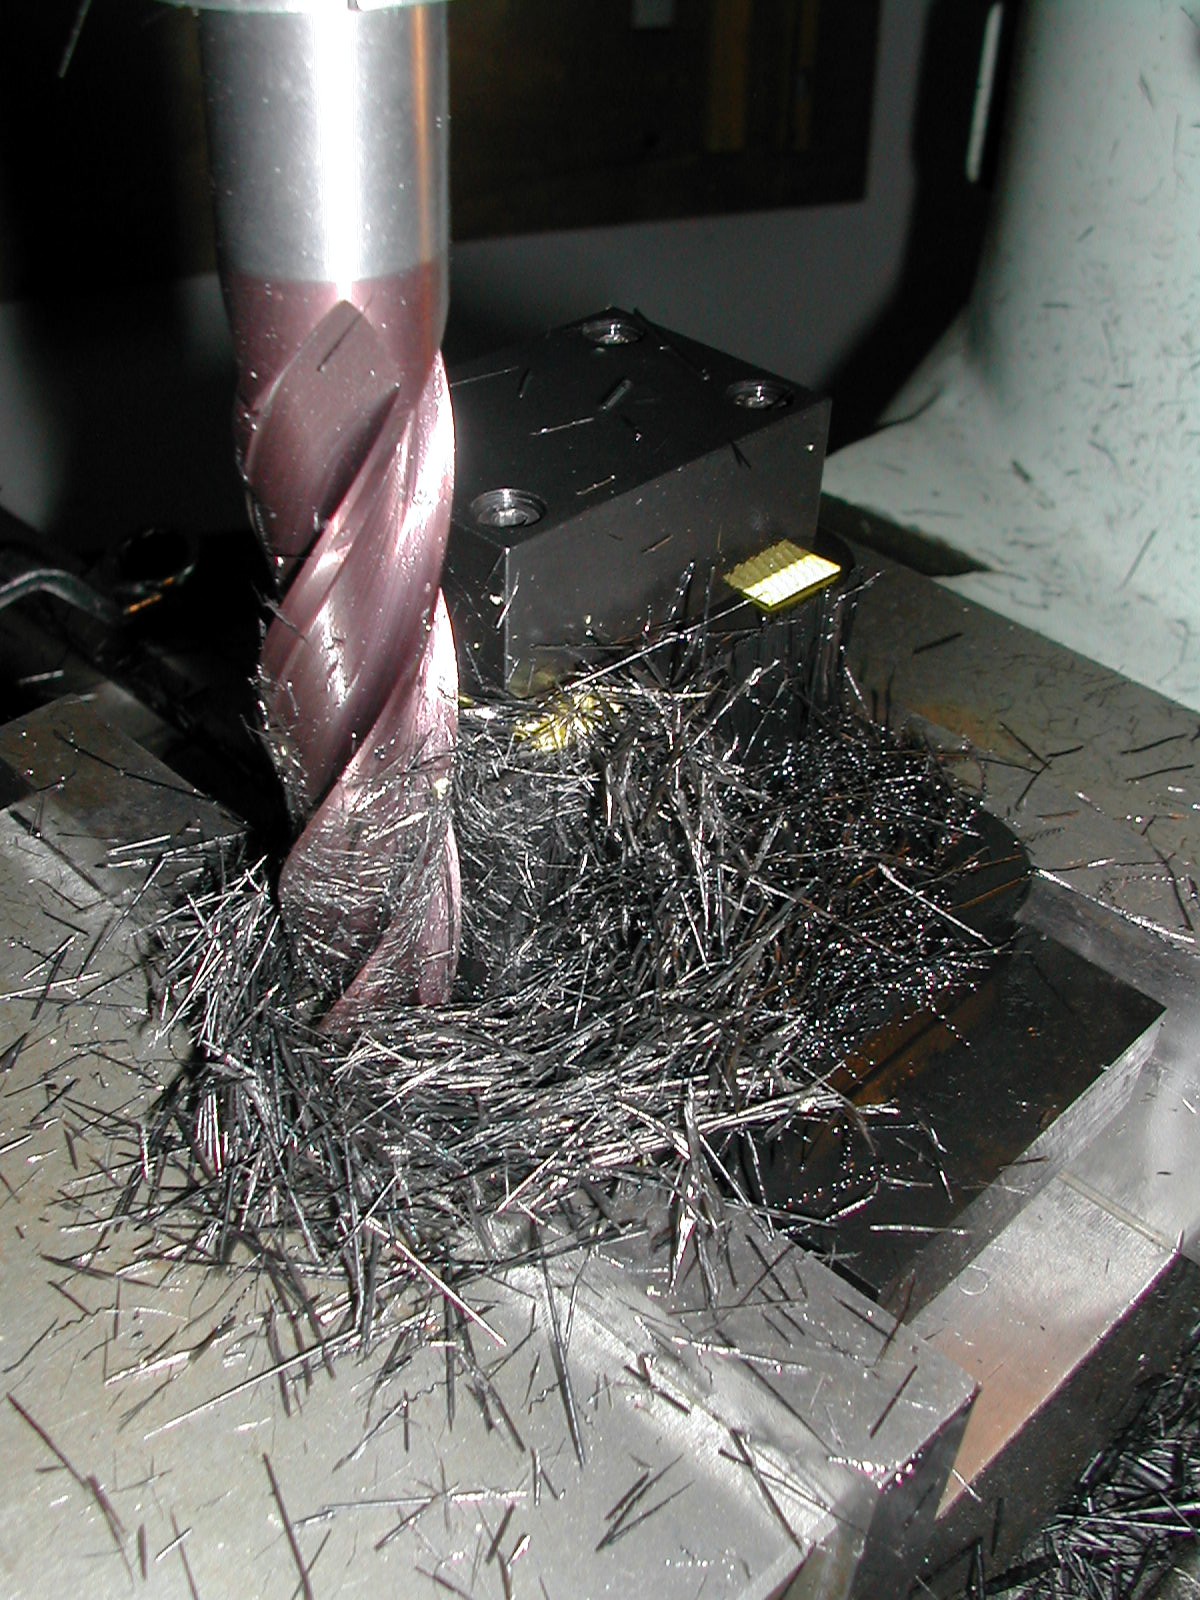
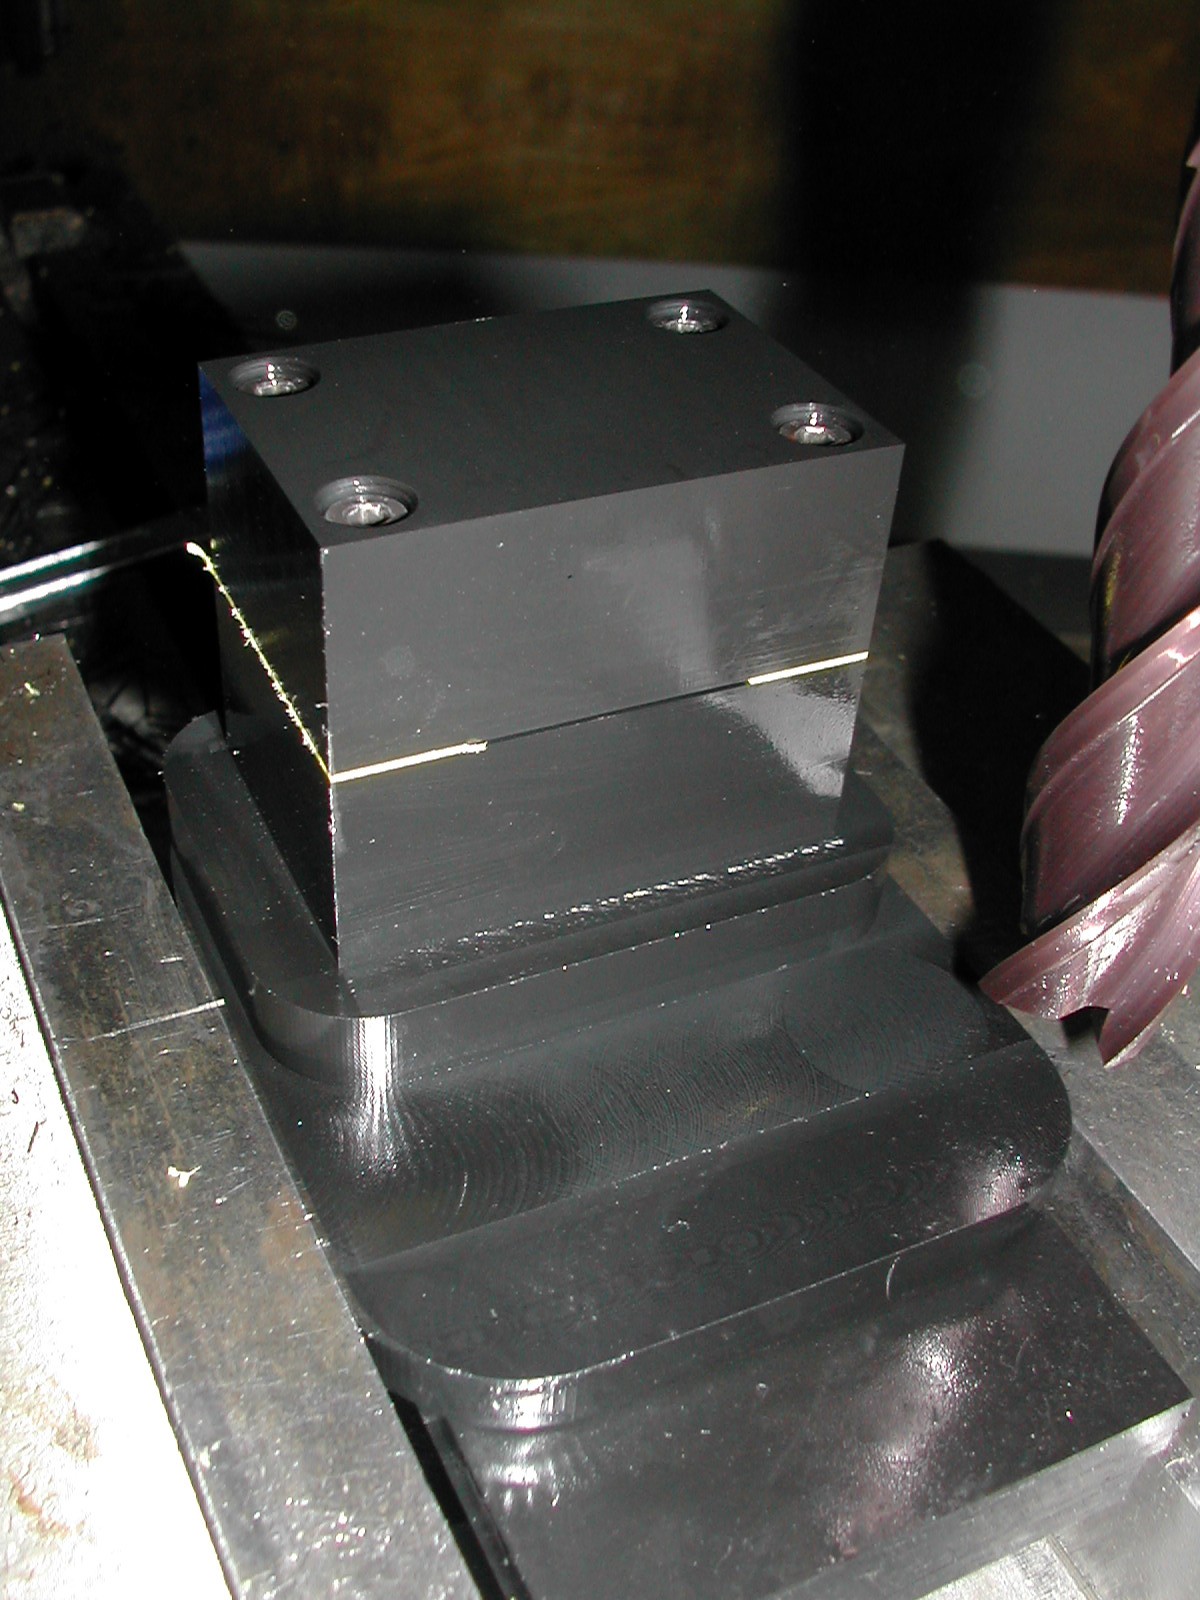
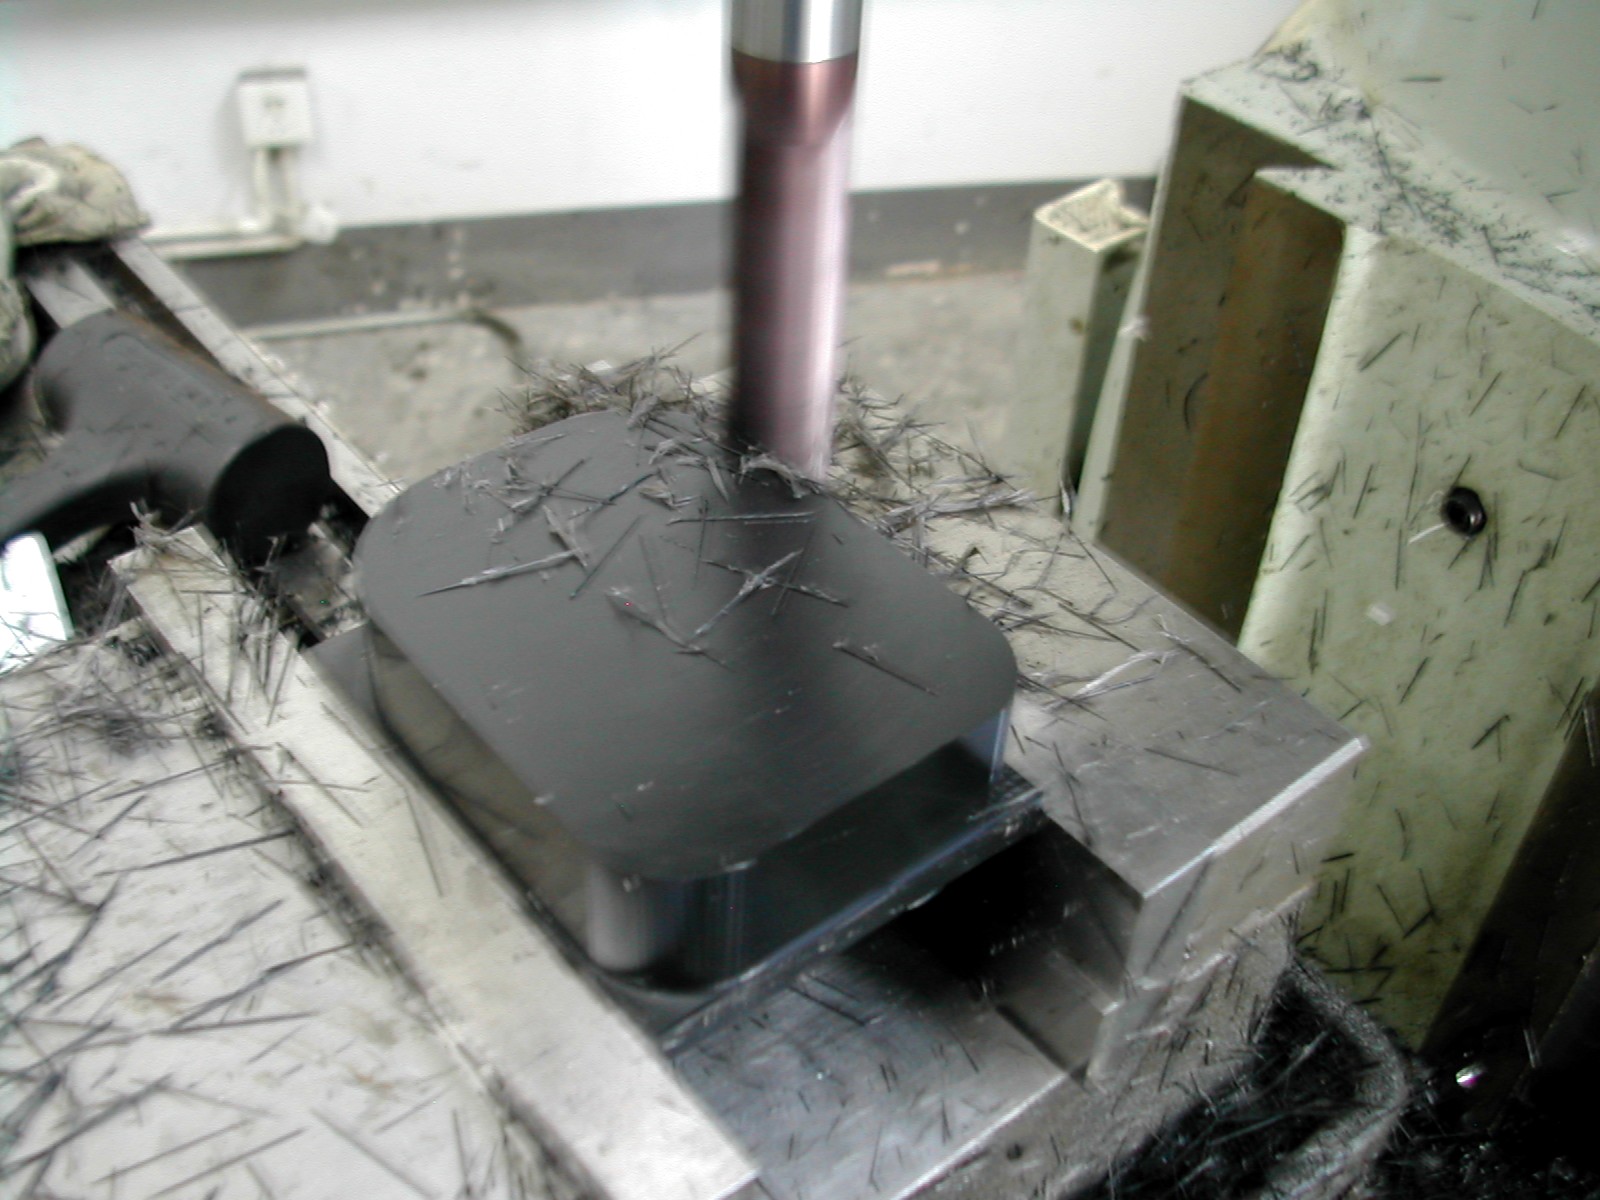
I next cut the pocket and the recesses into the bottom, and tap the holes.
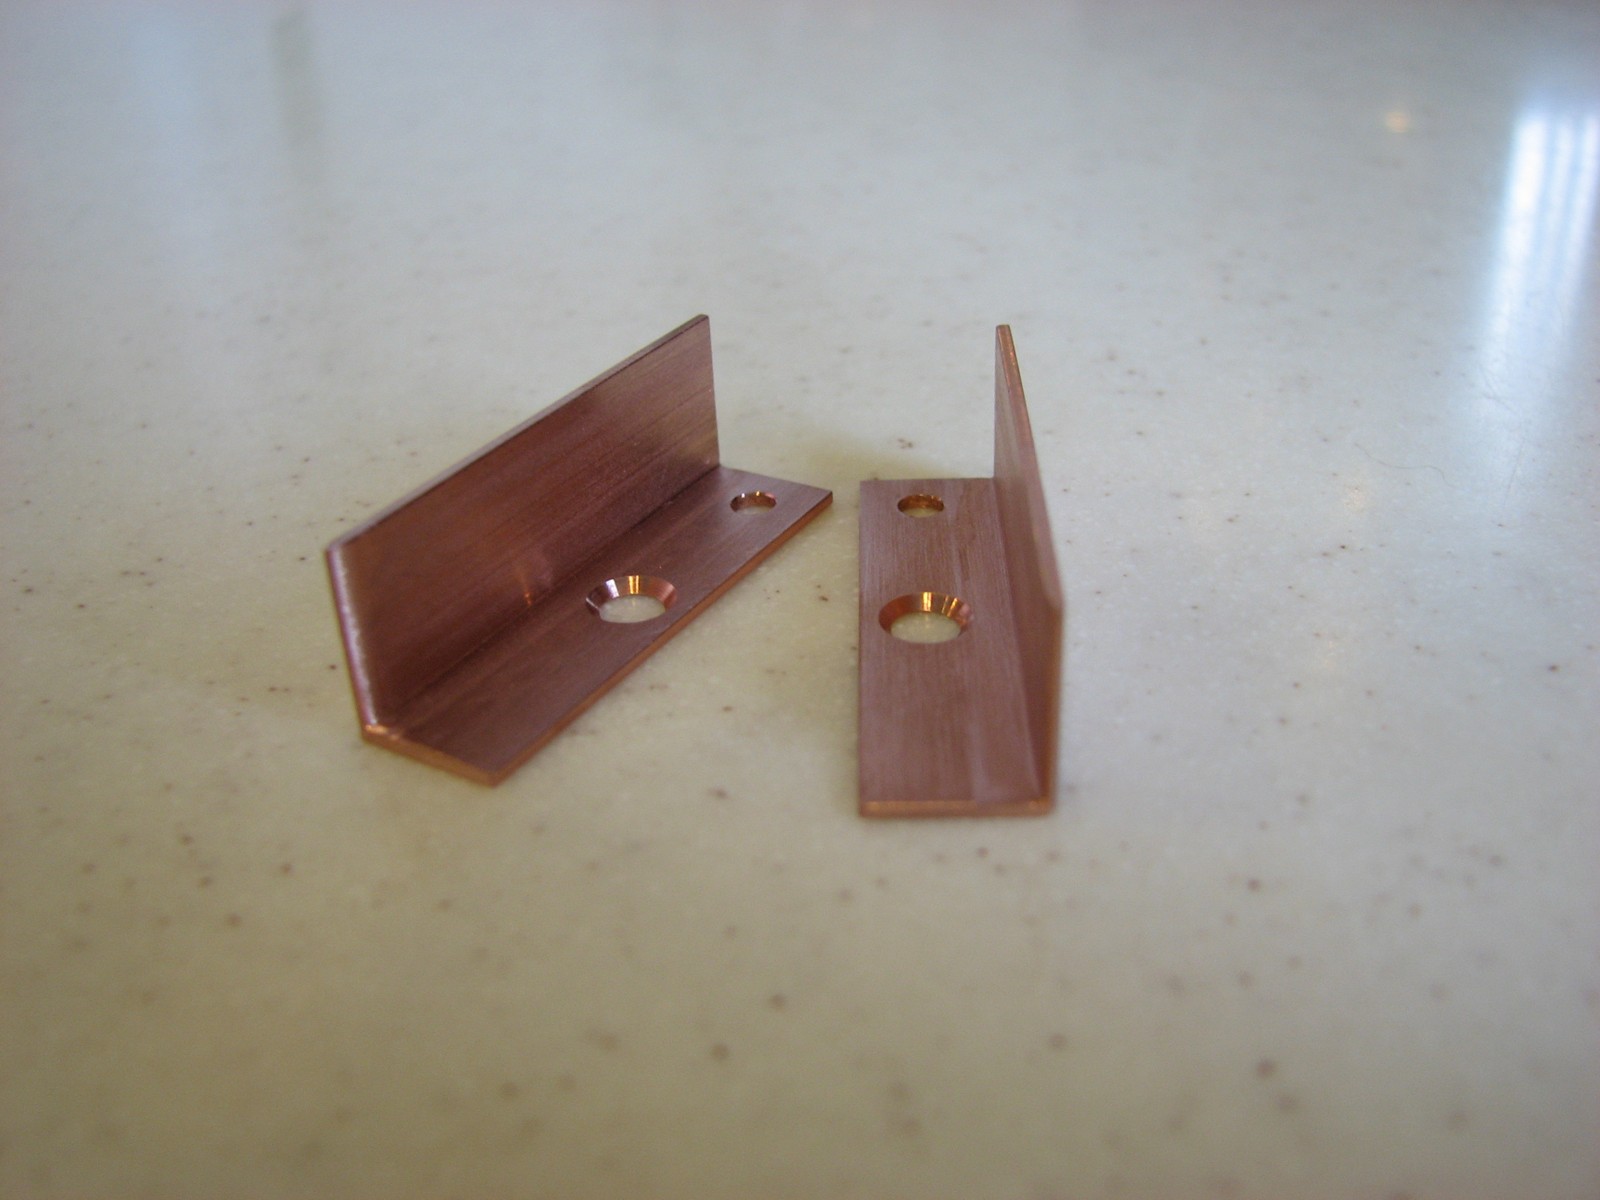

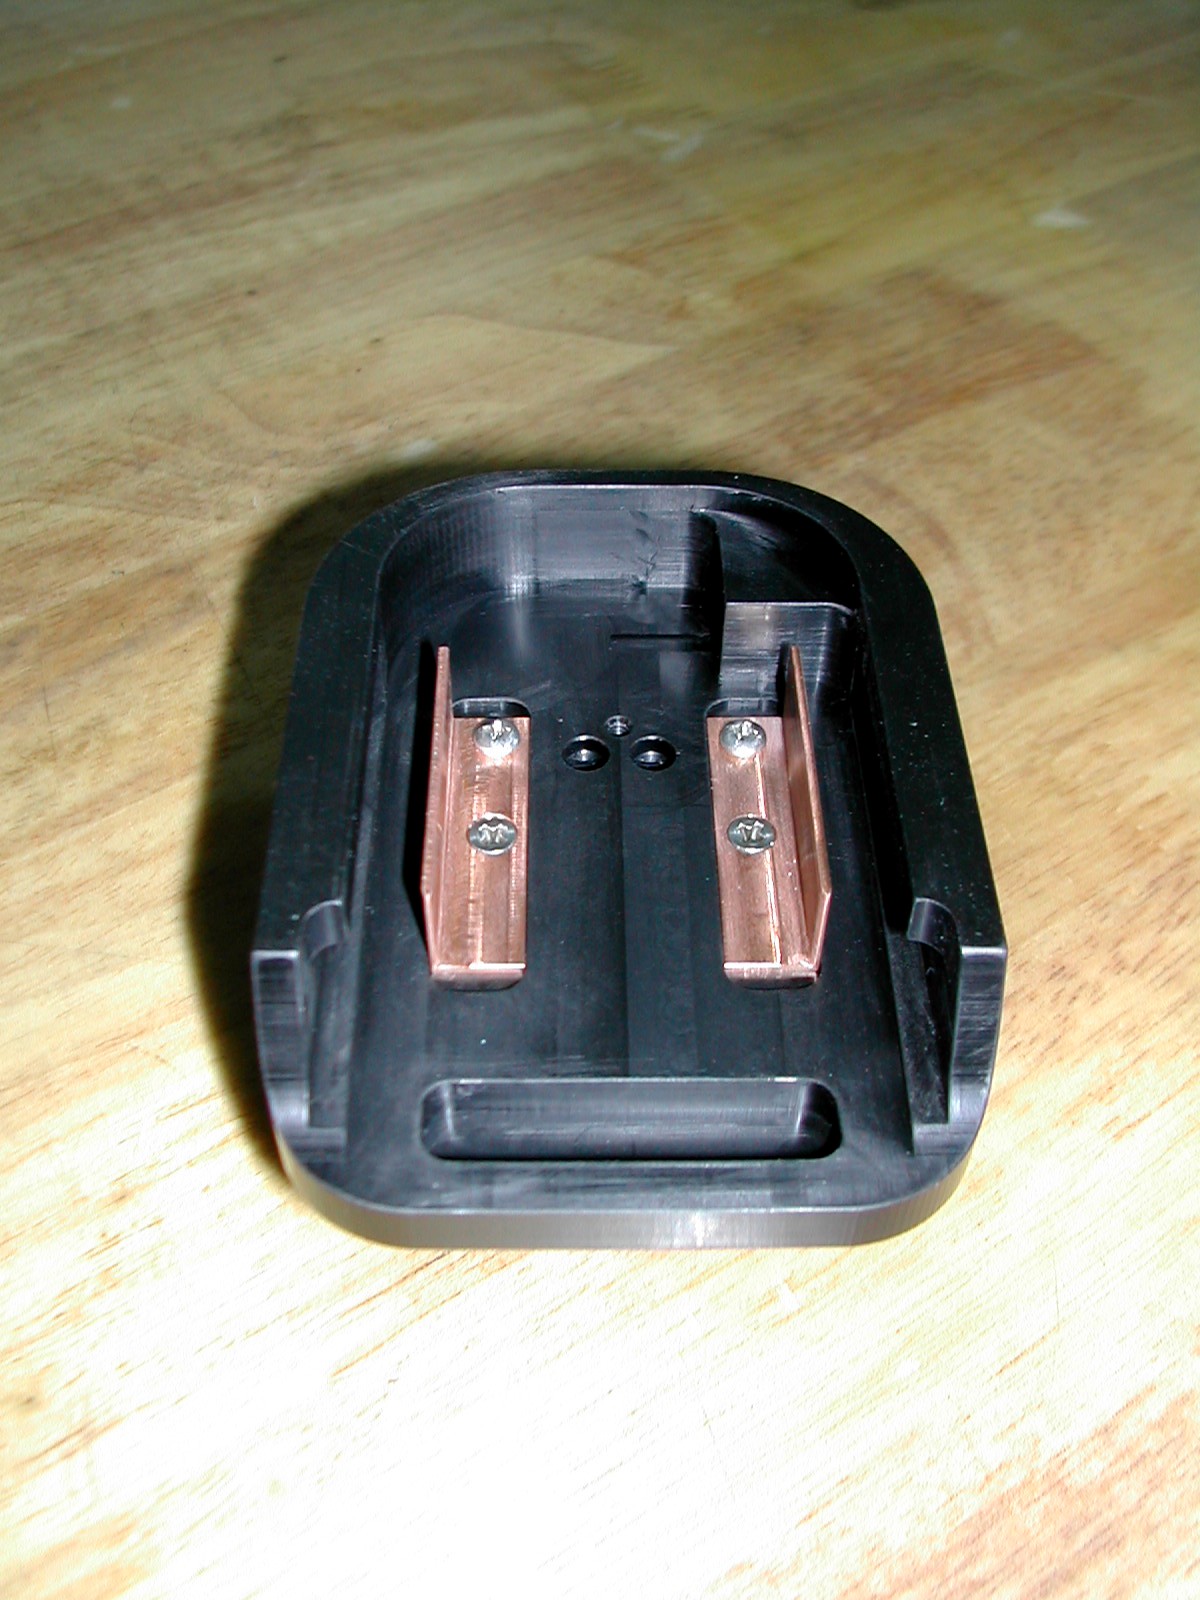

Here I’ve taken the tin-plated contacts and installed them.
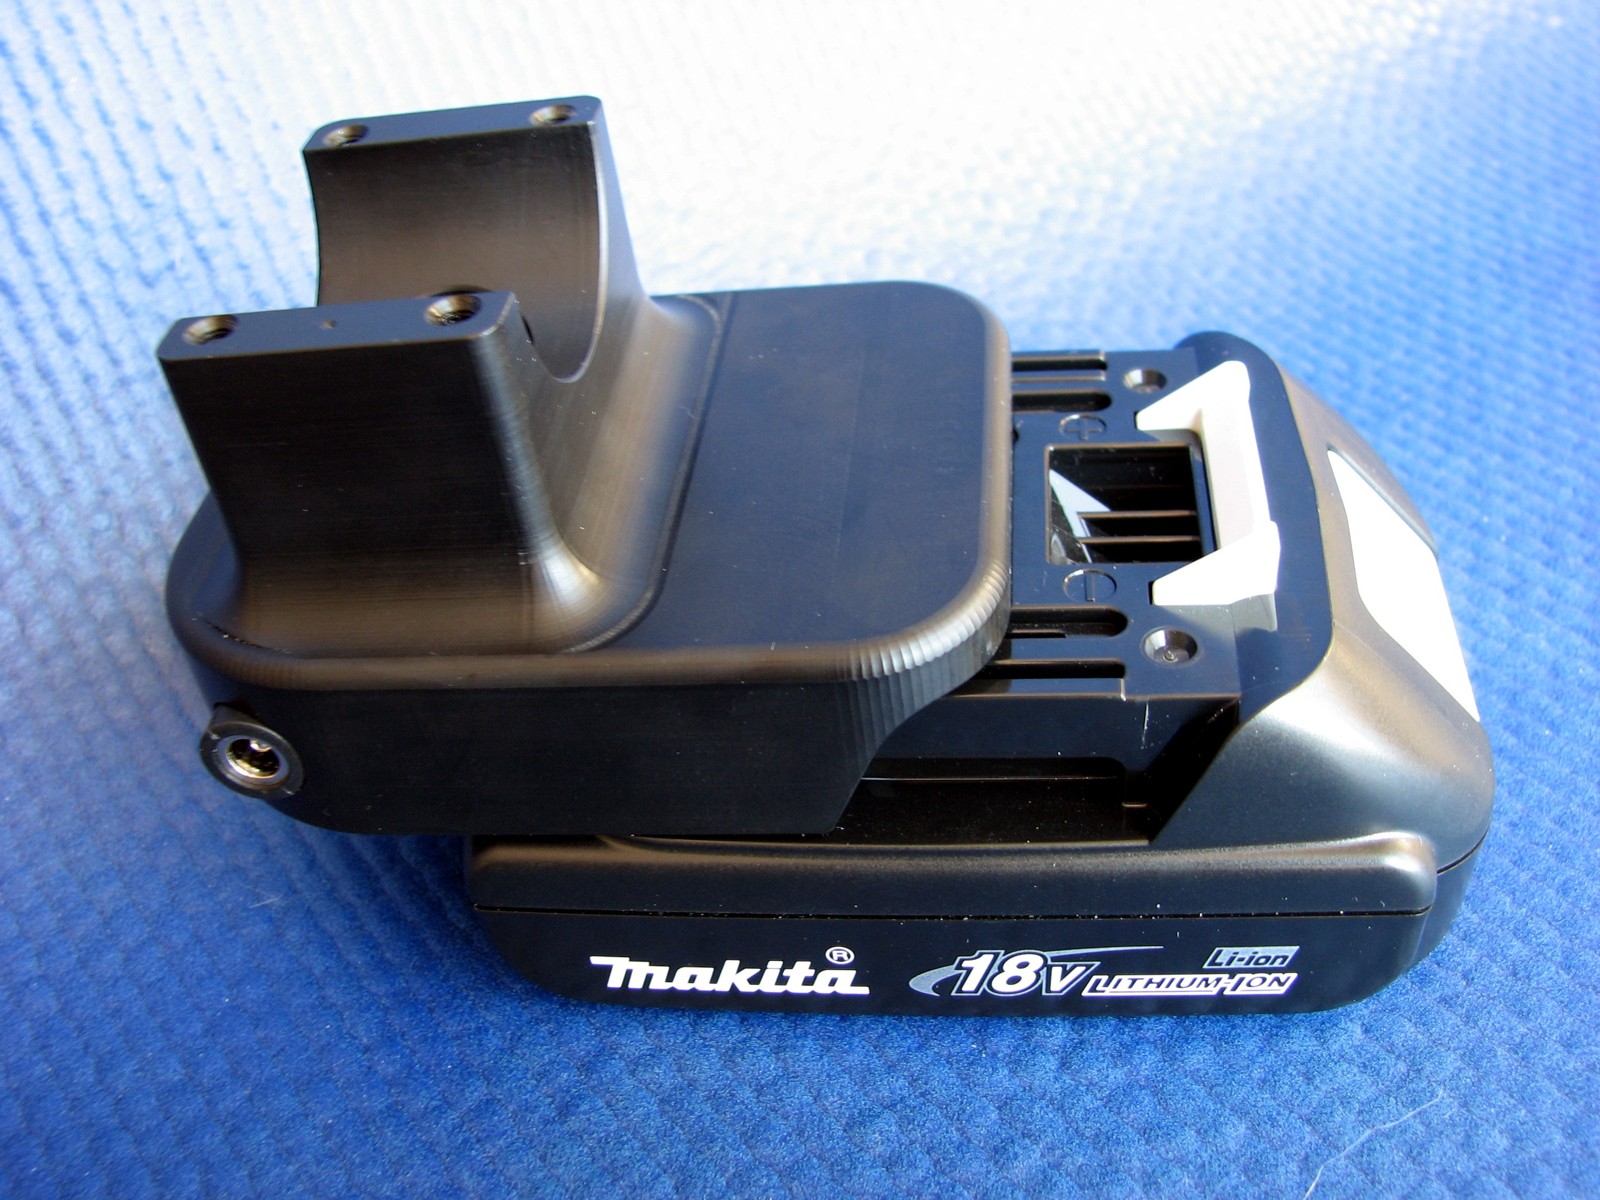

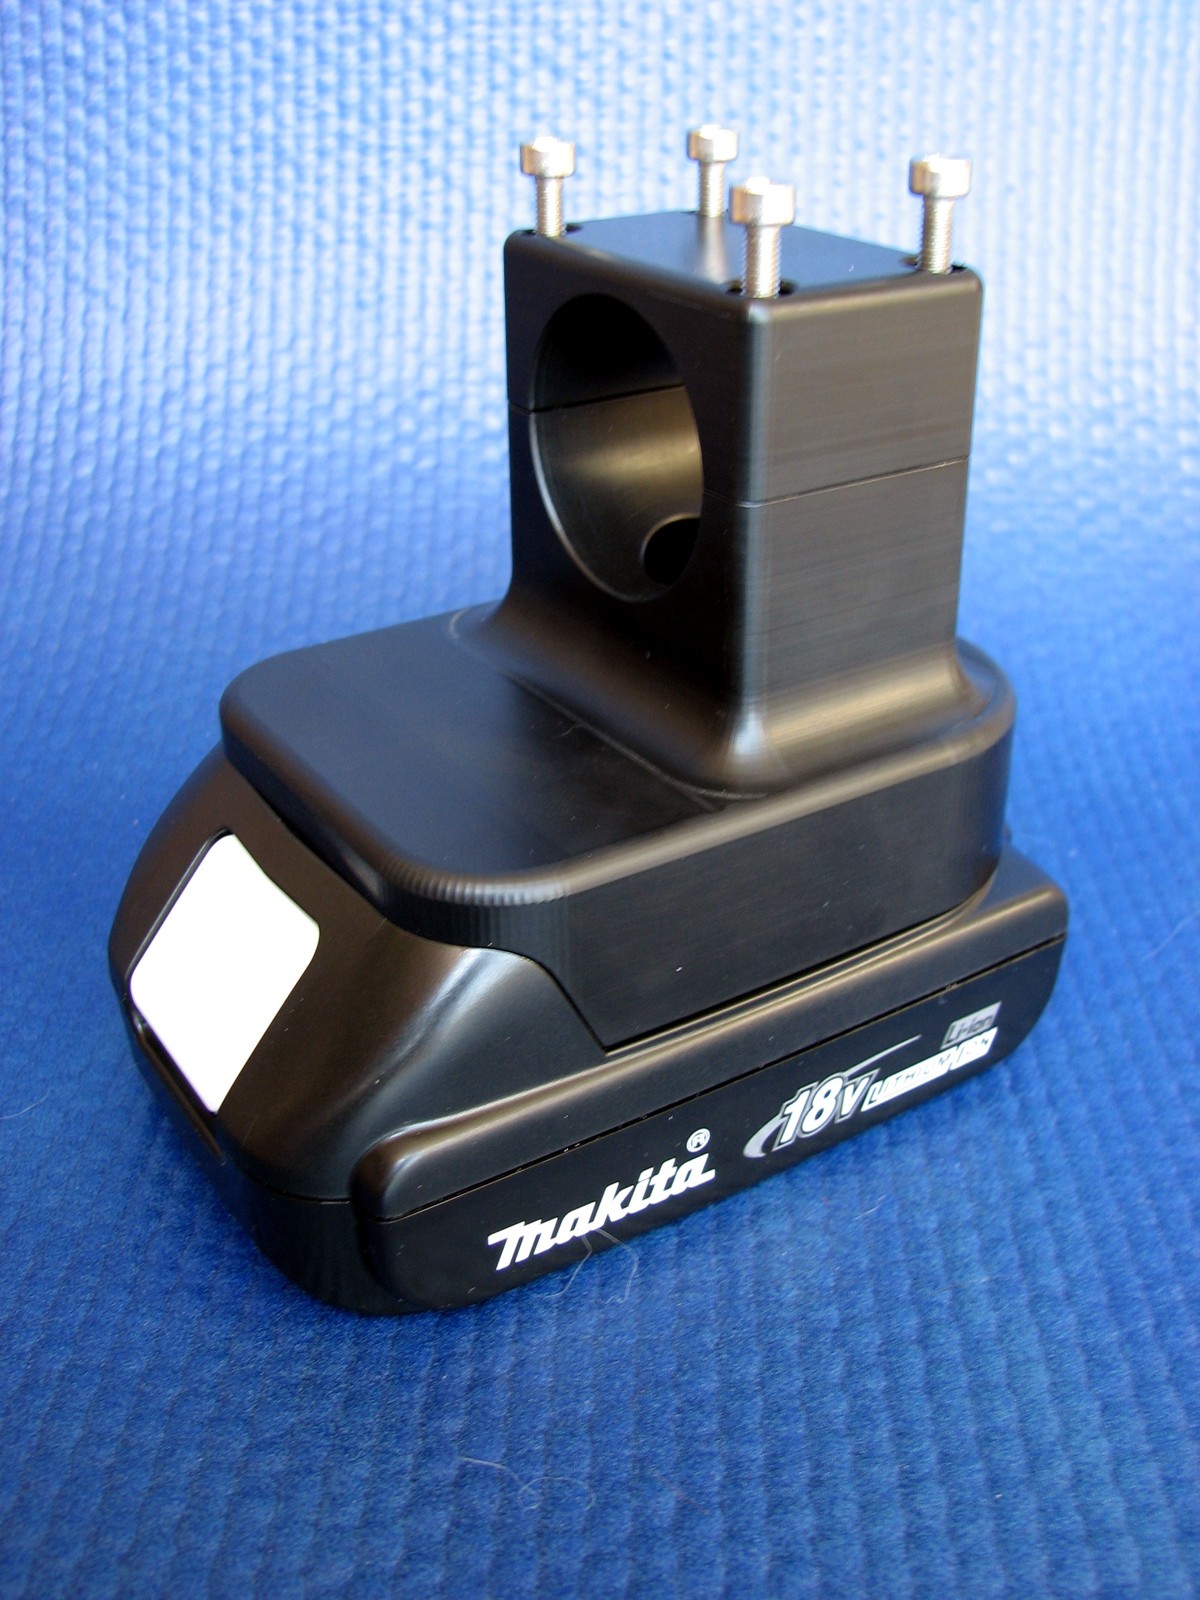
And here’s the battery assembly. Next, the light housing.
Disclaimer and License
It worked for me so it should work for you, but no guarantees. Feel free to use the schematics, drawings, and information on this page as you see fit, but a little attribution would be appreciated.
Project Sources
- AVR Studio GCC Source (14K .zip)
- Cadsoft Eagle Files (65K .zip)
- AutoCad 2008 Model (3.8M .zip)