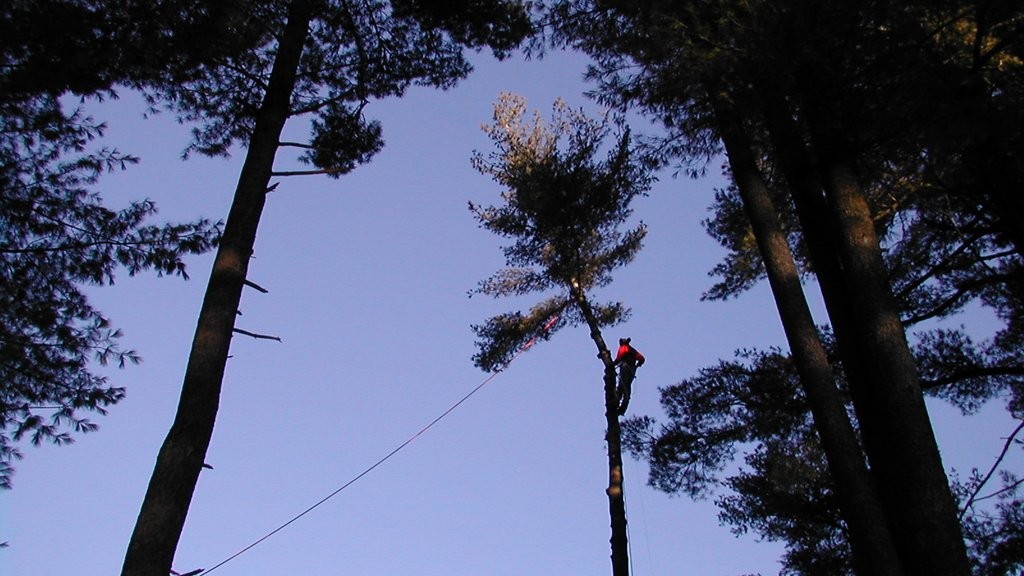
 I learned to climb when I needed to take down about 25 old dangerous white pines at our CT house, and the skill has come in handy here at our MA house too. I’ve got all the trees down now that need climbing, the rest can be felled from the ground, but I’m glad I had the skill for when I needed it.
Our house in Avon sat on a lot covered with large White Pines (Pinus strobus), growing so closely that they looked like a telephone pole forest. Dead branches fell regularly, and every fall the lawn was carpeted with pine needles that took weeks to get up. After taking out the little trees, we were left with over 20 trees all over 90′ tall and up to 32″ in diameter. I decided to learn to take them out myself, and The Treehouse forum was a life-saver (literally).
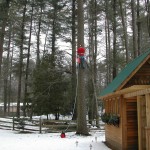 Many thanks to my friends at The Treehouse. They taught me everything I know, and I’m sure that I owe my life and limbs to them many times over! In this picture I am making my first attempt climbing a tree: it took a while before I built up the strength in my legs to lug the weight of the gear up!
 On the way up the tree you cut the limbs off as you go. When you get within about 20′ of the top, or when the trunk gets too small to climb safely, you fell the top just like you would a tree on the ground – only with no place to run! Here you can see me practicing limbing-up in the front yard.
 I practiced at this stage until I was strong enough to climb easily and confident in the tree, before I moved on to cutting down sections of tree.
Rappelling down is always fun, especially compared to climbing up loaded with 60 pounds worth of gear!
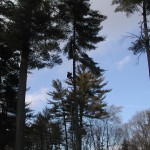
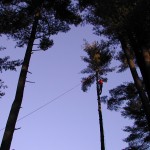 Here I have limbed up as far as I’m going to go, and am preparing to cut down my first tree top. I first make a back-cut, and have Lisa apply just a bit of pull on the rope, which will help give the top some incentive to fall. But the way I do the cut is what really determines the direction that the top will take and whether it will split and fall cleanly off the tree. This is where all the guidance from The Treehouse guys really pays off.
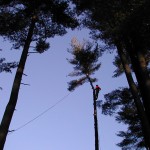 And the cut goes just as it should, with the top falling cleaning away. As soon as it just starts to go, you drop the chainsaw (stopping it completely) and let it fall to the end of its tether, then brace and hold tightly to the tree.
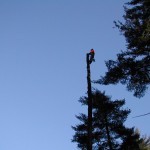 What you can’t see here (check out the little movie above) is the tree trunk swaying several feet back and forth as the top weight first pulls it over then releases it. But I’m braced firmly in, the chainsaw is stopped and hanging away from me on its tether, and all goes well. With the first top down, I go back down the tree cutting sections off the same way every 10 feet or so, until I’m back on the ground. An important tip I learned from others and never had to learn the hard way: remember not to cut off the piece you’re tied-in to! On the ground I cut the stump low, ready for grinding away.
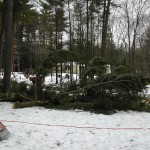 Here’s the tree top, on the ground and ready for clean up. My hard-working ground crew whisked the top branches away before I cut the main trunk into chunks on my way down, giving us a very efficient clean-up of all the tree parts.
Here are a couple of views from the tree-tops looking around the neighborhood.
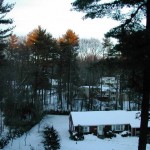
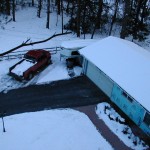
And here’s another looking down at the house, where you can see the blue insulation board on the front of the house from the new kitchen addition. It was too cold to do vinyl siding! That had to wait until spring.

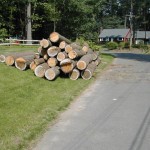
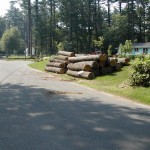 And this is the result of all of our labor. The local sawmill picked these up and I’m sure turned this into some great pine boards. The original plan was to have it sawn into timbers to make a timber-framed garage and workshop, but China changed those plans. I know I am going to think of these every time I have to buy wood!

