
- MultiTherm Development
- MultiTherm Operation
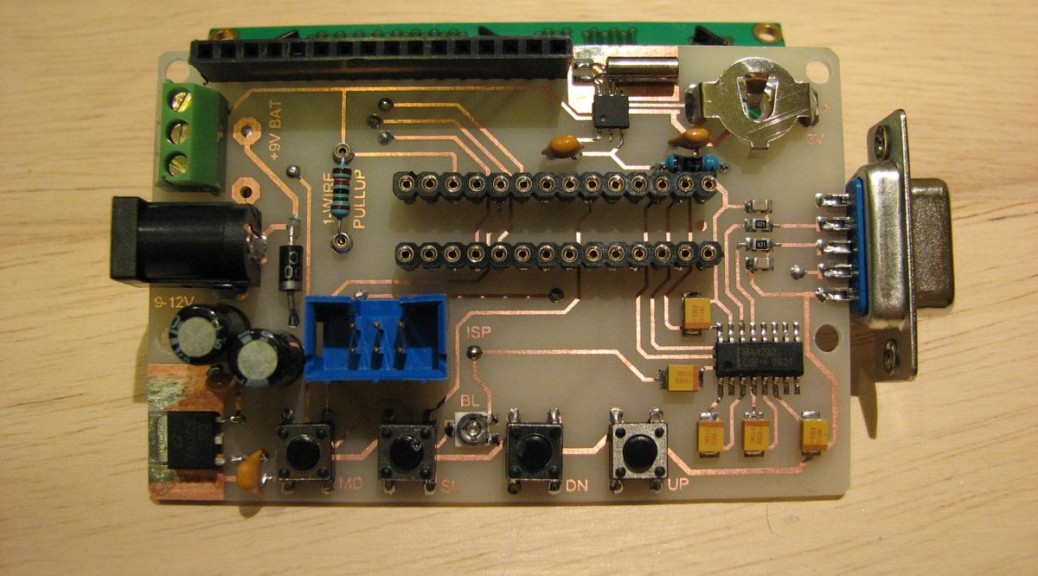
- MultiTherm Logging and Demo Board
The software for the MultiTherm logger is based on a state machine. There are multiple operating modes or “states” of which the logger will in one at any given time.
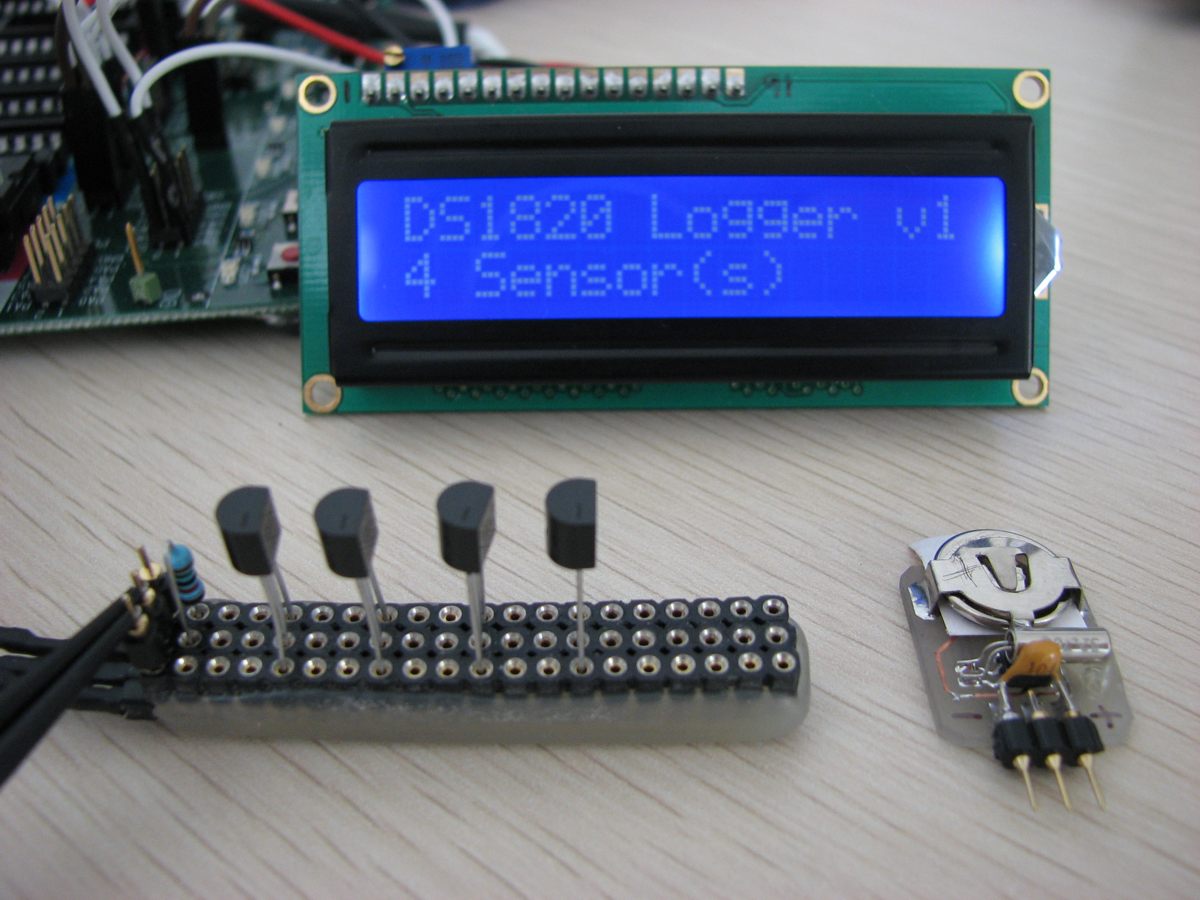
 Upon startup, the current version of the firmware will be displayed followed by the number of DS18x20 (either DS1820 [discontinued], DS18B20, or DS18S20) temperature sensors discovered on the 1-Wire bus. A few seconds later a message will be displayed if the optional 1-Wire Real Time Clock (RTC) has been discovered on the bus. If the RTC is present, temperature data sent out the serial port will be time-stamped with the actual date and time of the temperature reading. If the RTC is not present, the time-stamp will be the number of seconds elapsed since the logging process was begun. The device will halt at this point if no temperature devices or RTC are found. You must power off and power back on the device if the number of temperature sensors is changed before the change will be recognized.
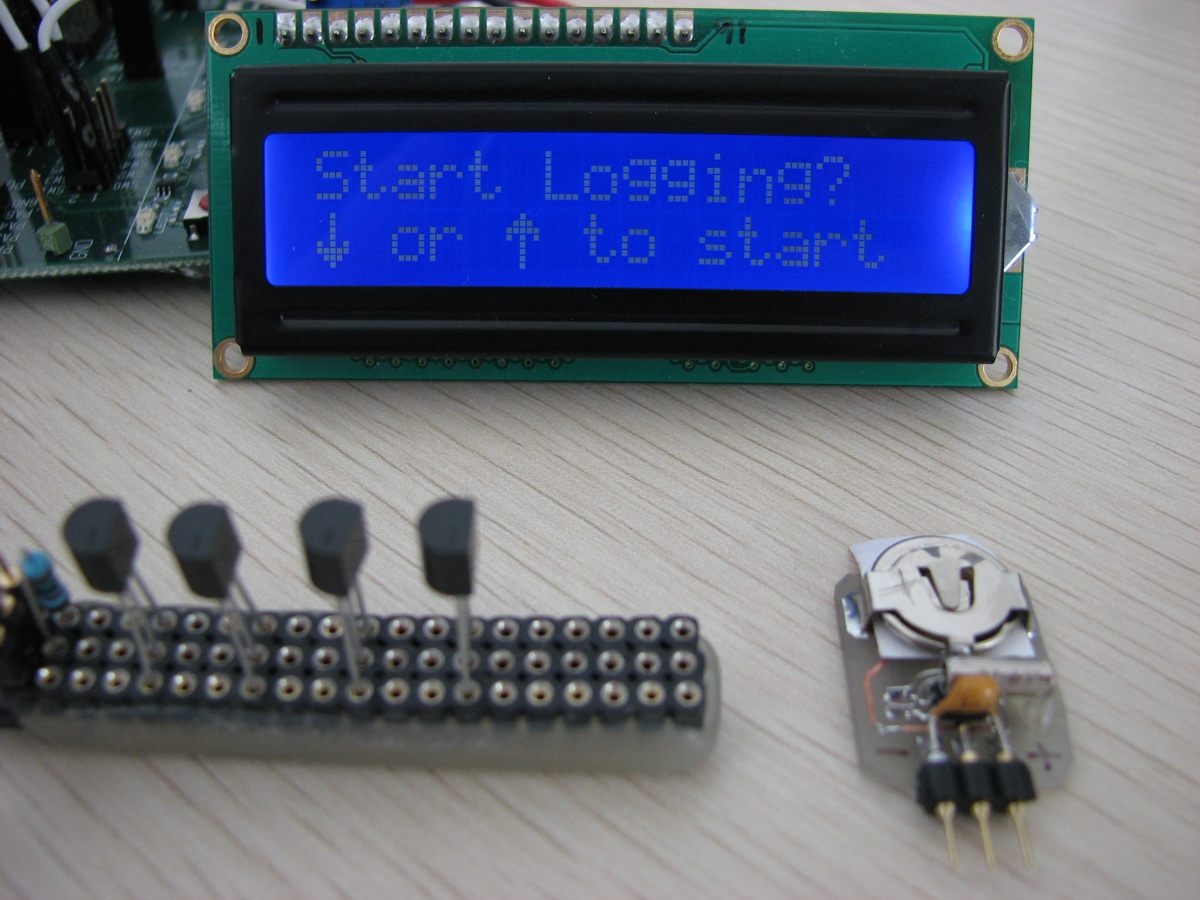 Next, if active Temperature sensors were discovered on the 1-Wire bus, the start-up screen is displayed. If no temperature sensors are present, but the RTC is active, the start-up screen is skipped and we go directly to the time-set display. At this point, the four navigation buttons become active. Pressing MODE will advance to the next screen. Any other button will start the logging process.
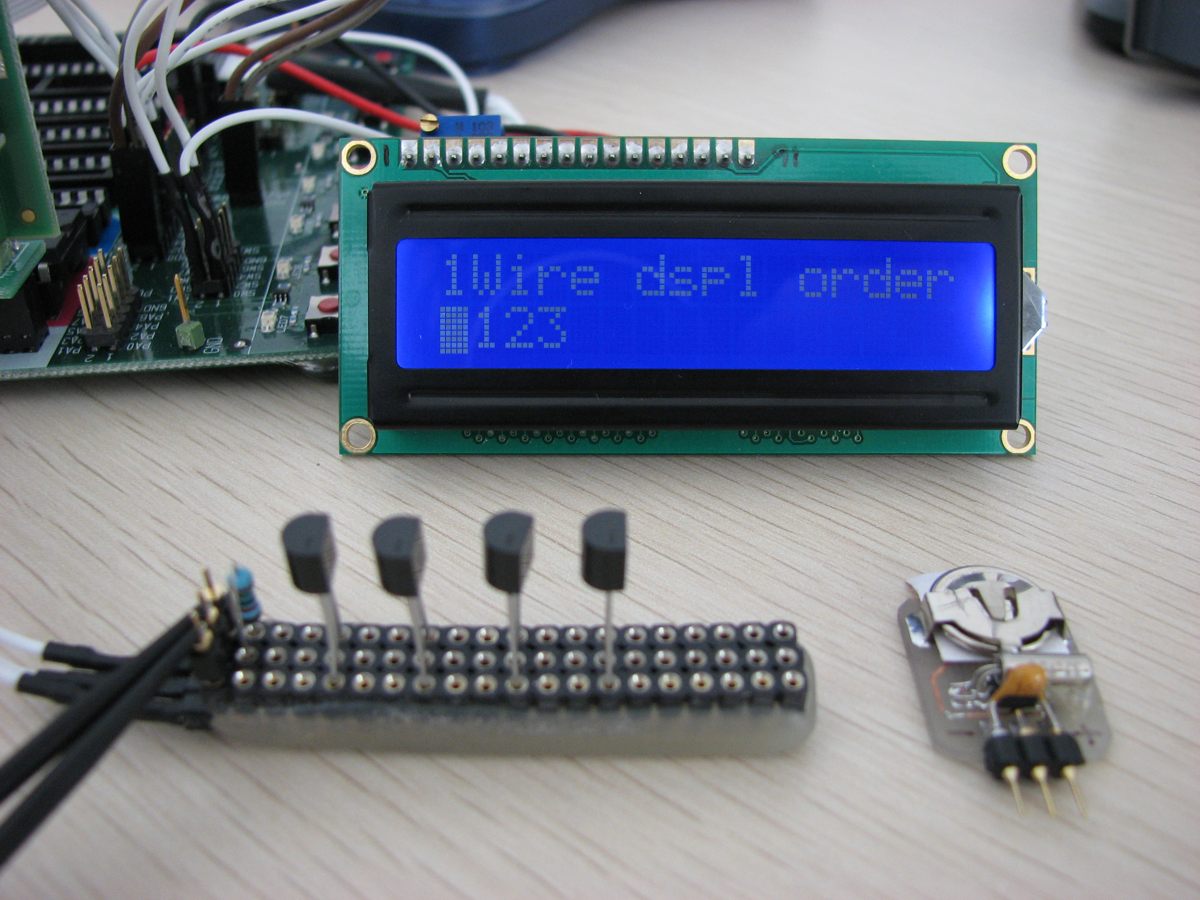 The 1-Wire search algorithm is deterministic and repeatable, but the order in which the 1-Wire devices is discovered is not intuitive. Pressing the MODE button will advance to the device ordering screen. The numbers on the bottom line represent the order in which the devices were discovered on the 1-Wire bus. Using a combination of the UP, DOWN, and SELECTION buttons, we can rearrange this order into a more meaningful representation. UP and DOWN move the selected item within the list. Use the SELECTION button to change the selected item.
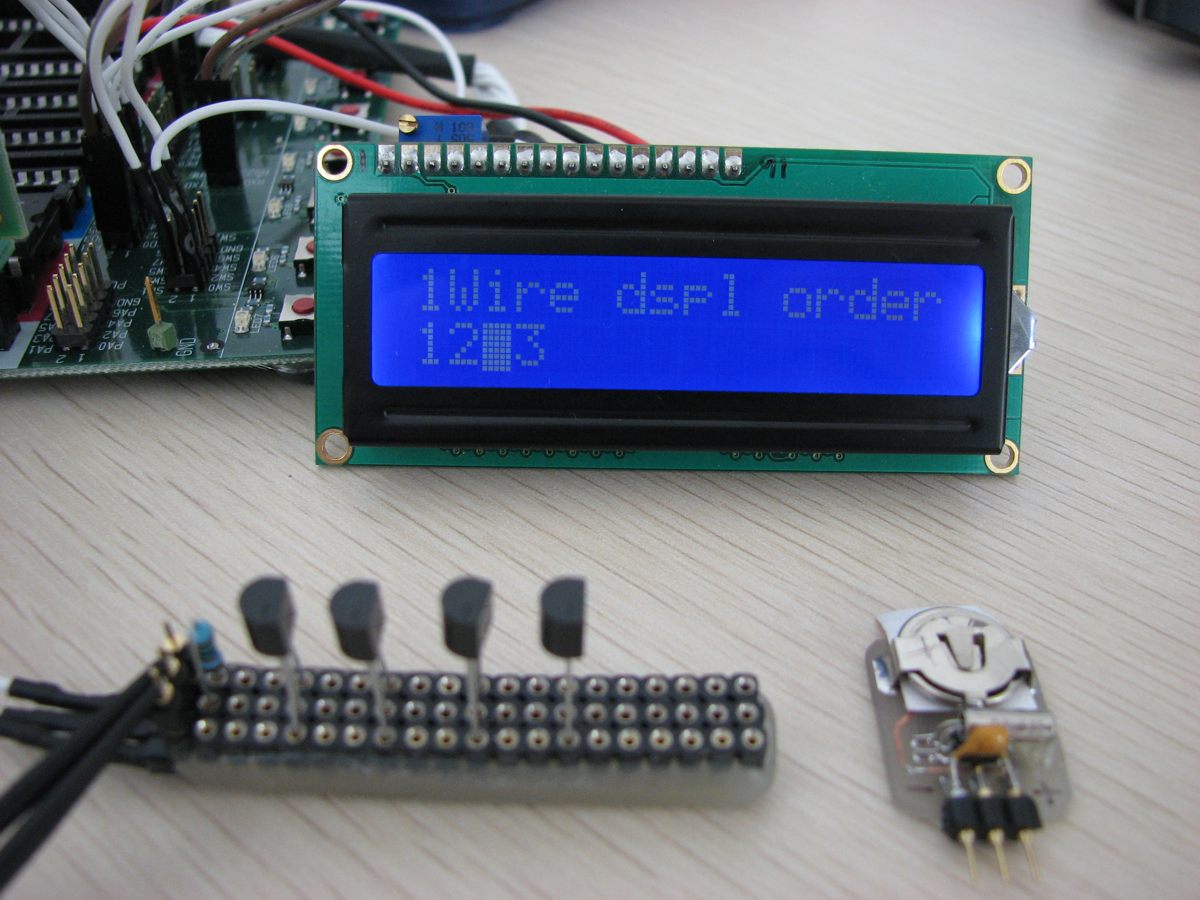 The final configuration will be the order the temperatures are displayed on the logging screen, and the order they are output on the serial port at each logging interval. This final order will be remembered for each logging session until changed, even if the device is powered off. Use the MODE button at any time to save the changes and advance to the interval adjustment screen.
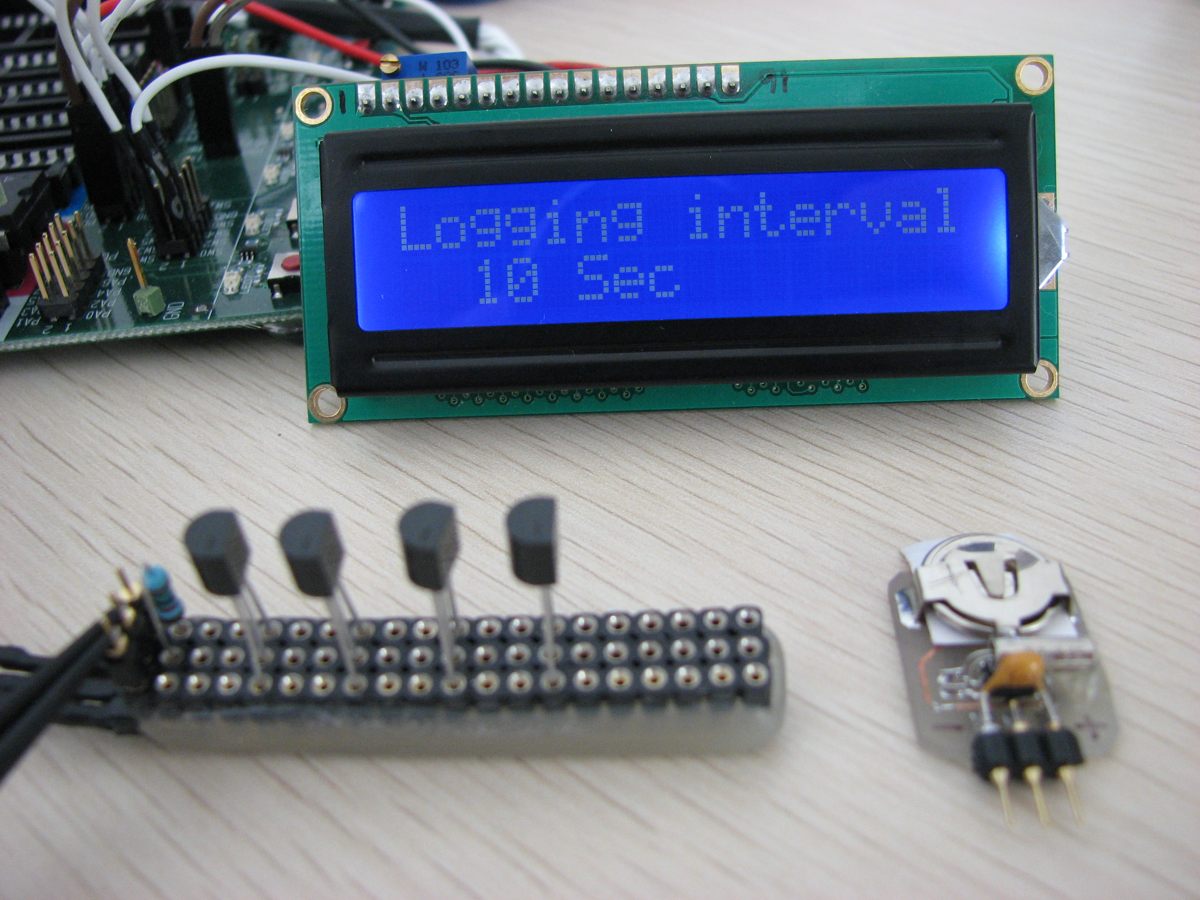 All temperature devices are read, and their data output to the serial port, at periodic intervals. This interval can be set anywhere from 5 seconds between readings up to 9999 seconds ( a little over 2 hours and 45 minutes). To rapidly change the interval value, press and hold either the UP or DOWN button. Release the button to revert back to a slow interval change. The selected value will be used for all subsequent logging sessions until changed, even if the power to the device is turned off. Pressing MODE stores the selected value and moves to the raw device data display.
 This next screen display the raw data for the 1-Wire devices. The display shows the search order discover number, and the currently selected display order number on the first line. Next to the ordering information is the raw device count. This value is converted by the program into the Celsius temperature that is displayed and logged. For more information on the temperature conversion routine, consult the DS18x20 data sheet. The bottom line of this display shows the device type, either DS18B20 or DS18S20, and the 6-byte device ID number. The 6-byte ID number is unique to each Dallas Semiconductor 1-Wire device. UP or DOWN will cycle through the information of all the 1-Wire devices present.
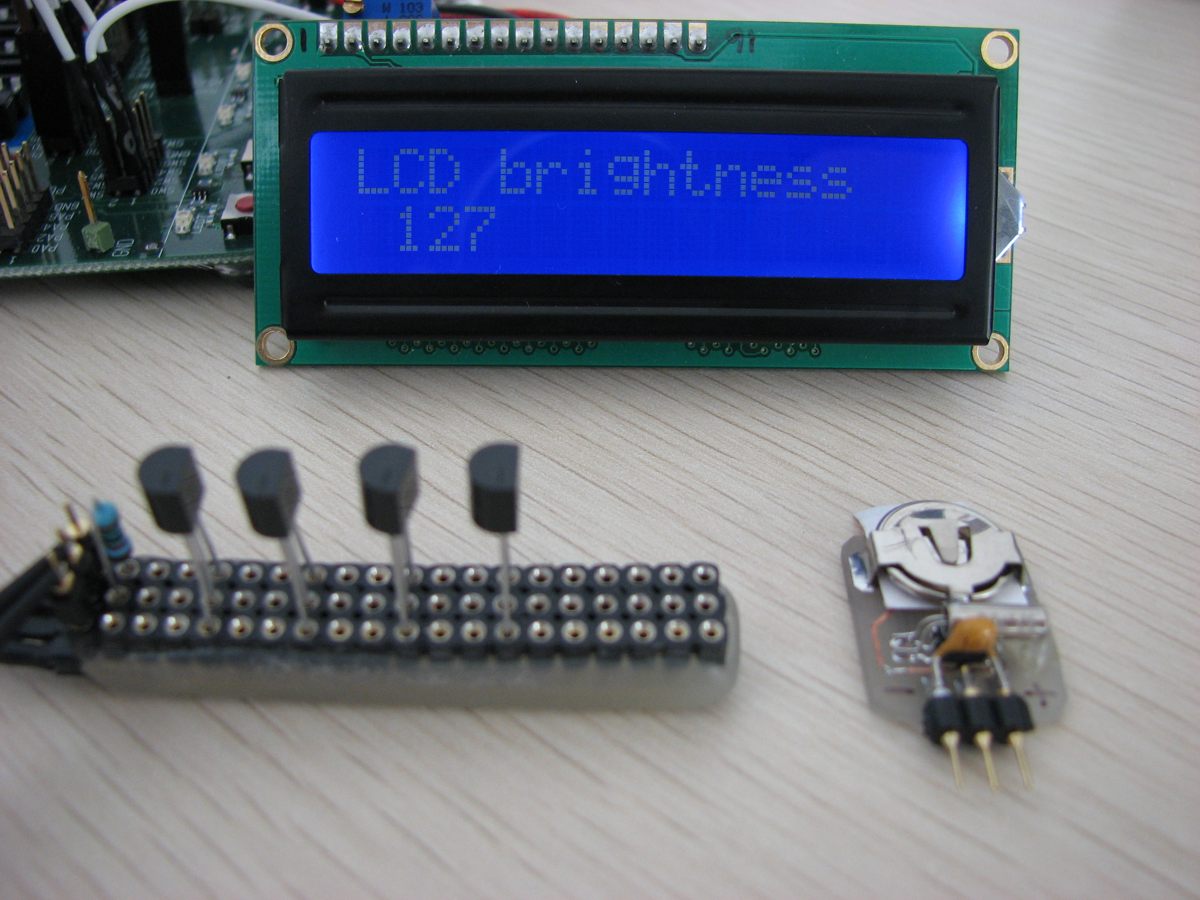 Pressing MODE again allows us to adjust the backlight level of the LCD display. Values in the range of 0 to 255 may be selected with 0 being no backlight, and 255 is full on. This value will also be retained when the device is switched off. The contrast of the LCD display is adjusted by turning a small potentiometer located on the circuit board between the SELECTION and DOWN buttons. If the RTC is present, pressing MODE advances to the time setting screens. It the RTC is not installed, pressing MODE returns to the startup screen.
 Setting the time on the RTC is controlled by the next display page. Initially, the current RTC clock value is shown. Pressing MODE at this point will return you to the startup screen to begin logging. Pressing SELECT will advance, in turn, through the year, month, day, hour, minute, and seconds settings. Pressing SELECT one more time will allow you to save the displayed time to the RTC by pressing both the UP and DOWN buttons simultaneously. Pressing MODE at any time while setting the time aborts the time change and returns to the current time display.
Next time: logging and demo board